

How to Build Basement Stairs
About This Project
This project outlines the steps for building a safe and code-compliant set of stairs to a basement. It covers planning, material selection, cutting, assembly, and finishing, emphasizing structural integrity and safety features.
Tools & Materials

25 ft. Tape Measure

Pencil
FrontLine 18 in. x 18 in. Round White 6-9/16 in. Jamb 4-Lite Grille Geometric Aluminum Clad Wood Window 1818RD64LIGWH
Level
Empire 3/4 in. Brass Stair Gauges (2-Pack) 105

Bon Tool 9 ft. x 2 in. Model C Masonry Guide Pole System with Outside Fittings 11-118
25 ft. Tape Measure
Measure with precision and ease.
Pencil
Marks and draws with ease.
FrontLine 18 in. x 18 in. Round White 6-9/16 in. Jamb 4-Lite Grille Geometric Aluminum Clad Wood Window 1818RD64LIGWH
FrontLine Bldg. Products windows can make a signature statement in your home adding drama and beauty to any house inside and out. Advanced engineering and the highest quality construction makes these full circle 4-lite grille windows extremely durable and beautiful. Energy efficient insulated glass combined with maintenance free clad exterior and the flexibility of wood interior make these a hit.
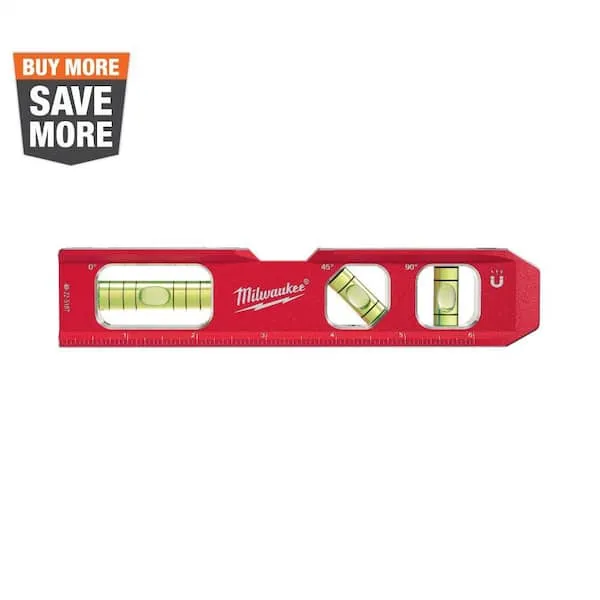
Level
Ensures surfaces are just right.
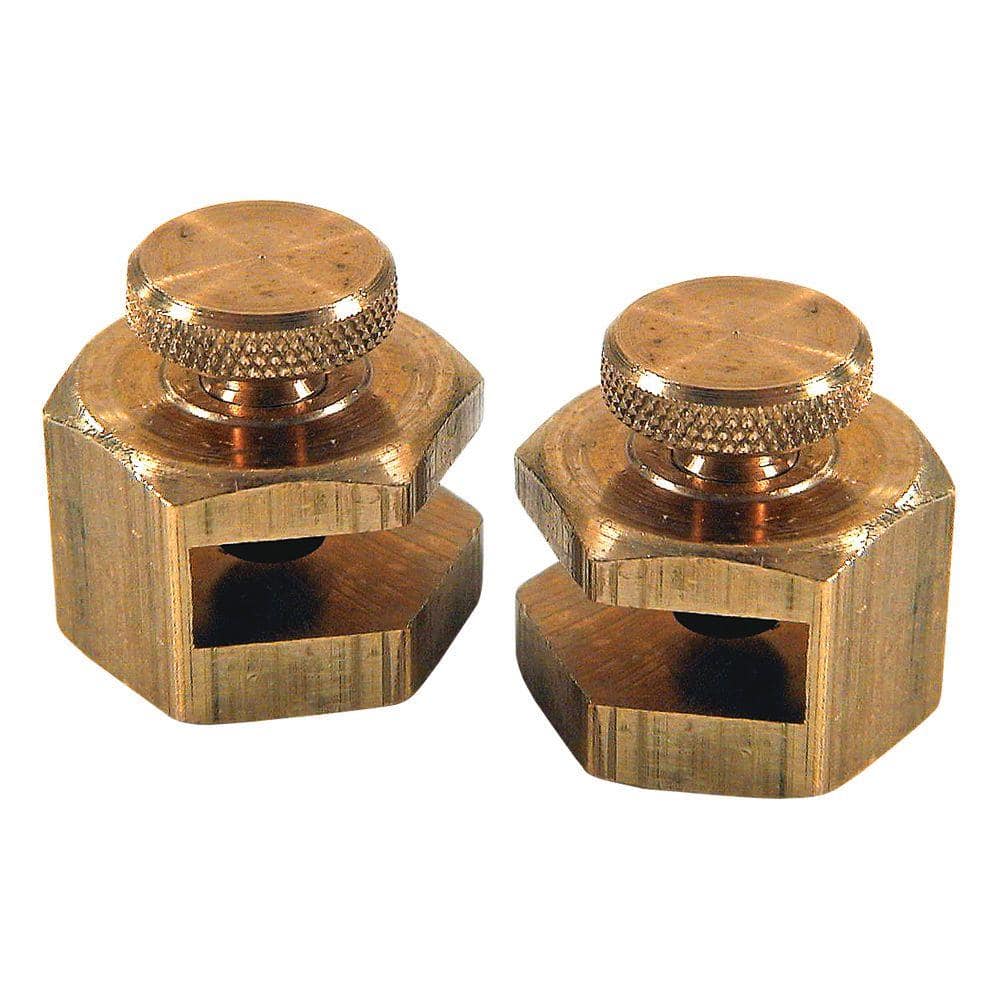
Empire 3/4 in. Brass Stair Gauges (2-Pack) 105
The Empire 3/4 in. Brass Stair Gauges (2-Pack) are used for making repeated cuts on rafters and stairs. The gauges are crafted with solid brass to help ensure strength and feature sure-grip thumb screws
Bon Tool 9 ft. x 2 in. Model C Masonry Guide Pole System with Outside Fittings 11-118
The Bon Masonry Guide with outside fittings is made out of cast aluminum and is built to last. The high grade aluminum poles are 2 in. x 2 in. square. These model C poles have standard brick and modular
Steps

Measure and Plan Stair Location
90 minutesAccurately measure the vertical distance from the finished basement floor to the finished main floor. This is your total rise. Using a stair calculator or by hand, determine the optimal tread depth and riser height. A common riser height is 7 inches, and a tread depth of 11 inches is standard. The formula is 2xRiser + Tread = 24-25 inches (approx). The total run is the horizontal distance the stairs will occupy. Mark the starting point on the basement wall (usually the rim joist or a reinforced header) and the ending point on the basement subfloor. Transfer these measurements to create a layout for your stair stringers.
Watch: Measure and Calculate Stair Dimensions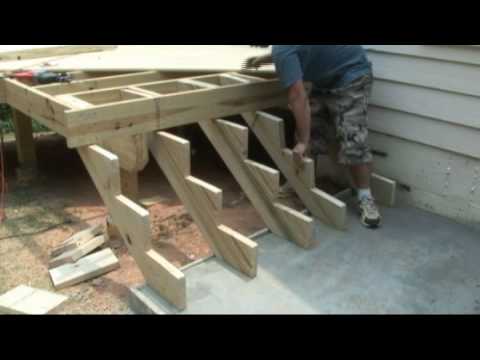
Cut Stair Stringers
120 minutesSelect straight, knot-free 2x12 lumber for your stringers. Using your framing square and pencil, carefully lay out the rise and run for each step according to your calculations. Start from the top and mark out each step's dimensions. Make straight, clean cuts for each riser and tread. You will typically need two stringers, but for wider stairs, a third stringer in the middle is recommended for support. Ensure the 'notch' for the landing at the top is properly cut to rest securely on the subfloor or header. The bottom of the stringer should sit flat on the basement floor, or on a properly prepared landing.
Watch: Lay Out and Cut the First Stringer
Install Top Support for Stringers
60 minutesAt the top of the stair opening, where the stringers will meet the upper level, install a strong support. This can be a pressure-treated ledger board bolted to the subfloor and rim joist, or solid wood blocking installed between the joists. Ensure this support is exceptionally strong as it will bear a significant portion of the stair's load. The ledger board should be level and flush with the edge of the opening where the stringers will sit.
Watch: Install Ledger Board for StringersAttach Stringers to Top Support
45 minutesCarefully lift and position the cut stringers against the ledger board. Ensure the top cut of each stringer sits flush and is properly supported by the ledger. Use strong metal hangers (stringer hangers or joist hangers) designed for this purpose, or toenail the stringers by driving screws at an angle through the stringer into the ledger board. Ensure the stringers are parallel and the correct distance apart.
Watch: Install Stringers and Brackets
Secure Bottom of Stringers
60 minutesThe bottom of the stringers must be firmly secured to prevent the stairs from shifting or tipping. If resting on a concrete slab, you can use concrete anchors (like Tapcons) to secure wooden blocks to the slab, and then screw the stringers to these blocks. If resting on a wooden subfloor or a framed landing, attach solid wood blocking or a sturdy footing to the subfloor, and then secure the stringers to this blocking using screws or hangers. Ensure the stringers are plumb and properly spaced before final fastening.
Watch: Securing Stringers to Landing Pad with Base Plate
Cut and Install Treads
180 minutesMeasure the depth of each step opening (the run) and the width of the stairs. Cut your tread material to these dimensions. The treads should typically overhang the riser by about 1 inch. Common tread materials include 2x lumber (like pine or oak), plywood, or specially made stair treads. Treads are usually attached by screwing through the stringer into the underside of the tread, or by using specialized tread brackets. For a cleaner look, you can notch the stringers to accept the treads, but ensure this does not compromise the stringer's strength. Ensure treads are level and securely fastened.
Watch: Install Risers and Treads
Cut and Install Risers (Optional but Recommended)
120 minutesMeasure the exact height between each tread (riser height). Cut boards (often 1x lumber) to this height and the width of the stairs. Risers can be installed flush with the front of the tread or set back slightly. Secure them by screwing through the riser into the back of the tread above and into the stringer on the sides. While not always required by code, closed risers prevent items from falling through the stairs and offer a more finished look.
Watch: Install Stair Risers
Install Handrails and Balusters
180 minutesInstall handrail posts securely to the stair stringers or landing framing. Attach the handrail to these posts, ensuring it is at the correct height (typically 34-38 inches above the tread nosing) and extends at least 12 inches beyond the top and bottom steps. Spacing for balusters should not allow a 4-inch sphere to pass through (check local code). Attach balusters to the treads or stringers and to the underside of the handrail using appropriate fasteners and brackets. Ensure all connections are very secure.
Watch: Install Handrails
Sand and Finish Treads and Risers
240 minutesOnce the stairs are fully assembled and all fasteners are countersunk or flush, begin the finishing process. Sand all surfaces of the treads and risers to remove any rough spots, splinters, or pencil marks. Start with a medium-grit sandpaper and finish with a fine-grit for a smooth feel. Clean off all dust thoroughly. Apply your chosen finish according to the manufacturer's instructions. This usually involves multiple coats with light sanding between coats for paint or stain. Sealant or polyurethane will protect the wood from wear and moisture.
Watch: Sand the Staircase

