
How to Lay Out a Stair Stringer with a Framing Square
About This Project
This project outlines the process of accurately marking and laying out a stair stringer using a framing square, a crucial step for ensuring safe and correctly proportioned stairs.
Tools & Materials

25 ft. Tape Measure

Pencil

Calculated Industries Construction Master 5 Calculator 4050

FrontLine 36 in. x 36 in. Octagon Black 4-9/16 in. Jamb Geometric Aluminum Clad Wood Window 3636OC4CLIGBK
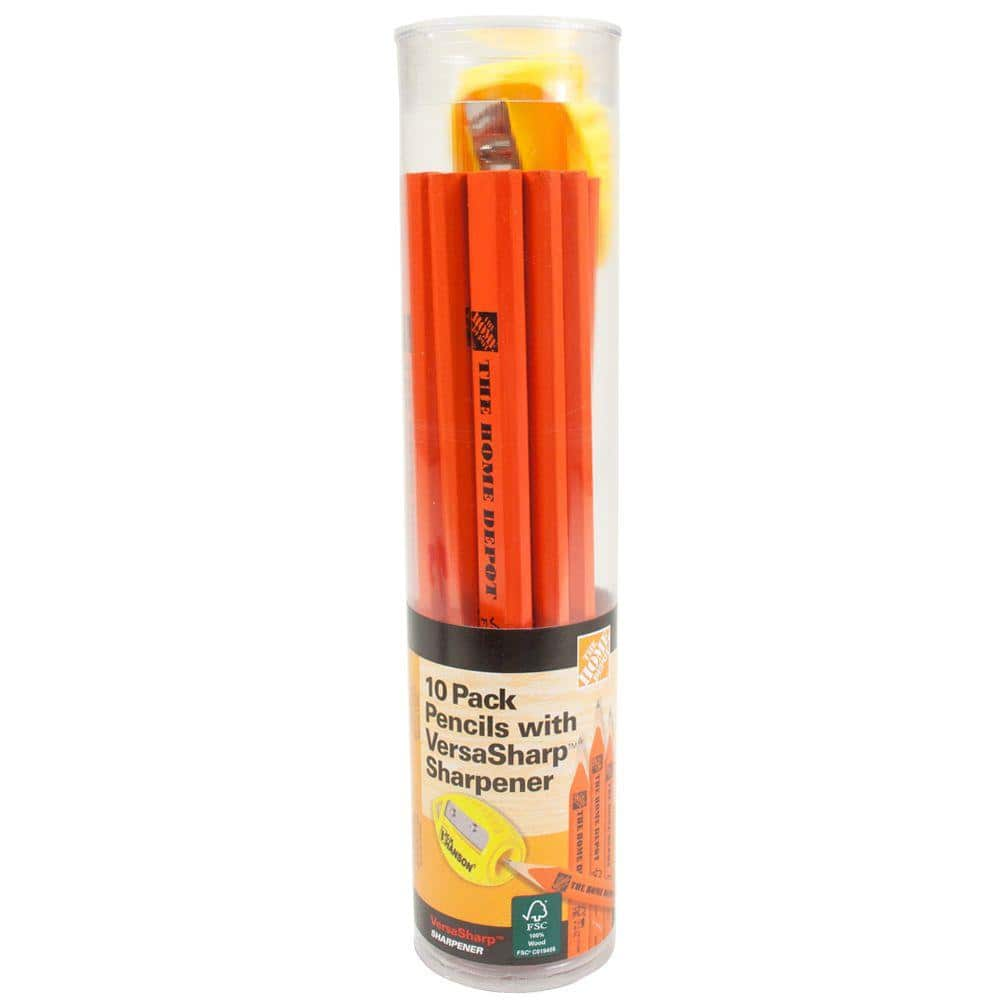
The Home Depot Carpenter Pencils (10-Pack) with Sharpener 216
Measuring Tape
25 ft. Tape Measure
Measure with precision and ease.
Pencil
Marks and draws with ease.
Calculated Industries Construction Master 5 Calculator 4050
The Construction Master 5 Calculator is an essential tool for construction pros. It helps you get fast, accurate construction-math calculations in the office or on the job site. Reduce the risk of expensive
FrontLine 36 in. x 36 in. Octagon Black 4-9/16 in. Jamb Geometric Aluminum Clad Wood Window 3636OC4CLIGBK
FrontLine Bldg. Products windows can make a signature statement in your home adding drama and beauty to any house inside and out. Advanced engineering and the highest quality construction makes these octagon windows extremely durable and beautiful. Energy efficient insulated glass combined with maintenance free clad exterior and the flexibility of wood interior make these a hit.
The Home Depot Carpenter Pencils (10-Pack) with Sharpener 216
This 10-Pack of Carpenter pencils include a sharpener and are FSC certified. They feature a flat surface to discourage rolling. Perfect for your home remodeling needs or jobsite use.
Measuring Tape
For accurate measurements of plywood and components, ensuring proper assembly.
Steps
Determine Total Rise and Run
15 minutesBegin by measuring the total vertical distance from the subfloor of the lower level to the subfloor of the upper level. This measurement is your total rise. Next, determine the total horizontal distance that the stairs will span on the lower level. This is your total run. It's crucial that the total run is adequate to accommodate the desired number of steps and tread depth while adhering to local building codes for a comfortable and safe ascent. A general guideline for comfortable stairs is a total run of approximately twice the total rise, but this can vary significantly based on code requirements and desired pitch.
Watch: Measure Total Rise
Calculate Number of Risers and Treads
10 minutesTo calculate the number of risers, divide the total rise by your desired riser height. A common and comfortable riser height is between 7 and 7.5 inches. For example, if your total rise is 108 inches, and you aim for a 7-inch riser, you would divide 108 by 7, resulting in approximately 15.4 risers. You must round this to a whole number, either 15 or 16. It's often best to adjust the riser height slightly to achieve a whole number of risers. The number of treads will be one less than the number of risers. For instance, if you have 15 risers, you will have 14 treads.
Watch: Calculate Number of Risers and Treads
Calculate Riser and Tread Dimensions
10 minutesNow that you have the exact number of risers and treads, calculate the precise height for each riser and the depth for each tread. Divide the total rise by the number of risers to get the exact riser height. For example, if your total rise is 108 inches and you've decided on 15 risers, each riser will be 108 / 15 = 7.2 inches. To determine the tread depth (also known as going), divide the total run by the number of treads. Ensure that the tread depth meets local building code requirements, which typically range from 9 to 10 inches for comfortable use. The sum of one riser height and one tread depth should ideally be between 17 and 18 inches for comfortable walking.
Watch: Calculate Individual Riser Height & Tread Depth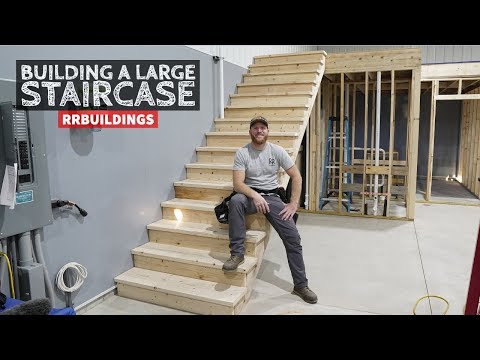
Mark the Stair Stringer with a Framing Square
30 minutesTake your stair stringer board (typically a 2x10 or 2x12). Place your framing square on the edge of the board. Align the 'rise' measurement on the tongue of the square with the edge of the board, and align the 'run' measurement on the blade of the square with the edge of the board. Mark this line. This marks your first riser cut. Then, slide the square along the board, keeping the 'rise' measurement at the top edge and the 'run' measurement at the bottom edge, and mark the next riser. Continue this process, stepping the square down the board for each subsequent riser and tread, ensuring your measurements are precise and consistent. The bottom edge of the stringer will have the tread markings, and the top edge will align with the floor joists.
Watch: Mark the Stringers and Adjust for Treads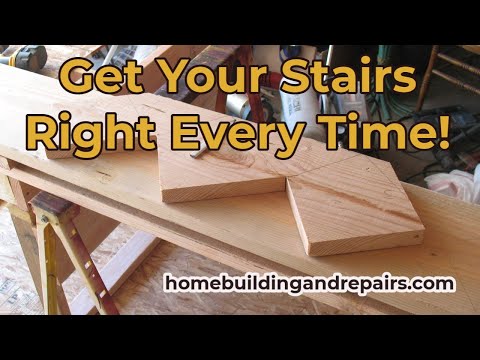
Mark the Nosing and Final Cut
15 minutesAfter marking all the riser and tread lines, you need to account for the nosing, which is the part of the tread that overhangs the riser. Typically, this is about 1 inch. On your last tread mark, measure out the nosing distance (e.g., 1 inch) beyond the last riser line. This will create your nosing line. The final cut at the bottom of the stringer will be determined by this nosing line and the angle of the last tread. This creates the shape of the stringer that will sit flush on the lower subfloor.
Watch: Correct Straight Stringer Layout
Cut the Stair Stringer
45 minutesWith all the layout lines clearly marked, use a circular saw to cut along the lines. For the tread cuts, you can typically cut from the edge of the board inwards, stopping at the riser line. For the riser cuts, you will cut down from the top edge of the stringer to the tread line. Be precise and follow your marks accurately. It is often easiest to make the riser cuts first, then the tread cuts. Make sure to wear safety glasses and appropriate hearing protection. For the bottom cut (the 'kick') of the stringer, ensure it is cut at the correct angle to sit flush on the subfloor.
Watch: Cut the Stringers