How to Build a Simple Wooden Box Step
About This Project
This project outlines the steps to build a basic, sturdy wooden box suitable for storage or as a foundational element for other projects. It covers material selection, cutting, assembly, and finishing.
Tools & Materials

Miter Saw
Measuring Tape

Pencil
Clamps
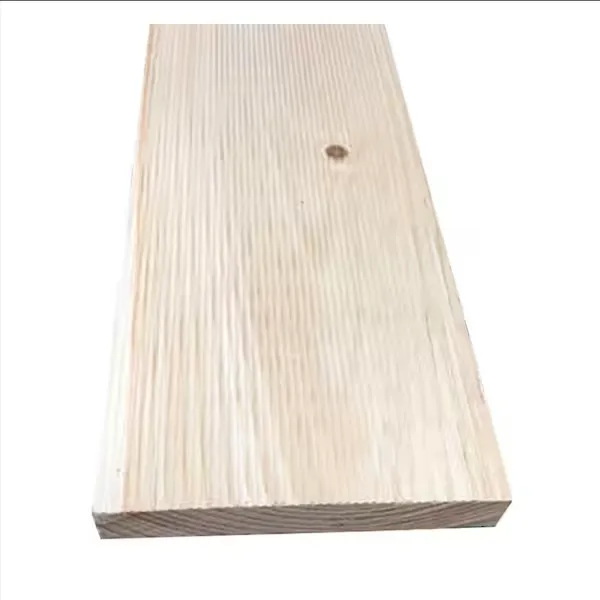
Pine Wood

Safety Glasses
Miter Saw
A saw designed for making precise crosscuts and miters in a workpiece.
Measuring Tape
For accurate measurements of plywood and components, ensuring proper assembly.
Pencil
Marks and draws with ease.
Clamps
Used to secure plywood pieces during drilling and assembly, maintaining alignment.
Pine Wood
Softwood used for the cabinet carcass and other components.
Safety Glasses
Keeps eyes safe from potential hazards.
Steps

Cut Wood Pieces
60 minutesMeasure and mark the lumber according to the project plan's dimensions. Use a miter saw or circular saw to make clean, straight cuts for all sides, the bottom, and the lid of the box. Ensure all cuts are square to create a well-fitting box.
Watch: Prepare and Cut Wood Components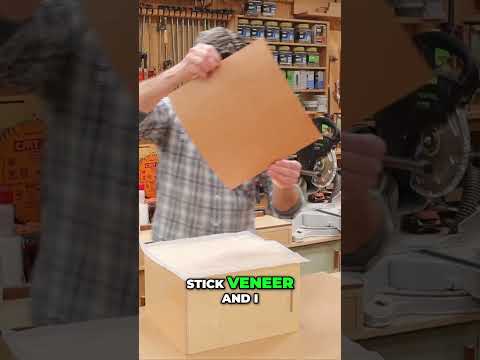

Attach the Bottom
25 minutesApply wood glue to the bottom edges of the assembled sides. Carefully place the bottom piece onto the glued edges, ensuring it is flush with the outer edges of the sides. Secure the bottom by driving wood screws or finishing nails through the sides into the bottom piece.
Watch: Attach Box Bottom

Attach Lid (Optional)
20 minutesDepending on whether you want a fixed or hinged lid: For a fixed lid, apply wood glue to the top edges of the box and place the lid on top, securing with screws or nails. For a hinged lid, attach hinges to the back edge of the lid and box according to the hinge manufacturer's instructions.
Watch: Attach Lid Bottom to Box
Sand and Finish
90 minutesSand all exterior and interior surfaces of the box, starting with a coarser grit sandpaper and progressing to finer grits for a smooth finish. Wipe away all dust. Apply your chosen finish, such as paint, stain, or a clear sealant, following the manufacturer's instructions for application and drying times.
Watch: Sand and Apply Finish