

How to Cover Waterfall-Style Stairs with Treads
About This Project
This project outlines the process of covering waterfall-style stairs with new treads. Waterfall stairs have treads that extend beyond the riser, creating an open side. This project focuses on installing new treads over existing ones, potentially for aesthetic updates or to repair worn surfaces.
Tools & Materials

Defiant 2000 Lumens LED Slide-to-Focusing Aluminum Flashlight 90706
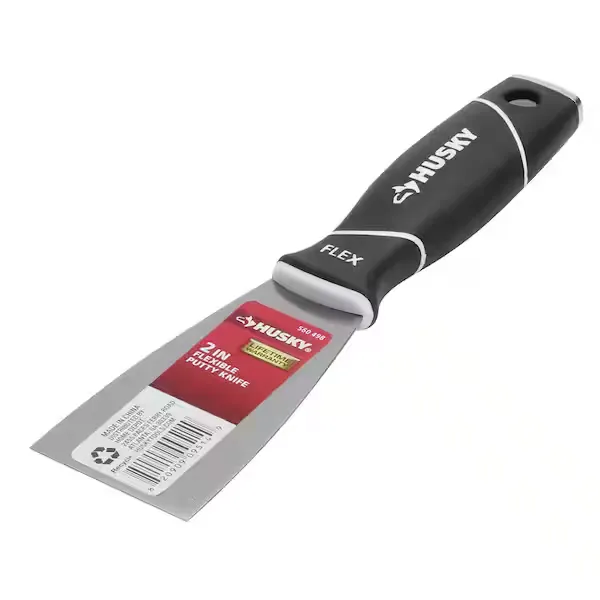
Putty knife

EVERMARK Stair Parts 41 in. x 1.1/4 in. 5060 Primed Full Square Craftsman Wood Baluster for Stair Remodel 5060X-041-HD00L
Measuring Tape

Pencil
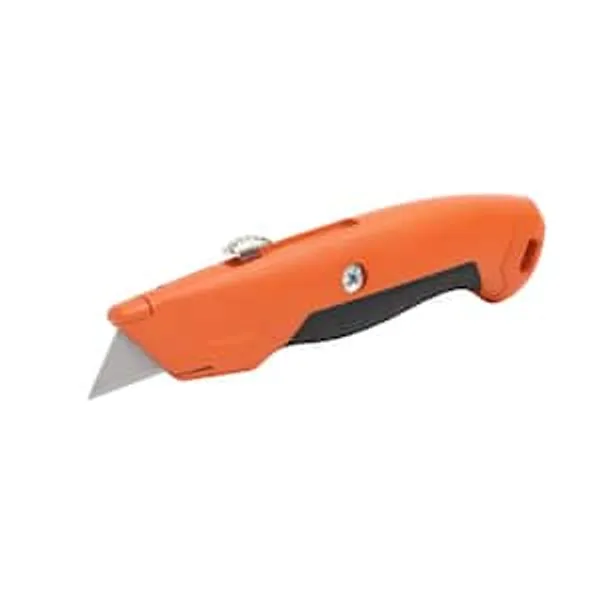
Box Cutter
Defiant 2000 Lumens LED Slide-to-Focusing Aluminum Flashlight 90706
This Defiant 2000-Lumens LED Slide-to-Focusing Aluminum Flashlight features high- powered LED chips to emit up to 2000-Lumens of light, illuminating your work area and beyond. Its tough aluminum material
Putty knife
Spreads putty with its flat blade.
EVERMARK Stair Parts 41 in. x 1.1/4 in. 5060 Primed Full Square Craftsman Wood Baluster for Stair Remodel 5060X-041-HD00L
The EVERMARK 5060 41 in. x 1 1/4 in. primed wood square baluster has a clean profile, creating a timeless look that complements traditional, to craftsman, to contemporary styles and design aesthetics.
Measuring Tape
For accurate measurements of plywood and components, ensuring proper assembly.
Pencil
Marks and draws with ease.
Box Cutter
Sharp and handy for precise cuts.
Steps

Inspect Existing Treads and Risers
30 minutesCarefully examine each existing stair tread and riser. Look for any signs of damage such as cracks, splits, or deep gouges. Check if any treads or risers are loose, squeaky, or wobbly. Identify any areas of rot, water damage, or delamination, particularly on the edges and undersides. Note any areas that appear uneven or out of level, as these will need to be addressed before new treads are installed.
Watch: Assess Existing Staircase & Components
Measure and Template for New Treads
45 minutesMeasure the length, width, and depth of each existing tread. For waterfall treads, pay close attention to the overhang measurement. If the treads are not perfectly rectangular or if there are intricate angles, create cardboard templates for each tread. Ensure the templates accurately capture the shape of the existing tread, including the return edge where it meets the riser and the overhang on the open side. Label each template clearly with its corresponding stair location (e.g., 'Tread 1 - Left', 'Tread 2 - Right').
Watch: Measure and Mark Treads
Cut New Treads
90 minutesTransfer the dimensions or template outlines onto your new tread material (e.g., hardwood, engineered wood). Using a circular saw or jigsaw, carefully cut out each tread. Ensure all cuts are straight and accurate, especially for the edges that will meet risers or other treads, and the waterfall overhang. If cutting hardwood, consider using a fine-tooth blade to minimize tear-out and achieve a cleaner edge.
Watch: Measure and Cut Treads
Prepare Existing Surfaces
60 minutesClean the existing treads and risers to remove all dust, dirt, grease, and debris. If there are any small holes or imperfections, fill them with wood filler or epoxy and allow them to dry completely. Lightly sand any high spots or uneven areas on the existing surfaces to create a smooth plane. If the existing treads have a slippery finish, lightly scuff-sanding them can provide better adhesion for any adhesive used.
Watch: Prepare Existing Stairs for Installation
Dry Fit New Treads
30 minutesCarefully place each new tread onto its corresponding existing tread. Check for a snug fit against the risers and any adjacent vertical surfaces. Ensure the waterfall overhang is correctly positioned and that the tread sits level. Make any minor adjustments by carefully trimming or sanding edges as needed to achieve a perfect fit. This step is critical to avoid costly mistakes during the adhesive and fastening stage.
Watch: Dry-Fit and Test Treads
Apply Adhesive and Fasteners
120 minutesApply a generous bead of high-quality construction adhesive to the back of each new tread. Spread the adhesive evenly, ensuring good coverage, especially along the edges and towards the nosing. For waterfall treads, ensure adhesive is applied to the entire surface that will contact the existing tread. Immediately after applying adhesive, position the tread onto the existing stair. For added security, pre-drill pilot holes through the new tread into the existing tread below, and then drive screws or finish nails. Ensure fasteners are countersunk slightly below the surface for a clean finish. For waterfall edges, consider using specialized brackets or reinforcing blocks if required by the design or for structural integrity.
Watch: Install First Tread and Riser
Install Waterfall Risers/Returns (if applicable)
60 minutesFor waterfall stairs, you may have a separate piece that covers the exposed edge of the tread where it extends beyond the riser. This is often called a return. Measure and cut these return pieces to precisely fit the dimensions of the tread's overhang and the adjacent riser. Apply construction adhesive to the back of the return piece and secure it to the tread and any adjoining surfaces. You may also need to fasten these with brad nails or a routered dado for a stronger connection. Ensure the joints are tight and flush.
Watch: Install Risers and Treads
Fill and Sand Fastener Holes
45 minutesUsing a putty knife, fill all pre-drilled screw holes and nail holes with a color-matched wood filler or a universal wood filler that can be stained. Allow the filler to dry completely according to the manufacturer's instructions. Once dry, lightly sand the filled areas until they are flush and smooth with the surrounding tread surface. Then, sand the entire surface of all newly installed treads to ensure a uniform smoothness, paying attention to edges and any rough spots. Feather sand any areas where new treads meet existing ones.
Watch: Fill Gaps and Nail Holes
Apply Finish to Treads
180 minutesIf staining, apply the chosen stain evenly to the new treads, following the product's instructions. Wipe off excess stain after the recommended time. Allow the stain to dry completely. Once dry, apply multiple coats of a durable polyurethane or other suitable clear finish. Apply thin, even coats, allowing adequate drying time between each. Lightly sand with very fine-grit sandpaper (e.g., 320-400 grit) between coats for a smoother finish, and wipe away dust with a tack cloth after each sanding. Pay special attention to sealing the edges and the waterfall overhang.
Watch: Stain Stair Treads

