Water Heater Installation
About This Project
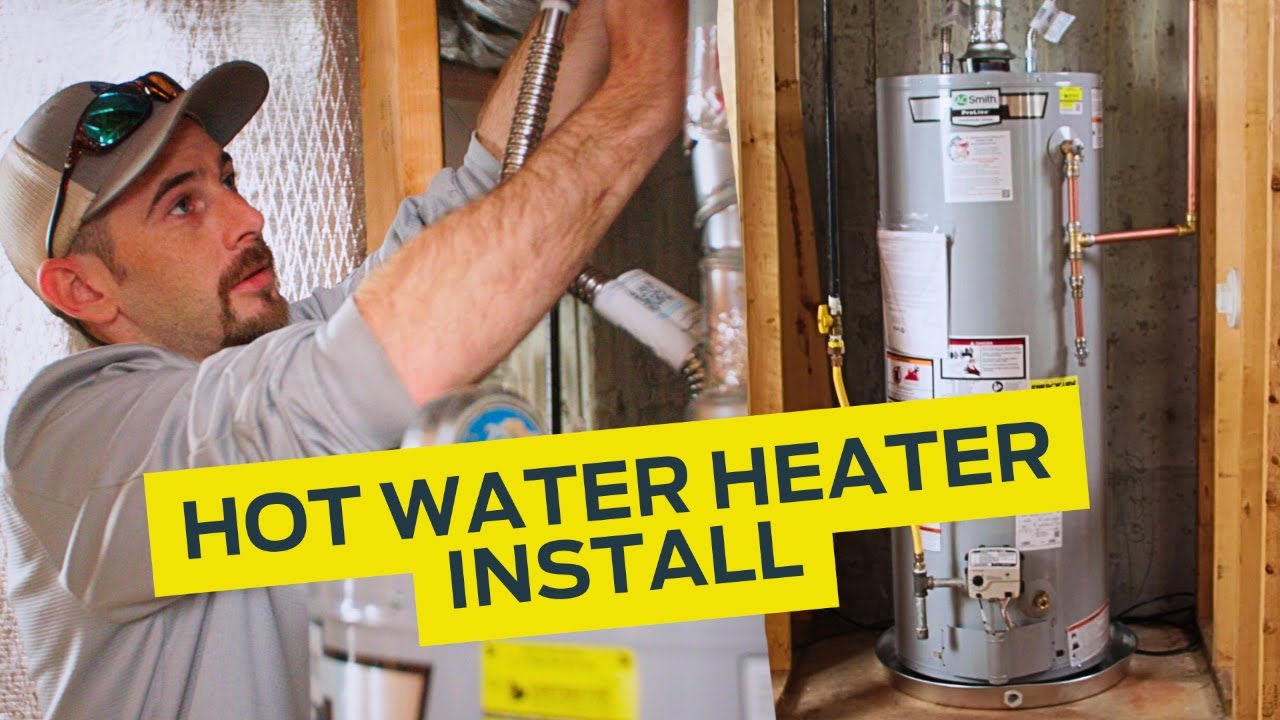
This project outlines the steps for a DIY installation of a new water heater. It includes considerations for selecting the right type of heater, preparing the installation site, connecting plumbing and gas/electrical lines, and ensuring safety and code compliance. This is a high-level overview and specific details will vary based on the type of water heater (e.g., tank, tankless, gas, electric) and local building codes.
Tools & Materials

Screwdriver
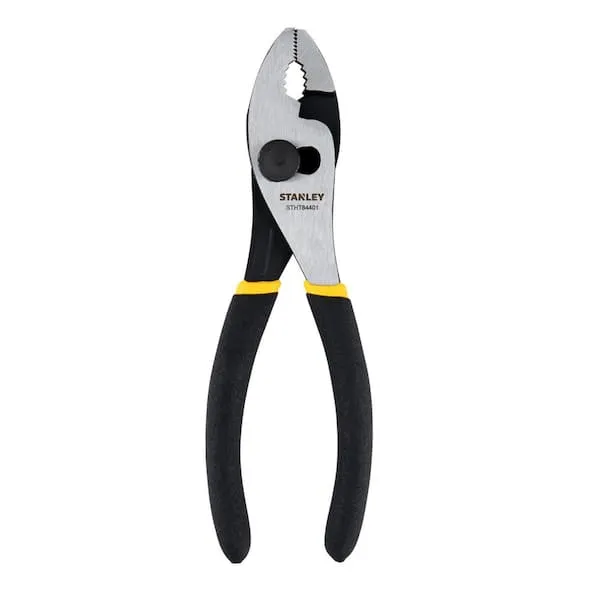
Pliers
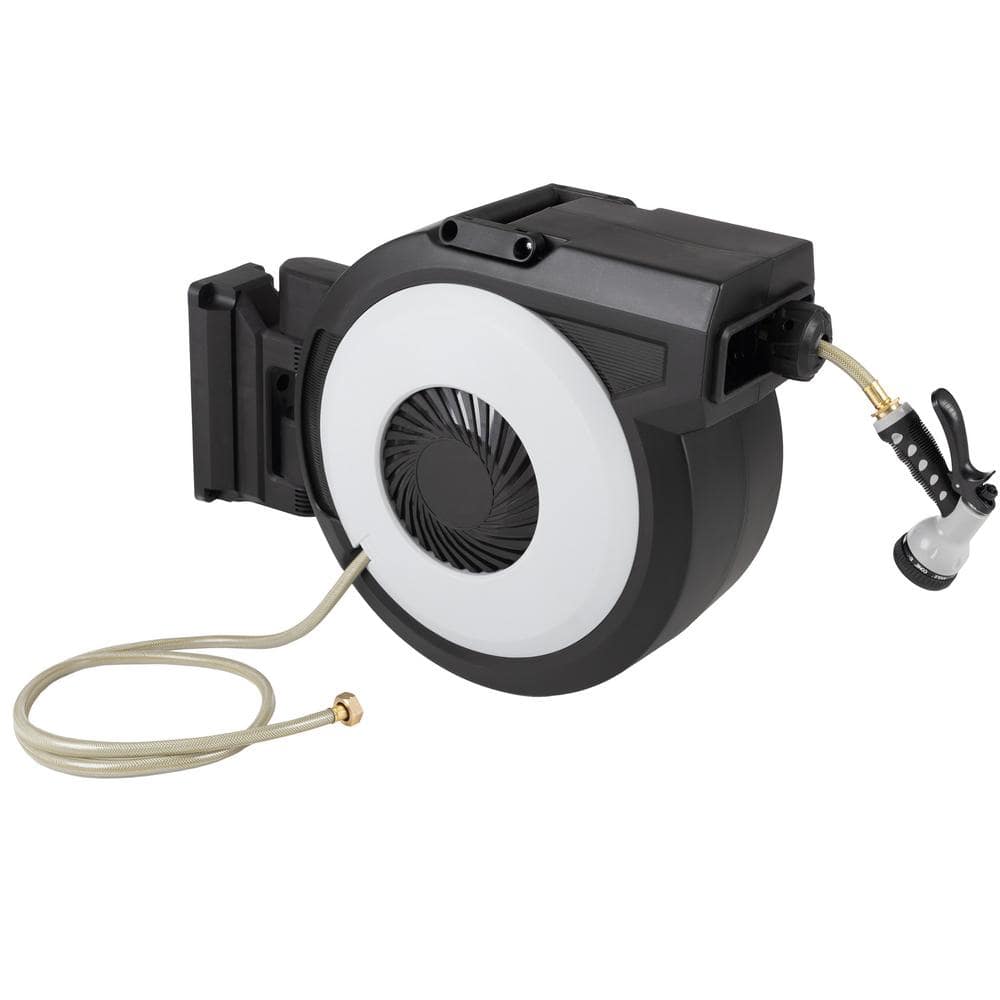
Pure Garden 5/8 in. Dia x 124 ft. Standard Retractable Garden Water Hose 50-LG1341
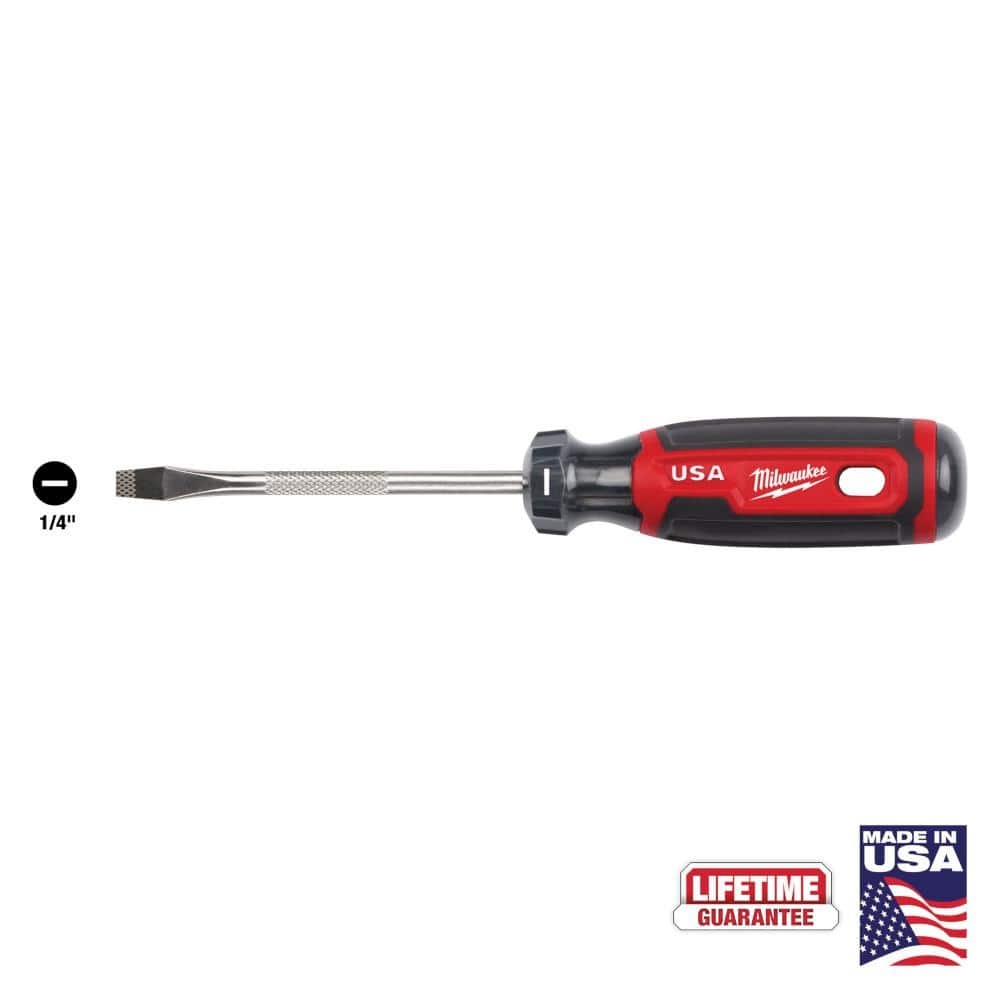
Milwaukee 4 in. x 1/4 in. Slotted Flat Head Screwdriver with Cushion Grip MT206
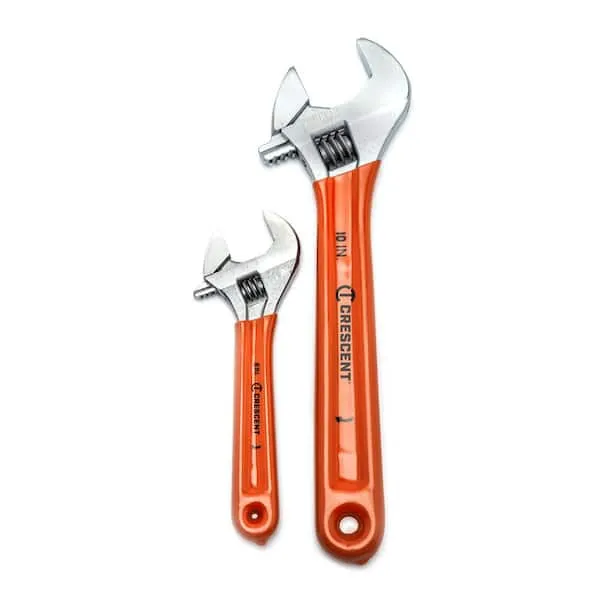
Adjustable Wrench
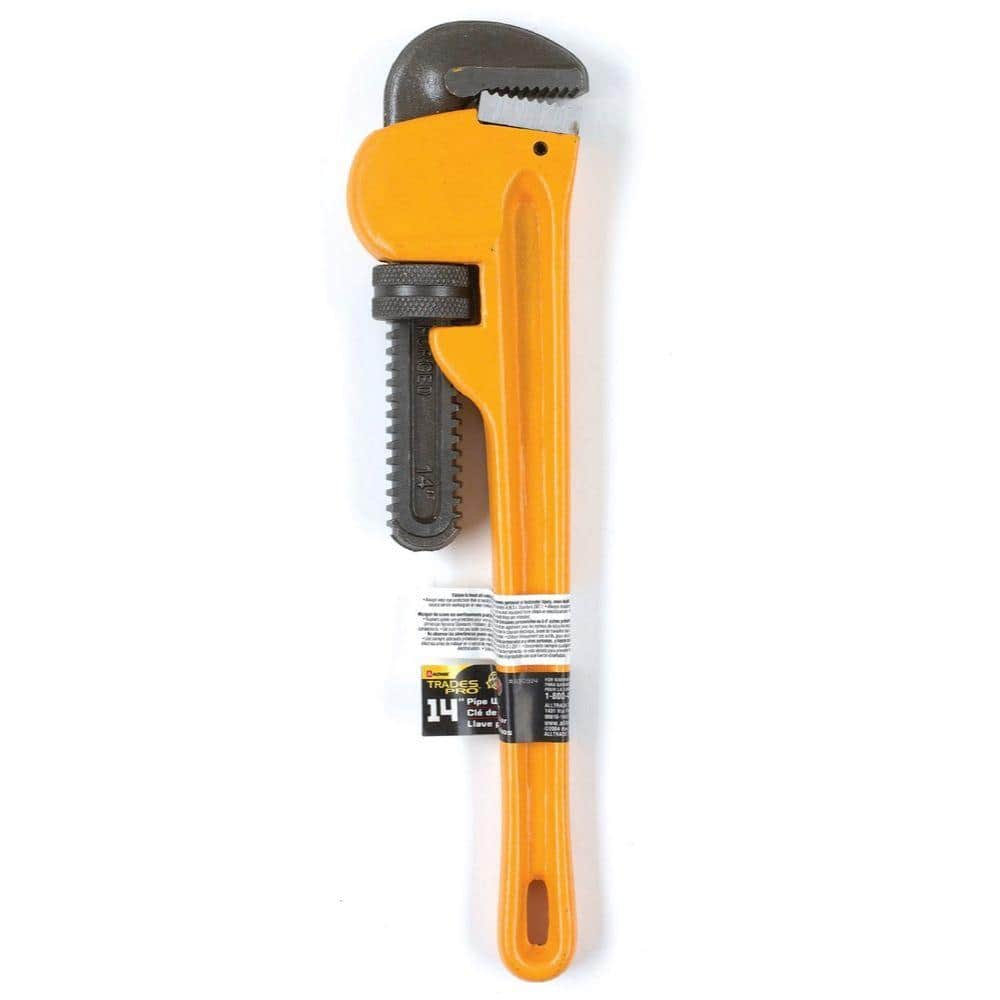
TradesPro 14 in. HD Pipe Wrench 830914
Screwdriver
A tool used to turn screws.
Pliers
Grips and manipulates objects.
Pure Garden 5/8 in. Dia x 124 ft. Standard Retractable Garden Water Hose 50-LG1341
Make it easier to achieve the garden of your dreams with the Retractable Water Hose Holder by Pure Garden. The durable 124 ft. hose locks at any length, and automatically retracts into the mountable reel
Milwaukee 4 in. x 1/4 in. Slotted Flat Head Screwdriver with Cushion Grip MT206
The Milwaukee® 1/4" Slotted 4" Cushion Grip Screwdrivers (USA) are manufactured to give the professional the best-fitting screwdriver with max grip. These screwdriver tips are custom machined to deliver
Adjustable Wrench
Fits various nut and bolt sizes with its adjustable jaw.
TradesPro 14 in. HD Pipe Wrench 830914
A simple tool that's simply irreplaceable around the house, yard, garage and worksite. Nothing works better at biting, clamping and turning stubborn pipes, fittings and more. This wrench has all the essentials
Steps

Turn Off Utilities
15 minutesBefore you begin any work on the water heater, it is crucial to ensure your safety by turning off the power source and the water supply. For gas water heaters, locate the gas shut-off valve on the gas line leading to the unit and turn the handle perpendicular to the pipe to shut off the gas flow. For electric water heaters, go to your home's main electrical panel and switch off the breaker that controls the water heater. Regardless of the type, you must also shut off the main water supply to the house. Locate the main water shut-off valve, typically found where the water pipe enters your home, and close it. This prevents water from flooding the work area when you disconnect the old heater.
Watch: Shut Off All Utilities
Drain the Old Water Heater
60 minutesOnce the water supply and power are shut off, you need to drain the existing water heater. Connect a garden hose to the drain valve located at the bottom of the tank. Run the other end of the hose to a floor drain, utility sink, or outside, ensuring it's lower than the drain valve. Open a hot water faucet somewhere in the house (this allows air into the tank, facilitating drainage). Then, open the drain valve on the water heater by inserting a flathead screwdriver or turning the handle, depending on the valve type. Allow the tank to drain completely. This can take a significant amount of time, depending on the tank size.
Watch: Drain the Old Water Heater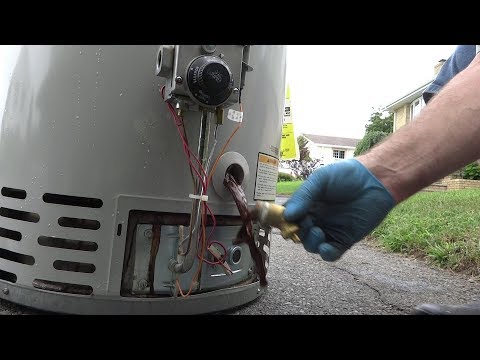
Disconnect Plumbing and Venting
30 minutesWith the tank drained, you can now disconnect the water lines, gas line, and venting. For water lines, place a bucket or pan underneath the connections to catch any residual water. Use an adjustable wrench to loosen and remove the hot and cold water supply lines from the top of the water heater. If it's a gas heater, disconnect the gas line at the union fitting. Be prepared for a small amount of residual gas smell, though it should be minimal if the gas was shut off correctly. For gas units, also disconnect the vent pipe (flue) from the draft hood on top of the water heater. This may involve loosening clamps or screws.
Watch: Disconnect Plumbing and Gas Lines
Remove Old Water Heater
20 minutesOnce all connections are severed, the old water heater can be removed. It will still contain some residual water and sediment, making it heavy. If possible, have another person assist you with this step. Gently tilt the heater to drain any remaining water into your collection bucket or hose. Maneuver the unit out of its space, being careful not to damage surrounding walls or floors. If the heater is too heavy to move manually, consider using a hand truck or dolly.
Watch: Remove Old Water Heater
Prepare the Installation Area
30 minutesClear the area where the old water heater was located. Sweep and clean the floor. Check the area for any signs of leaks or damage from the old unit. Ensure the location meets the manufacturer's and local building codes for clearances to combustible materials, ventilation requirements, and access for servicing. If the new water heater requires a different footprint or height, you may need to adjust the surrounding area, such as reinforcing the floor or modifying nearby structures. For gas heaters, ensure proper venting is accessible and in good condition.
Watch: Clean and Prepare the Installation Area
Position the New Water Heater
20 minutesCarefully move the new water heater into position. Use a hand truck or have assistance as needed. Position the unit so that its water connections and gas/electrical connections are accessible and correctly oriented according to the manufacturer's instructions and local codes. Ensure the heater is sitting level on the floor. Many water heaters have adjustable feet to help with leveling. A level installation is important for proper operation and longevity.
Watch: Position New Water Heater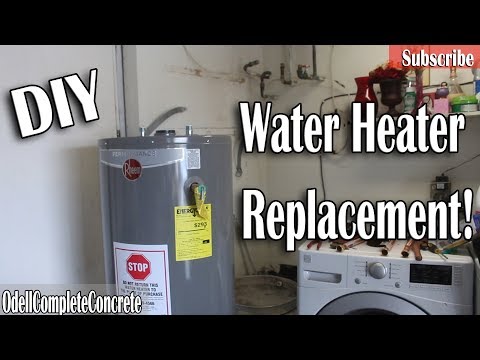
Connect Water Lines
30 minutesConnect the cold water supply line and the hot water outlet line to the corresponding ports on the new water heater. Use pipe thread sealant (pipe dope) or PTFE tape on the male threads of the fittings or nipples to ensure a watertight seal. Hand-tighten the connections, then use an adjustable wrench to snug them up – typically about a quarter to a half turn past hand-tight. Avoid over-tightening, which can damage the fittings or the tank threads. Some installations may require flexible water connectors for easier installation and to absorb vibrations.
Watch: Connect Water and Gas Lines
Connect Gas Line and Venting (Gas Heaters)
45 minutesFor gas water heaters, connect the gas supply line to the gas control valve on the new unit. Use approved pipe thread sealant suitable for natural gas or propane. Make sure to use a flexible gas connector if required or permitted by local code. After connecting the gas line, reattach the vent pipe (flue) to the draft hood on top of the water heater. Ensure the vent pipe has the correct slope (typically rising towards the chimney or vent termination) and is securely fastened to prevent leaks. Check for any obstructions in the vent pipe. Test all gas connections for leaks using a soapy water solution; bubbles indicate a leak that must be fixed.
Watch: Connect Gas Line and Vent
Connect Electrical Wiring (Electric Heaters)
30 minutesFor electric water heaters, you will need to connect the electrical supply. Ensure the power to the circuit is off at the breaker. Remove the junction box cover on the water heater. Connect the house wiring to the heater's wiring using appropriate wire connectors (wire nuts). Typically, this involves connecting the hot wires, the neutral wire, and the ground wire. Ensure the connections are secure and properly insulated. Replace the junction box cover. Double-check that the voltage and amperage requirements of the new heater match your electrical supply.
Watch: Connect Electrical Wiring and Power On
Fill the New Water Heater
20 minutesBefore energizing the new water heater, it must be completely filled with water. Close the drain valve at the bottom of the tank. Open the cold water supply valve to the heater. Open the nearest hot water faucet in the house and let it run. You will hear the tank filling with water. Continue to let the water run until a steady stream of water flows from the hot water faucet, indicating that the air has been purged from the tank. Close the hot water faucet. Check all water connections for leaks.
Watch: Fill Tank, Check for Leaks, and Power OnRestore Utilities and Test
60 minutesOnce the tank is full and all connections are checked for leaks, you can restore the utilities. For gas heaters, turn the gas shut-off valve back on, aligning the handle parallel to the pipe. Then, follow the manufacturer's instructions to light the pilot light or start the electronic ignition. For electric heaters, turn the breaker back on at the electrical panel. Allow the water heater time to heat the water (this can take an hour or more depending on the heater size and type). Once the water is heated, check the temperature at a faucet. Monitor the unit for any leaks at the connections or from the tank itself. Test the temperature control to ensure it's set correctly.
Watch: Final Checks and Startup
Install Temperature and Pressure Relief Valve (T&P Valve)
20 minutesInstall the new T&P relief valve into the designated port on the water heater. Use pipe thread sealant on the threads of the valve to ensure a watertight seal. Tighten the valve securely with an adjustable wrench. Following local codes, attach a discharge pipe to the outlet of the T&P valve. This pipe must be made of approved material (usually copper or CPVC), be sized correctly, and run downhill to a suitable drainage point (like a floor drain or indirect waste receptor) or to within 6 inches of the floor. Do not cap, plug, or thread the end of the discharge pipe.
Watch: Install T&P Discharge Pipe
Final Inspection and Cleanup
30 minutesConduct a thorough inspection of the entire installation. Double-check all water, gas, and electrical connections for any signs of leaks or loose fittings. Ensure the vent system is properly connected and secure. Verify that the T&P valve and its discharge pipe are correctly installed. Clean up the work area, removing any tools, debris, and old parts. Dispose of the old water heater and any packaging materials according to local regulations for large appliance disposal.
Watch: Final Cleanup and InspectionCommon Problems
Water is leaking from newly connected water lines (inlet, outlet, or T&P valve connections).
Solution: Immediately turn off the main water supply to your home. If the leak is minor, try gently tightening the connection with an adjustable wrench or pipe wrench by no more than a quarter turn. If the leak persists or is significant, you will need to drain a small amount of water from the water heater (open a hot water faucet nearby), then disconnect the leaking fitting. Remove old sealant, reapply new PTFE tape (plumber's tape) and pipe thread sealant (pipe dope) to the male threads, and reconnect the fitting. Hand-tighten first to ensure it's not cross-threaded, then use wrenches for an additional 1 to 2 turns until snug, but do not overtighten. Slowly turn the water supply back on and check for leaks.
Prevention: Always use both PTFE tape (wrapped clockwise 3-5 times) and a compatible pipe thread sealant on all threaded water connections. Start threading by hand to avoid cross-threading, then use wrenches to tighten adequately. Do not overtighten, as this can crack fittings or strip threads.
You smell gas or hear a hissing sound near the gas line connections on a gas water heater.
Solution: THIS IS A SERIOUS SAFETY HAZARD. IMMEDIATELY turn off the main gas supply to your house (usually a valve near your gas meter or the main gas line entering your home) and the gas valve on the water heater itself. Open all windows and doors to ventilate the area. DO NOT turn any electrical switches on or off, use your phone, or create any spark. Evacuate everyone from the house and call your gas utility company or a qualified plumber from a safe location. Do not re-enter until declared safe by professionals.
Prevention: Ensure you are using gas-rated PTFE tape (yellow) and gas-rated pipe thread sealant. Apply sealant correctly to male threads only. After connecting the gas line and before lighting the pilot, always test for leaks using a specialized gas leak detection solution or a mixture of dish soap and water. Apply the soapy solution to all gas connections; if bubbles appear, you have a leak. Tighten the connection slightly more, or if it persists, re-seal and re-test. Never skip this step.
After installing an electric water heater, there is no hot water, or the water is only lukewarm.
Solution: First, ensure the water heater is completely full of water (open a hot water faucet until water flows steadily). Check your home's electrical panel to see if the circuit breaker for the water heater has tripped; if so, reset it. Make sure the thermostat(s) on the water heater are set to your desired temperature. If the problem persists, and you are comfortable and it's safe to do so (TURN OFF THE BREAKER FIRST!), double-check your electrical wiring connections against the manufacturer's diagram to ensure they are secure and correctly matched. If all checks out, there might be an issue with the heating elements or thermostat, which may require a professional or warranty service.
Prevention: Always ensure the water heater tank is completely filled with water before turning on its power. Double-check all electrical connections against the wiring diagram provided by the manufacturer. Use correctly sized wire connectors and ensure all connections are tight. Confirm the correct breaker is off before touching any wiring.
After installing a gas water heater, there is no hot water, or the water is only lukewarm.
Solution: First, confirm the gas supply valve leading to the water heater is fully open. If your water heater has a pilot light, ensure it is lit (follow manufacturer's instructions for lighting). Sometimes, air gets trapped in the gas line; you may need to purge it (often by lighting a gas burner on your stove for a few seconds if it's on the same line, or repeatedly trying to light the water heater's pilot/burner). Check that the thermostat on the water heater is set to your desired temperature. If the pilot won't stay lit or the burner won't ignite, there may be an issue with the thermocouple or gas valve, which might require professional assistance.
Prevention: Before connecting the gas line to the water heater, ensure you've purged any air from the supply line if recommended for your setup. Always follow the manufacturer's specific instructions for lighting the pilot and operating the unit. Ensure the gas supply valve is easily accessible and fully open once connections are secure.
When tightening connections (e.g., water lines, T&P valve, gas line), you feel the threads give way or spin freely, indicating stripped threads.
Solution: Immediately stop tightening. If it's a water connection, shut off the water supply. If it's a gas connection, shut off the gas supply. You will need to carefully remove the fitting. If the threads on the removable fitting are stripped, replace that fitting. If the threads on the water heater itself (or an installed fixed pipe) are stripped, this is a more serious problem. For a water heater port, it may require professional repair or even replacement of the water heater if the damage is severe. Never force connections.
Prevention: Always start threaded connections by hand to ensure they engage properly without cross-threading. You should be able to turn it a few rotations by hand. Only then use wrenches, tightening gradually and avoiding excessive force. Know when to stop; 'snug' is often sufficient, especially with proper sealant. Use the correct size wrenches for the fittings.
The new water heater does not fit into the designated installation space (too tall, too wide, or insufficient clearance).
Solution: If the issue is minor (e.g., slightly too tall), you might be able to adjust the height of the drain pan or re-route pipes with tighter bends if local codes allow. For significant size discrepancies, you may need to return the water heater for one that fits the dimensions of your space. Do not try to force it, as proper clearances are often required for safety and maintenance.
Prevention: BEFORE purchasing your new water heater, precisely measure the available space, including height, width, and depth. Remember to account for the drain pan, seismic straps, required clearances around the unit for air circulation or access, and the space needed for plumbing and venting connections above the unit. Compare these measurements carefully with the new water heater's specifications.
Frequently Asked Questions
Do I need specialized tools beyond basic plumbing gear for this project, and which ones are essential?
Yes, beyond basic wrenches and screwdrivers, you'll need large pipe wrenches (like the TradesPro 14 in. HD Pipe Wrench) for stubborn connections. A hand truck (like the Milwaukee 800 lbs. D-Handle Hand Truck) is crucial for safely moving heavy old and new units. For gas heaters, a gas leak detector or a soap solution for testing connections is also essential.
How much time should I realistically budget for a DIY water heater replacement, and is 'intermediate' difficulty accurate?
Budget at least a full day, and potentially two, as stated, especially if you encounter unexpected issues like corroded pipes or need to make trips for additional parts. The 'intermediate' difficulty is accurate because it combines plumbing, potential gas or electrical work, heavy lifting, and strict adherence to safety and code requirements, making it more complex than basic household repairs.