

How to Update a Split-Level Entry Staircase
About This Project
This project involves updating the aesthetics and potentially the structural integrity of a split-level entry staircase. This could include replacing treads and risers, adding newel posts and balusters, installing new railings, and potentially modifying the staircase's structure if needed for safety or code compliance. It may also involve cosmetic updates like painting or staining.
Tools & Materials

Milwaukee 15 in. Pry Bar 48-22-9035
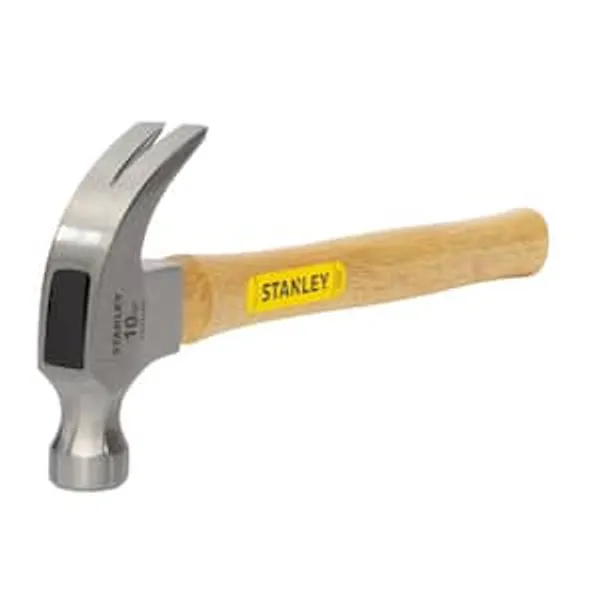
Hammer
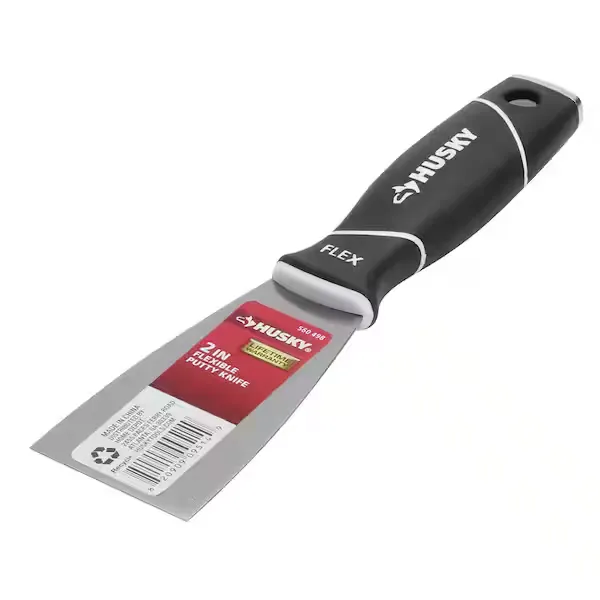
Putty knife

Safety Glasses

Clamps

MGP 24 in. H Teak Wood Extendable Circular fence Trellis TCF-36
Milwaukee 15 in. Pry Bar 48-22-9035
The Milwaukee 15 in. Pry Bar is designed to withstand the toughest of jobsite conditions while remaining sharp enough to access tight spaces. This pry bar features a SHOCKSHIELD grip to minimize vibration
Hammer
Delivers forceful blows with precision.
Putty knife
Spreads putty with its flat blade.
Safety Glasses
Keeps eyes safe from potential hazards.
Clamps
Tools used to hold objects tightly together to prevent movement or separation.
MGP 24 in. H Teak Wood Extendable Circular fence Trellis TCF-36
MGP teak wood circular trellis fence is built with naturally rot resistant teak wood. Place these attractive circular fences around your garden plants, flowers and young trees, to form a physical barrier
Steps

Remove Existing Treads and Risers
120 minutesBegin by using a pry bar and a hammer to gently loosen and remove the existing treads. Work from the edge of the tread, applying steady pressure. Once the treads are off, detach the risers in a similar fashion. Be mindful of the staircase stringers underneath and avoid damaging them.
Watch: Remove Old Wooden Treads
Inspect and Repair Stringers
60 minutesThoroughly inspect the wooden stringers that support the staircase for signs of rot, cracks, or significant damage. If minor cracks are found, they can often be repaired with wood glue and clamps. For more substantial damage, consider sistering a new piece of wood alongside the damaged section or consulting a professional.
Watch: Repair Extensive Rot and Reinforce Stringer
Cut and Fit New Treads
180 minutesMeasure the exact width and depth of each stair opening where a tread will sit. Transfer these measurements to your chosen tread material (e.g., hardwood planks). Cut the treads to size, ensuring a snug fit against the stringers and risers. Dry-fit each tread to confirm it sits level and securely, making any necessary adjustments.
Watch: Measure, Cut, and Install Stair Treads
Cut and Fit New Risers
120 minutesMeasure the height and width of each riser opening. Transfer these dimensions to your riser material. Cut the risers to fit snugly between the treads and against the stringers. Dry-fit each riser to ensure it aligns correctly with the treads and provides a clean vertical surface.
Watch: Measure and Cut Risers
Attach New Treads
90 minutesApply wood glue to the top edge of the stringers where the tread will rest. Position the first tread and secure it by driving screws through the tread into the stringers. Use at least two screws per stringer. Countersink the screws so they can be covered later. Repeat for all treads.
Watch: Fasten New Treads with Screws
Attach New Risers
75 minutesApply wood glue to the back of the riser and the edges where it meets the tread and stringers. Position the riser, ensuring it's flush with the tread above and the riser below. Secure it by driving nails or screws through the riser into the back of the tread and into the stringers. Use finishing nails for a cleaner look if desired.
Watch: Install Risers and Treads
Install Newel Posts
150 minutesDetermine the placement for your newel posts, typically at the bottom of the staircase and at the landing. Attach the newel posts to the subfloor or stringers using appropriate hardware, such as lag bolts or specialized newel post mounting kits. Ensure the posts are plumb and stable.
Watch: Install Newel Posts
Install Balusters (Spindles)
240 minutesMark the spacing for your balusters on the treads and the underside of the handrail. Attach the balusters using specialized baluster screws, adhesive, or by routing them into pre-made channels, depending on the baluster type. Ensure consistent spacing and that they are securely fastened.
Watch: Install Balusters
Install Handrail and Railing System
180 minutesMeasure and cut the handrail to fit between the newel posts and any wall-mounted brackets. Secure the handrail to the tops of the newel posts using appropriate connectors. If the railing runs along a wall, install handrail brackets at regular intervals into wall studs. Ensure the entire railing system is sturdy and smooth to the touch.
Watch: Install HandrailsSand and Finish
360 minutesUsing progressively finer grit sandpaper, sand all newly installed treads, risers, newel posts, and railings until they are smooth to the touch. Remove all dust. Apply your chosen finish (paint, stain, varnish, or polyurethane) according to the manufacturer's instructions, allowing adequate drying time between coats.
Watch: Sand the Staircase

