
RR BuildingsRR Buildings
BrowseMy Projects
Log inSign up
RR Buildings
Project video

Step 6 · Disconnect Wires and Remove Old Thermostat Base

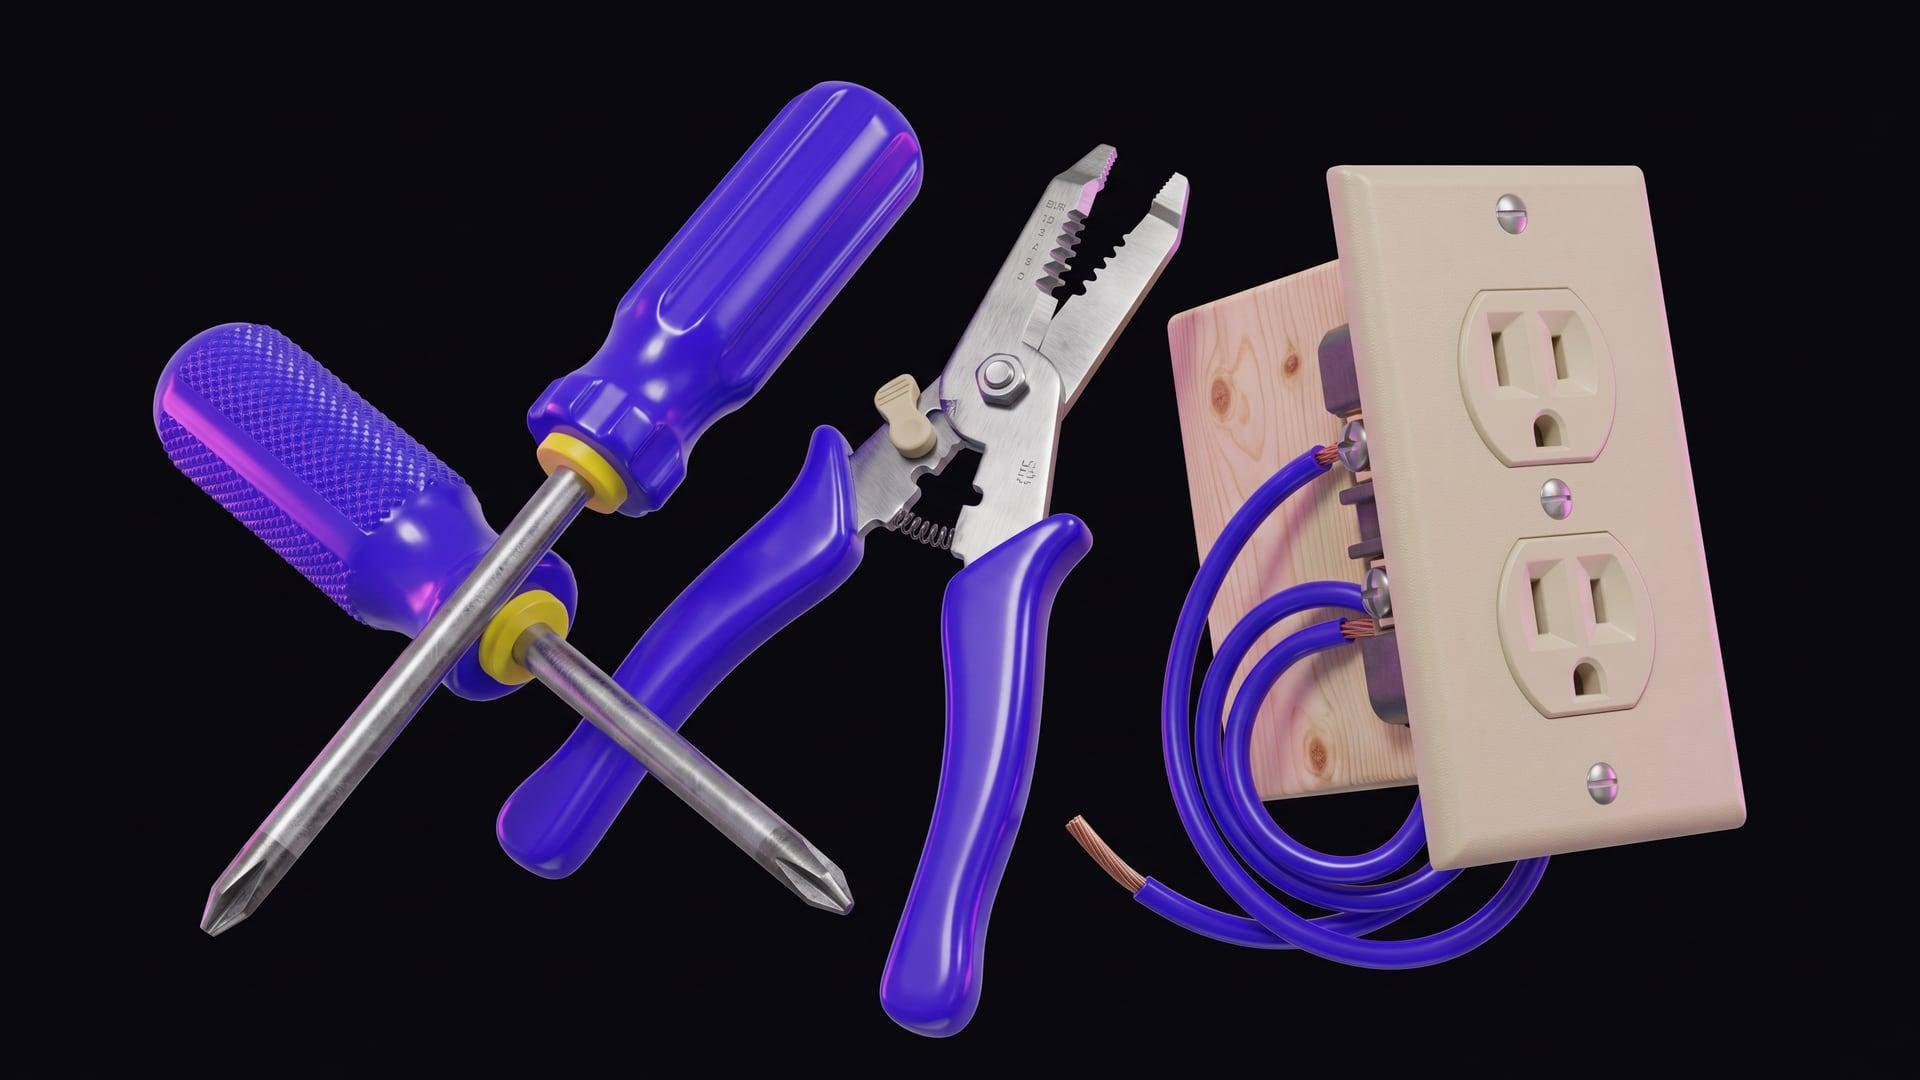
Once all wires are labeled, gently pull each wire out of its terminal. Some terminals may have a release mechanism (like a small screw or button) to loosen their grip on the wire. After disconnecting all wires, remove the screws that secure the old thermostat's base plate to the wall. Let the wires hang freely from the wall opening, ensuring they do not fall back into the wall cavity.

Stesso home
SearchSearchBrowseBrowseMy ProjectsMy Projects
Log inLog inSign upSign up

Step 6 · Disconnect Wires and Remove Old Thermostat Base

Once all wires are labeled, gently pull each wire out of its terminal. Some terminals may have a release mechanism (like a small screw or button) to loosen their grip on the wire. After disconnecting all wires, remove the screws that secure the old thermostat's base plate to the wall. Let the wires hang freely from the wall opening, ensuring they do not fall back into the wall cavity.

← Project

Smart Thermostat Installation

Step 6 of 12·1.3 hr left

Check Thermostat Compatibility
30 minutes
Turn Off Power to HVAC System
5 minutes
Remove the Old Thermostat Faceplate
2 minutes
Photograph Existing Wiring
3 minutes
Label Wires
5 minutes
6
Disconnect Wires and Remove Old Thermostat Base
5 minutes
7
Install New Thermostat Mounting Plate
10 minutes
8
Connect Wires to the New Thermostat
15 minutes
9
Attach the New Thermostat Faceplate
5 minutes
10
Restore Power to HVAC System
2 minutes
11
Configure Smart Thermostat Settings
30 minutes
12
Test Heating and Cooling Systems
10 minutes
Prev
Next
TermsPrivacySafetyLegal© 2026 Stesso, Inc.