
RR BuildingsRR Buildings
BrowseMy Projects
Log inSign up
RR Buildings
Project video

Step 2 · Remove Old Thermostat

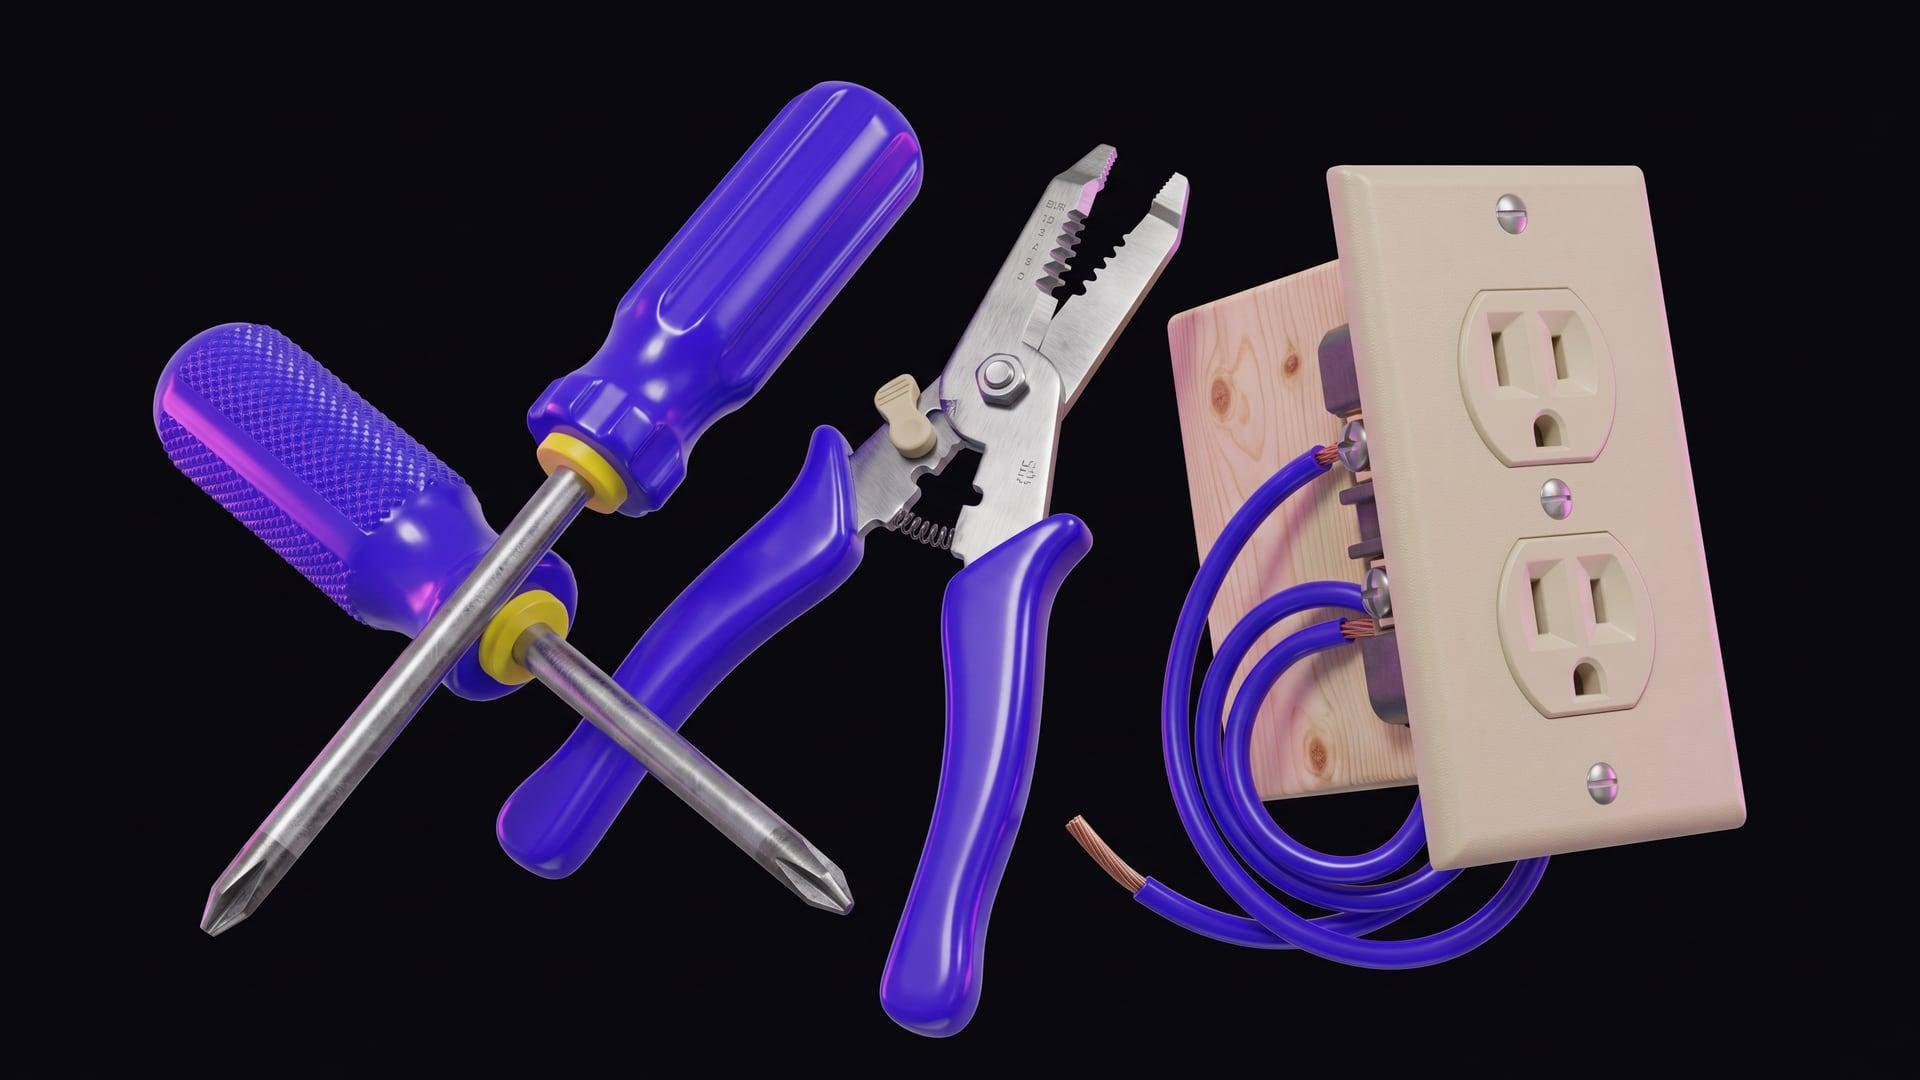
Gently pull the faceplate of your old thermostat away from the wall. Some thermostats may have screws or clips holding them in place. Once the faceplate is removed, you will see the wiring connected to the thermostat base. Take a clear picture of the existing wiring connections, noting which wire connects to which terminal. This picture will serve as a crucial reference for connecting the Nest thermostat correctly.

Stesso home
SearchSearchBrowseBrowseMy ProjectsMy Projects
Log inLog inSign upSign up

Step 2 · Remove Old Thermostat

Gently pull the faceplate of your old thermostat away from the wall. Some thermostats may have screws or clips holding them in place. Once the faceplate is removed, you will see the wiring connected to the thermostat base. Take a clear picture of the existing wiring connections, noting which wire connects to which terminal. This picture will serve as a crucial reference for connecting the Nest thermostat correctly.

← Project

Nest Thermostat Installation

Step 2 of 10·1.3 hr left

Turn Off Power to HVAC System
5 minutes
2
Remove Old Thermostat
10 minutes
3
Label Wires
5 minutes
4
Disconnect and Remove Old Base
5 minutes
5
Install Nest Trim Plate (Optional)
5 minutes
6
Mount Nest Base
10 minutes
7
Connect Wires to Nest
15 minutes
8
Attach Nest Display
2 minutes
9
Restore Power to HVAC System
3 minutes
10
Nest Thermostat Setup
20 minutes
Prev
Next
TermsPrivacySafetyLegal© 2026 Stesso, Inc.