

How to Install a Floor Transition Strip at the Bottom of the Stairs
About This Project
This project outlines the steps for installing a floor transition strip at the bottom of a staircase to create a smooth and safe transition between the flooring at the top of the stairs and the flooring at the bottom.
Tools & Materials
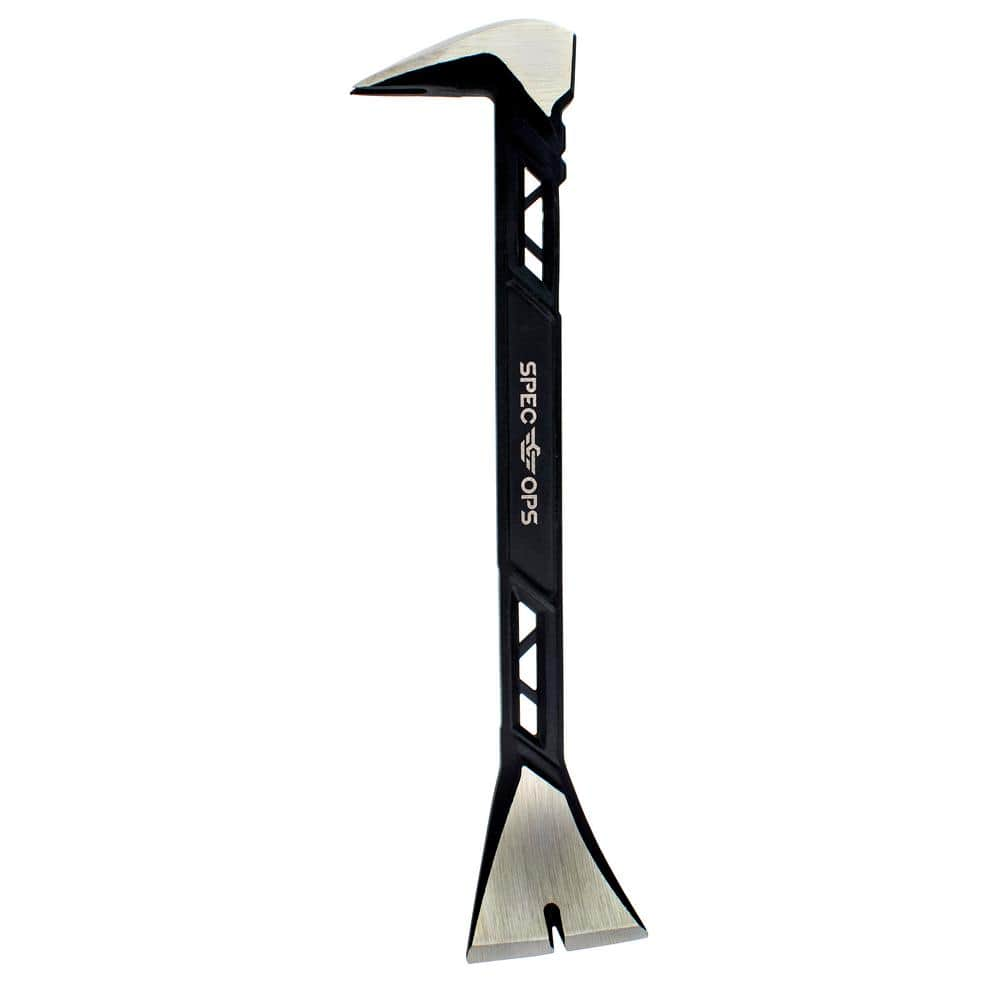
SPEC OPS Molding Pry Bar, 11 in., Nail Puller Cats Paw, High-Carbon Steel SPEC-D11MOLD
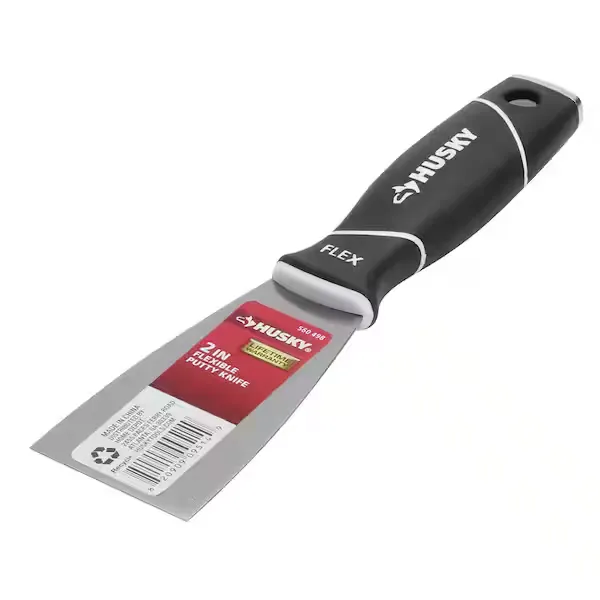
Putty knife
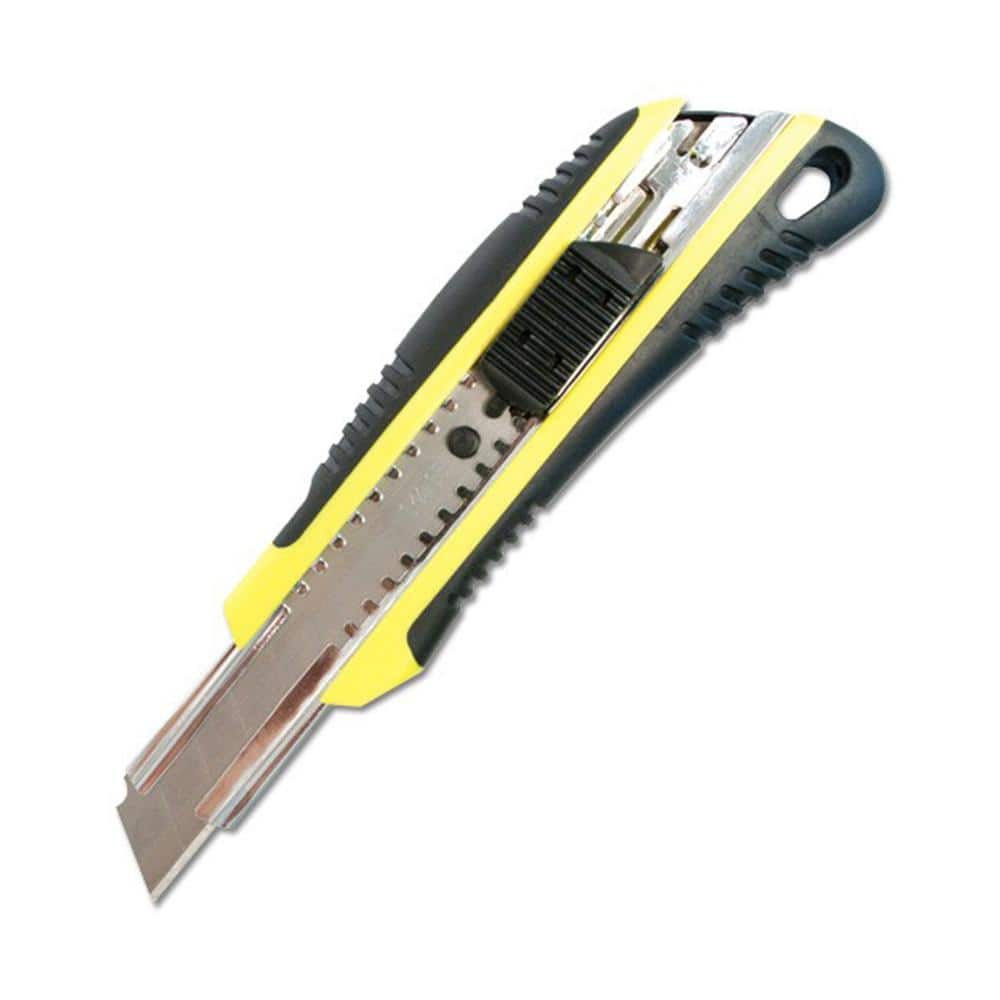
FASTCAP Triblade Utility Knife FC.TRIBLADE
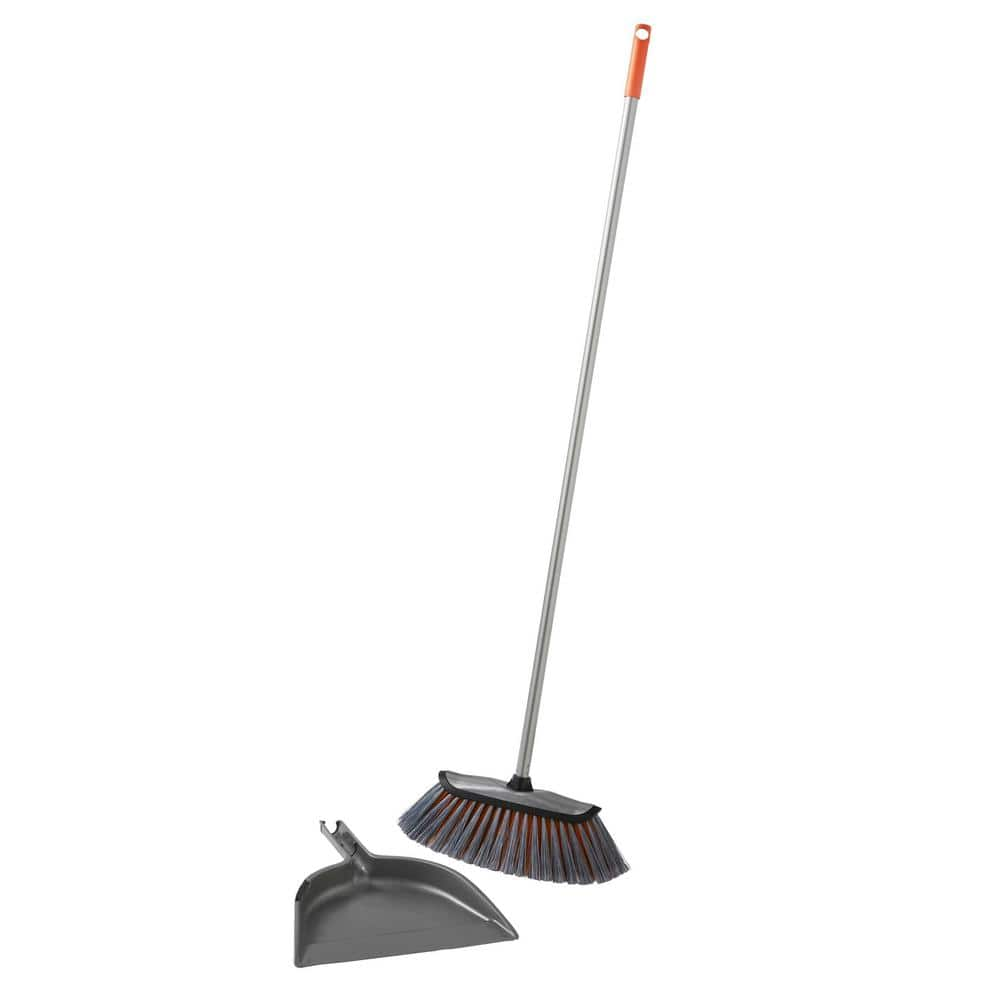
HDX Smooth Sweep Indoor Angle Broom with Dustpan 2060

Shop Vacuum
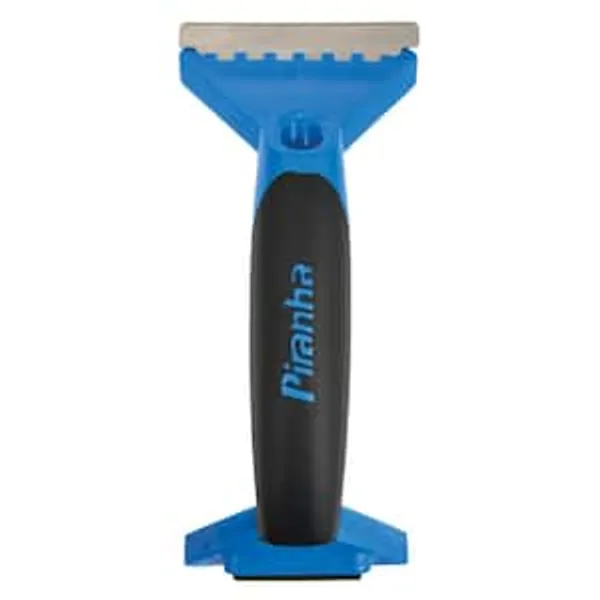
Scraper
SPEC OPS Molding Pry Bar, 11 in., Nail Puller Cats Paw, High-Carbon Steel SPEC-D11MOLD
Reduce your carry-weight with our up to 20% lighter advanced skeleton design. Perfect for removing baseboard trim, chair rail, window trim, door trim or other molding, the SPEC OPS Molding Pry Bar, 11
Putty knife
Spreads putty with its flat blade.
FASTCAP Triblade Utility Knife FC.TRIBLADE
The Fast Cap Tri Blade Utility Knife has a unique design allows for additional storage of 2 extra blades. The rubberized grip makes it comfortable to hold. The retractable self-locking blade makes the
HDX Smooth Sweep Indoor Angle Broom with Dustpan 2060
With this HDX Broom you will enjoy an effective and efficient sweeping experience with minimal labor. The smooth soft bristles are perfect for cleaning pet hair, dirt and dust from floors. Use for indoor
Shop Vacuum
Cleans workshop mess efficiently.
Scraper
Removes materials with a flat blade.
Steps
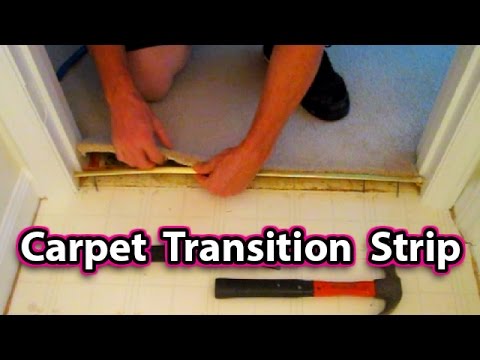
Remove Existing Transition Strip
15 minutesIf there is an existing transition strip at the bottom of the stairs, it needs to be removed before installing the new one. Use a pry bar to carefully lift the edge of the old strip. A putty knife can be used to gently work under the strip to loosen any adhesive or nails without damaging the underlying flooring or subfloor. Once loosened, pull the old strip free.
Watch: Remove Old Transition Strip
Clean the Area
20 minutesOnce the old transition strip is removed, it's crucial to prepare the surface for the new installation. Sweep or vacuum the area to remove loose debris. Use a scraper or putty knife to remove any remaining adhesive, caulk, or nail heads. For stubborn adhesive, a mild solvent might be necessary, followed by a thorough cleaning with a damp cloth. The surface must be clean and dry for proper adhesion.
Watch: Clean Installation Area
Measure and Cut Transition Strip
25 minutesMeasure the exact width of the opening where the transition strip will be installed, from the edge of one flooring material to the edge of the other. Use a measuring tape for accuracy. Transfer this measurement to the new transition strip. If the strip needs to be cut, use a miter saw or a fine-tooth handsaw for a clean cut. Ensure the cut is square to the length of the strip unless the opening requires an angle. Always measure twice and cut once.
Watch: Measure and Cut the Top Transition Piece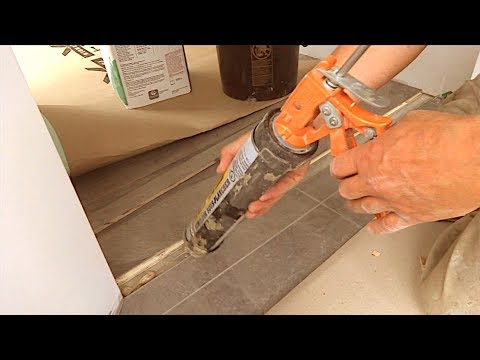
Dry Fit the Transition Strip
10 minutesBefore applying any adhesive or fasteners, place the newly cut transition strip into the gap between the two flooring surfaces. Check that it sits level and spans the entire opening without any gaps on either side. Ensure that it meets flush with both flooring materials. If any adjustments are needed, such as minor trimming or sanding of the edges, make them now. This step prevents mistakes after the adhesive is applied or fasteners are driven.
Watch: Dry Fit Components
Install the Transition Strip
30 minutesDepending on the type of transition strip and flooring, installation will involve either adhesive or fasteners. For adhesive-backed strips or when using flooring adhesive, apply a generous bead of adhesive along the underside of the strip or to the subfloor in the gap. Press the strip firmly into place. For strips that use screws or nails, align the strip and pre-drill pilot holes if necessary. Then, secure the strip using the recommended fasteners, spacing them evenly. Ensure the strip is flush with both flooring surfaces and does not rock or move.
Watch: Install New Transition Strip
Clean Up Excess Adhesive
5 minutesImmediately after securing the transition strip, use a damp cloth to wipe away any adhesive that has squeezed out onto the flooring or the transition strip itself. If using a solvent-based adhesive, you may need a specific cleaner recommended by the adhesive manufacturer. It is much easier to clean up fresh adhesive than dried adhesive, so prompt cleanup is essential for a professional finish.
Watch: Cleaning Excess Adhesive
Allow Adhesive to Cure
1440 minutesOnce the transition strip is installed and any excess adhesive is cleaned up, it is important to allow the adhesive to cure properly. This usually takes several hours to a full day, depending on the product used. Avoid walking on or placing any heavy objects on the transition strip during this curing period to ensure a strong and permanent bond.
Watch: Post-Installation Care (Glue Down)

