
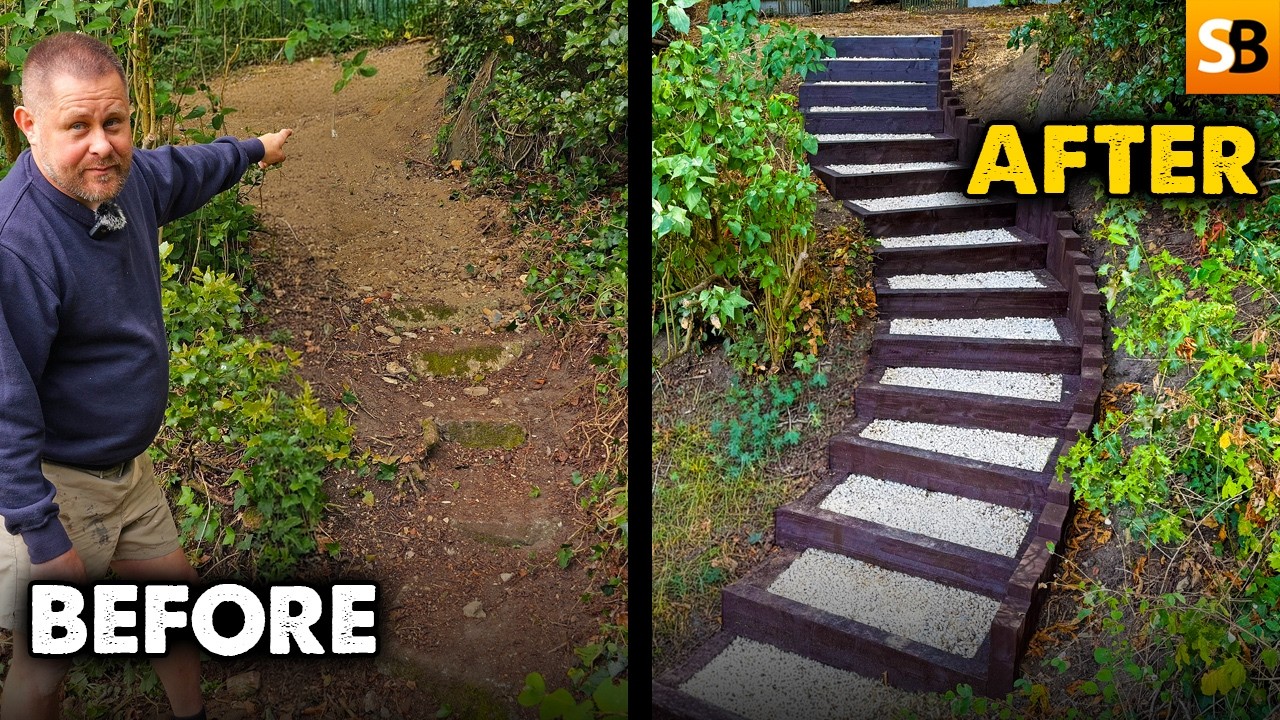
How to Build Backyard Steps with Railroad Ties or Landscape Timbers
About This Project
Outline for building backyard steps using railroad ties or landscape timbers. This involves planning, site preparation, cutting and fitting timbers, securing them, and ensuring stability and safety.
Tools & Materials
Measuring Tape
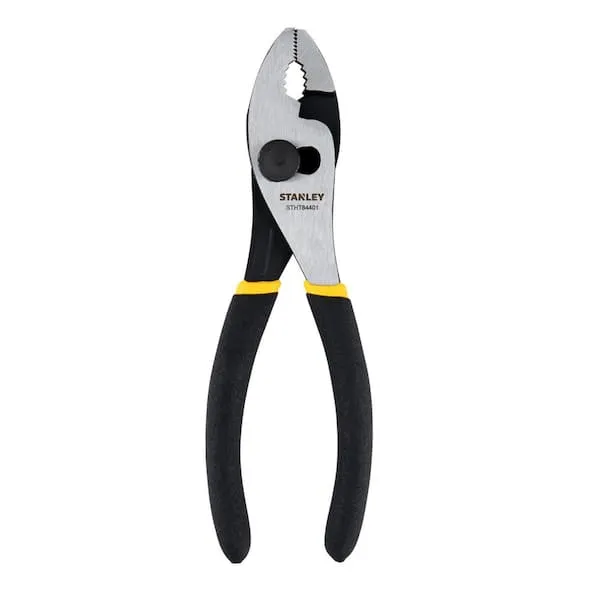
Pliers

MARSHALLTOWN 1000 ft. White Twisted Mason's String Line 629
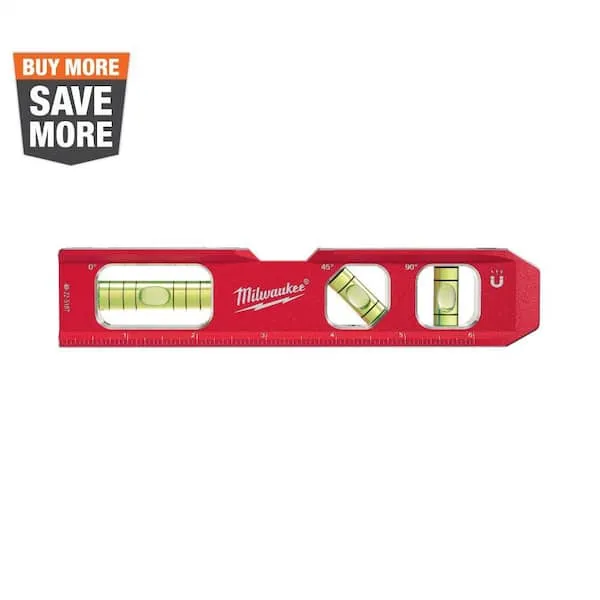
Level

Pencil
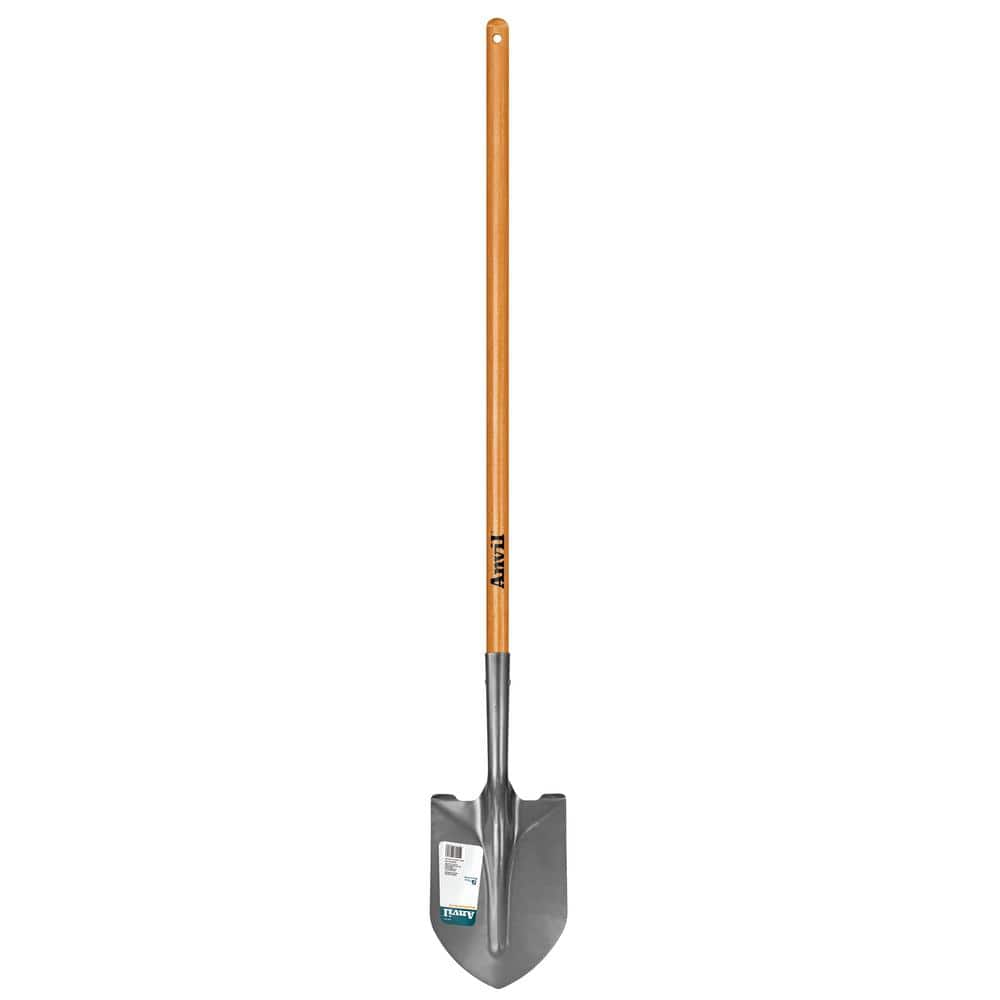
Anvil 47 in. Wood Handle Carbon Steel Digging Shovel 77470-939
Measuring Tape
For accurate measurements of plywood and components, ensuring proper assembly.
Pliers
Grips and manipulates objects.
MARSHALLTOWN 1000 ft. White Twisted Mason's String Line 629
This Marshalltown 1,000 ft. White Twisted Mason's String Line is ideal for staking out construction sites for concrete, brick, block or landscaping layouts. This rope isn't affected by mortar, oil and
Level
Ensures surfaces are just right.
Pencil
Marks and draws with ease.
Anvil 47 in. Wood Handle Carbon Steel Digging Shovel 77470-939
Discover the Unparalleled Performance of the Anvil 47 in. Digging Shovel. Are you seeking a digging shovel that combines durability, strength, and reliable performance. Look no further than the Anvil Digging Shovel. Crafted with a laser-cut blade made of high-quality carbon steel, it effortlessly slices through soil, roots, and debris, making it an ideal tool for all your lawn and garden projects. What sets this shovel apart is the head, which is fully tempered for exceptional strength and durability. This means it can withstand the toughest digging tasks with ease and longevity. The 47 in. wood handle is not only functional but visually appealing as well, thanks to its varnished finish. This coating not only adds to its appearance but also provides protection against the elements, ensuring your shovel stays in top condition for years to come. This tool comes with a 5-year manufacturer warranty.
Steps
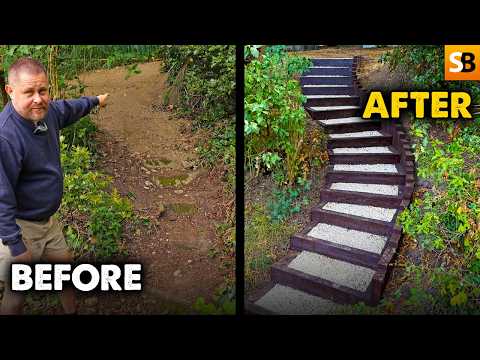
Plan the Step Location and Dimensions
120 minutesBefore cutting any materials, carefully plan the placement of your backyard steps. Consider the overall rise needed to connect different elevations, the desired run for each step (the horizontal depth), and the width of the steps. For comfortable and safe steps, aim for a consistent rise and run. A common guideline is a rise between 6-8 inches and a run between 10-12 inches. Mark the starting and ending points for your steps on the ground. Account for the depth of the railroad ties or landscape timbers, as this will influence the overall height and angle of your steps. Ensure the top step will meet the desired landing area and the bottom step will be stable on the ground.
Watch: Plan and Measure Embankment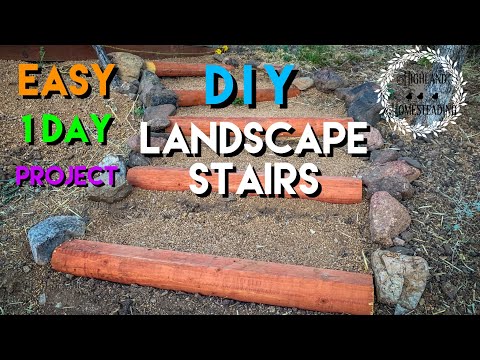
Excavate for the First Step
90 minutesExcavate the area where the first railroad tie or landscape timber will be placed. The depth of the excavation should be sufficient to allow the timber to sit slightly below or flush with the surrounding ground level, depending on your design. This creates a more integrated and stable base. Ensure the bottom of the excavation is level and compacted to prevent settling.
Watch: Position, Level, and Anchor First Step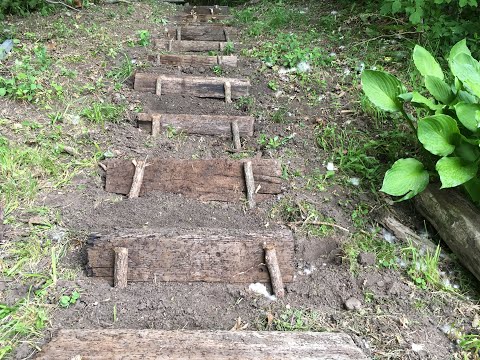
Cut and Position the First Timber
60 minutesUsing a saw, cut your railroad tie or landscape timber to the planned width of your steps. Carefully place the cut timber into the excavated area. Use a level to ensure it is perfectly horizontal. If it's not stable, add or remove soil from beneath it and re-compact until it is firmly seated and level.
Watch: Position and Level Ties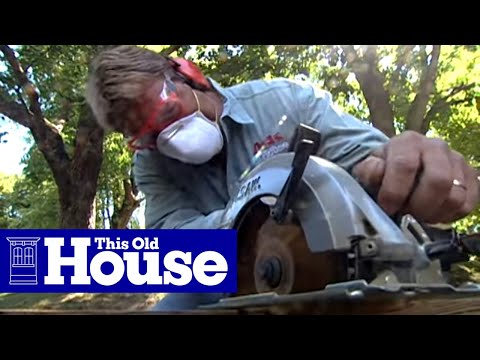
Prepare and Position Subsequent Timbers
90 minutesFor each subsequent step, cut another railroad tie or landscape timber to the desired width. Place this new timber directly behind the first one, creating the next riser. The top surface of this new timber will serve as the tread for the step above it. Ensure the spacing between the timbers maintains the planned run for your steps. Use a level to ensure each timber is horizontally true and that the rise between steps is consistent.
Watch: Assemble and Secure Step Timbers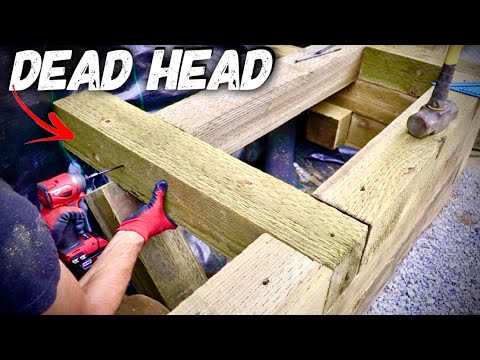
Secure the Timbers
120 minutesOnce the timbers are positioned and leveled, they need to be secured. Drive rebar or sturdy wooden stakes through the timbers and into the ground. Place stakes at regular intervals along the length of each timber, and ensure they are driven deep enough to provide solid anchoring. For a multi-step structure, you may also want to connect adjacent timbers with screws or lag bolts for added rigidity.
Watch: Secure Timbers with Rebar Stakes
Backfill and Compact
180 minutesAfter the timbers are secured, backfill the space behind each timber with gravel or compacted soil. Gravel is preferable as it aids in drainage and prevents water from pooling against the timbers, which can lead to rot. Compact the backfill material thoroughly with a tamping tool or by hand to create a solid structure and prevent settling over time.
Watch: Backfill and Level the Ground
Add Finishing Touches and Test Stability
60 minutesOnce the main structure is complete and backfilled, you can add any final touches. This might include adding a cap timber on top for a finished look, or planting ground cover around the steps. Before using them, rigorously test the stability of each step by applying weight and ensuring there is no wobble or movement. Clear away any remaining debris from the work area.
Watch: Inspect and Refine Staircase

