

How to Build a Coat and Shoe Nook Under the Stairs
About This Project
This project outlines the construction of a custom coat and shoe nook integrated into the space beneath a staircase. It will involve framing, shelving, and potentially doors or cubbies to maximize storage and organization.
Tools & Materials

25 ft. Tape Measure

Pencil
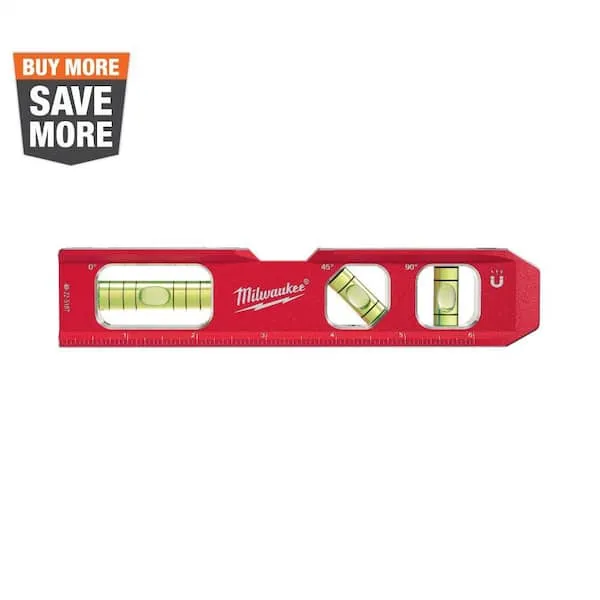
Level
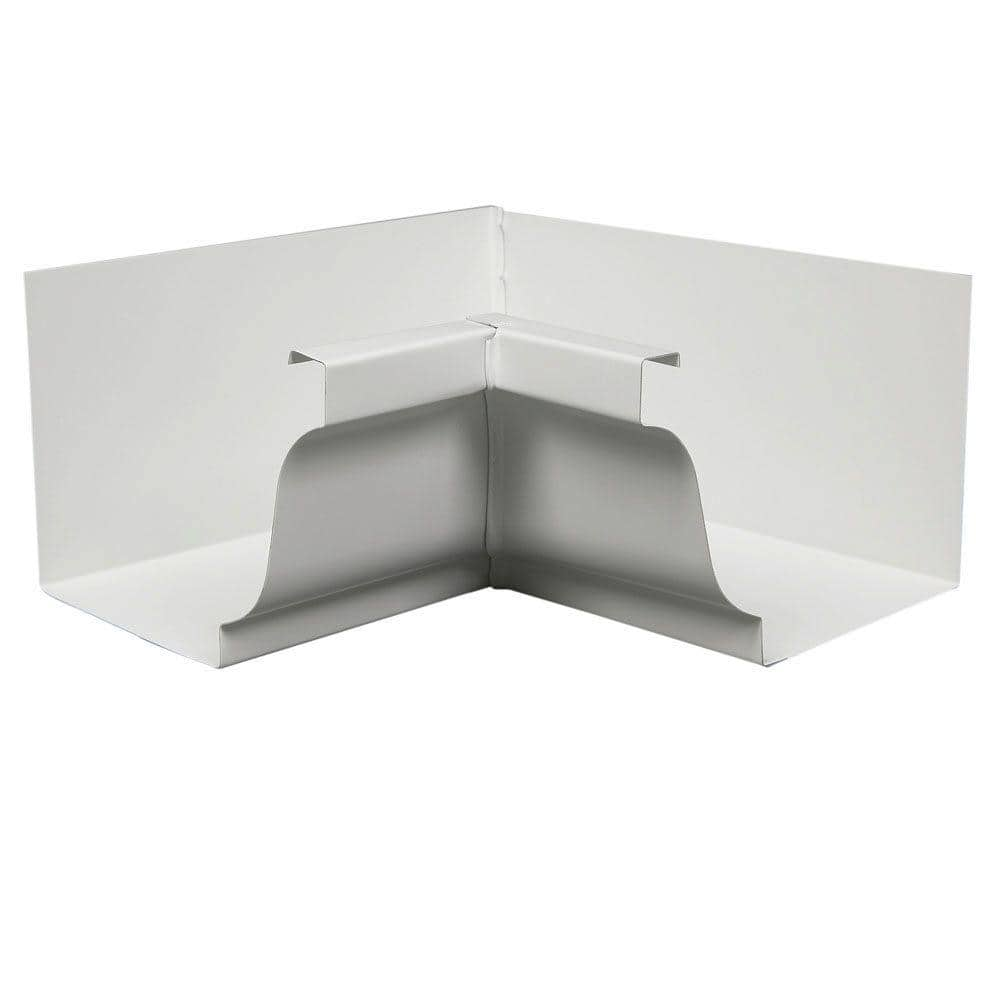
Amerimax Home Products 6 in. White Aluminum K-Style Inside Gutter Miter 47001
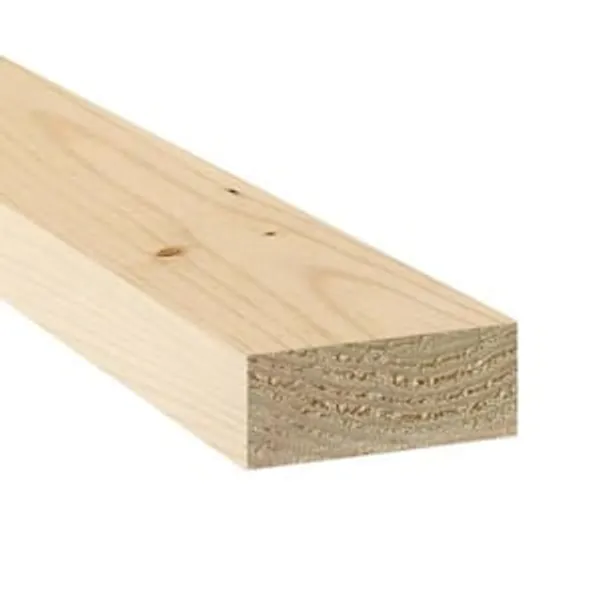
2”x4” Lumber
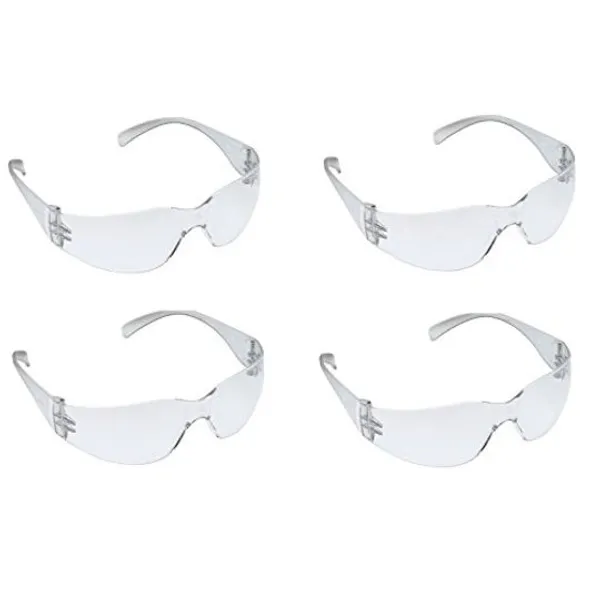
Eye Protection
25 ft. Tape Measure
Measure with precision and ease.
Pencil
Marks and draws with ease.
Level
Ensures surfaces are just right.
Amerimax Home Products 6 in. White Aluminum K-Style Inside Gutter Miter 47001
The Amerimax Home Products 6 in. Aluminum Inside Gutter Mitre features rust-free aluminum construction for durability and a baked-on white enamel finish for low maintenance. To install, snip the back of the gutter, overlap the pieces, and rivet them together. Sealant is required for installation (not included). This product attaches with screws or pop rivets (not included)
2”x4” Lumber
Essential for construction and DIY tasks.
Eye Protection
Essential to protect eyes from sawdust, debris, and other hazards during cutting and drilling.
Steps

Measure and Mark the Nook Dimensions
60 minutesUtilize a tape measure to accurately determine the length, width, and height of the space beneath the staircase. Transfer these measurements to the existing structure (wall, floor) using a pencil and a level to ensure straight lines. Account for any obstructions like pipes or electrical conduits. Mark the locations where the new framing members will attach.
Watch: Establish Layout and Guide Placement
Cut Framing Lumber
120 minutesUsing a circular saw or miter saw, cut the 2x4 lumber into studs, plates, and cripples according to the measurements taken. For angled cuts, such as where the framing meets the stairs, set your saw to the appropriate angle. Ensure all cuts are clean and precise.
Watch: Cut Framing Lumber
Assemble the Nook Frame
180 minutesLay out the cut lumber on a flat surface and assemble the main components of the frame using wood screws or framing nails. This typically involves creating rectangular sections for the walls and any internal divisions. Ensure all corners are square. You may need to pre-drill pilot holes, especially when screwing near the ends of the lumber, to prevent splitting.
Watch: Assemble Basic Frame Sections
Install the Nook Frame
90 minutesCarefully position the assembled frame within the marked dimensions under the stairs. Use a level to ensure it is plumb and square. Fasten the frame to the existing structure using appropriate screws or lag bolts. If fastening to a concrete floor, use concrete anchors. Ensure the frame is rigidly attached and can support the weight of shelves and items placed within the nook.
Watch: Install Frame in Hallway
Frame Interior Shelving or Cubbies
150 minutesMeasure and cut additional 2x4s or plywood to create the dividers, shelf supports, and the backs for shelves or cubbies. Assemble these internal structures according to your design, ensuring they are square and securely fastened to the main frame of the nook. Plan the spacing of shelves to accommodate common items like shoes, coats, or bags.
Watch: Install Shelves and Dividers
Install Shelving Material
120 minutesMeasure the dimensions of each shelf opening. Cut pieces of plywood, MDF, or other suitable shelving material to fit snugly within these openings. Attach the shelves to the framing supports using wood screws. Ensure the shelves are level and securely fastened.
Watch: Install Plywood Shelves
Install Backing Material (Optional)
90 minutesMeasure and cut thin plywood or hardboard to fit the back surfaces of the nook and any open cubbies. Secure these panels to the framing using small nails or screws. This step provides a cleaner, more finished appearance and prevents items from falling behind the shelves.
Watch: Install Backing Panels on Shelving Units
Prepare for Finishing
60 minutesUsing sandpaper or a sanding block, smooth out any rough edges or surfaces on the framing and shelving. Apply wood filler to all visible screw or nail holes and allow it to dry completely. Once dry, sand the filled areas smooth. Finally, wipe down all surfaces with a damp cloth or tack cloth to remove dust.
Watch: Fill Imperfections and Sand Smooth
Apply Finish (Paint or Stain)
180 minutesApply a primer if painting, then apply one or more coats of your chosen paint color. If staining, apply the stain according to the manufacturer's instructions, followed by a protective topcoat of polyurethane or varnish. Ensure even application and allow adequate drying time between coats.
Watch: Prime and Paint Shelving Unit

