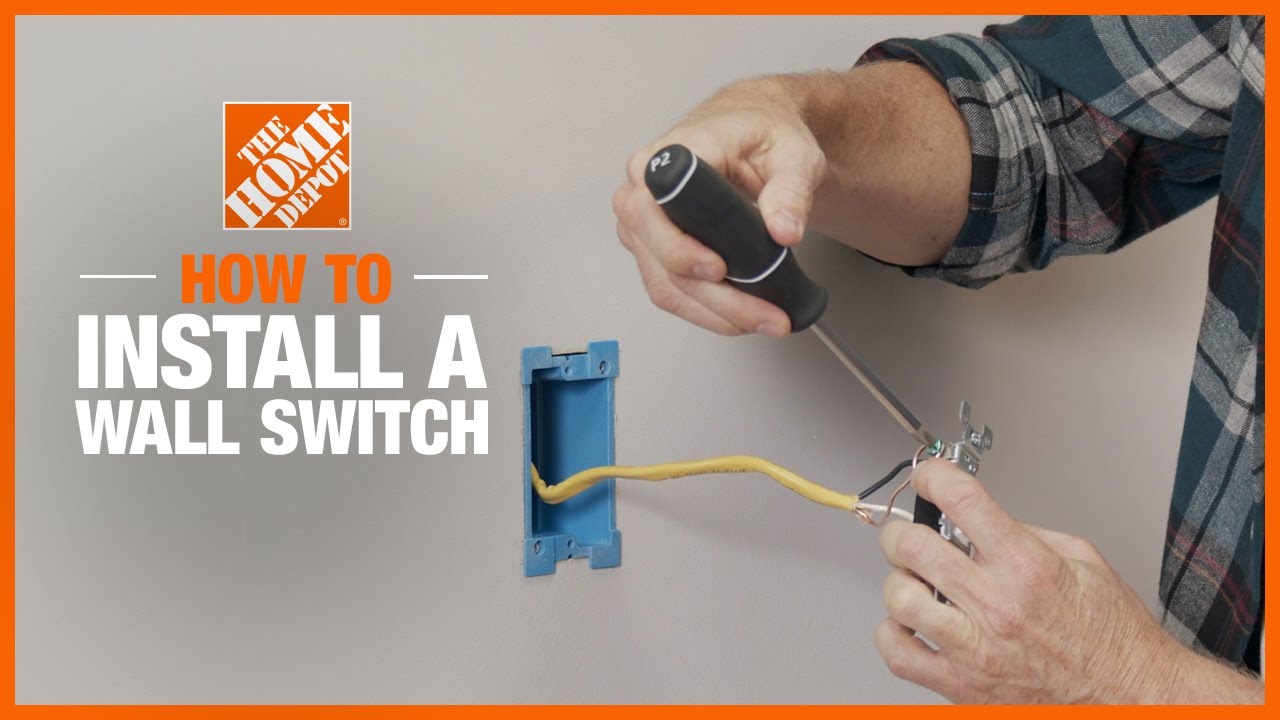
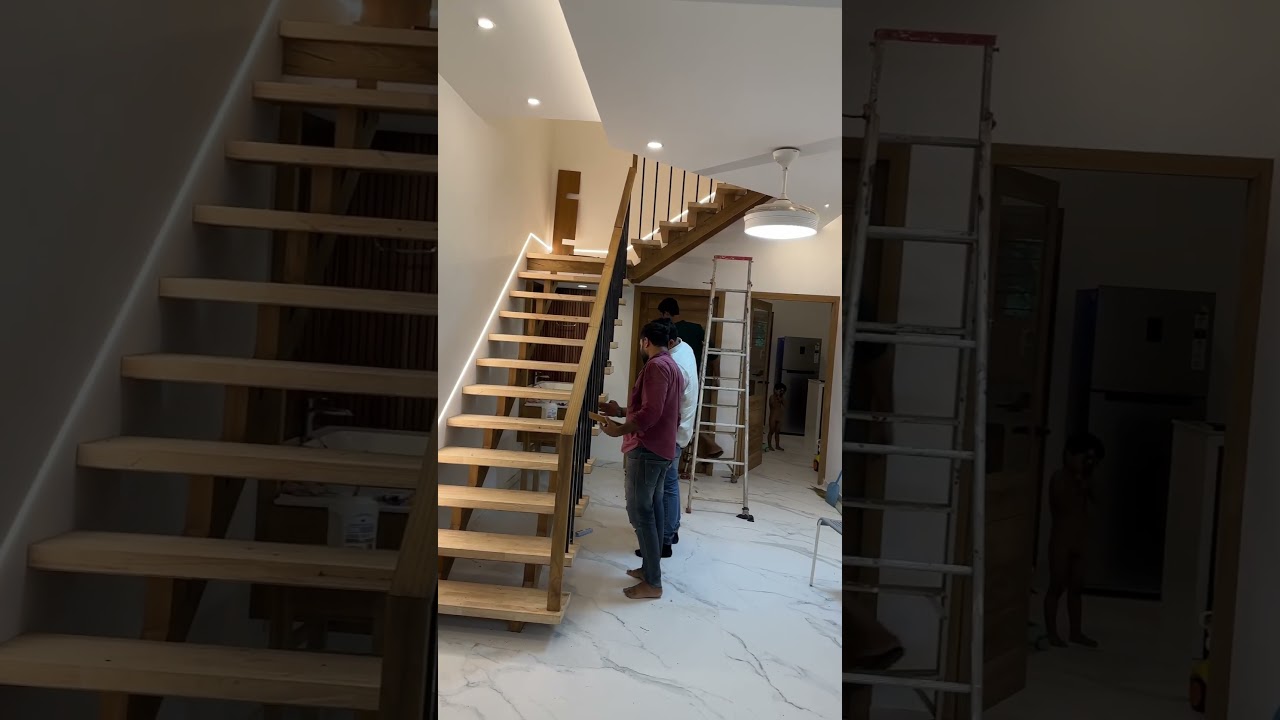
How to Wire a 3-way Switch for Stair Lights at the Top and Bottom
About This Project
Outline for installing a 3-way switch system to control stair lights from both the top and bottom of the stairs.
Tools & Materials
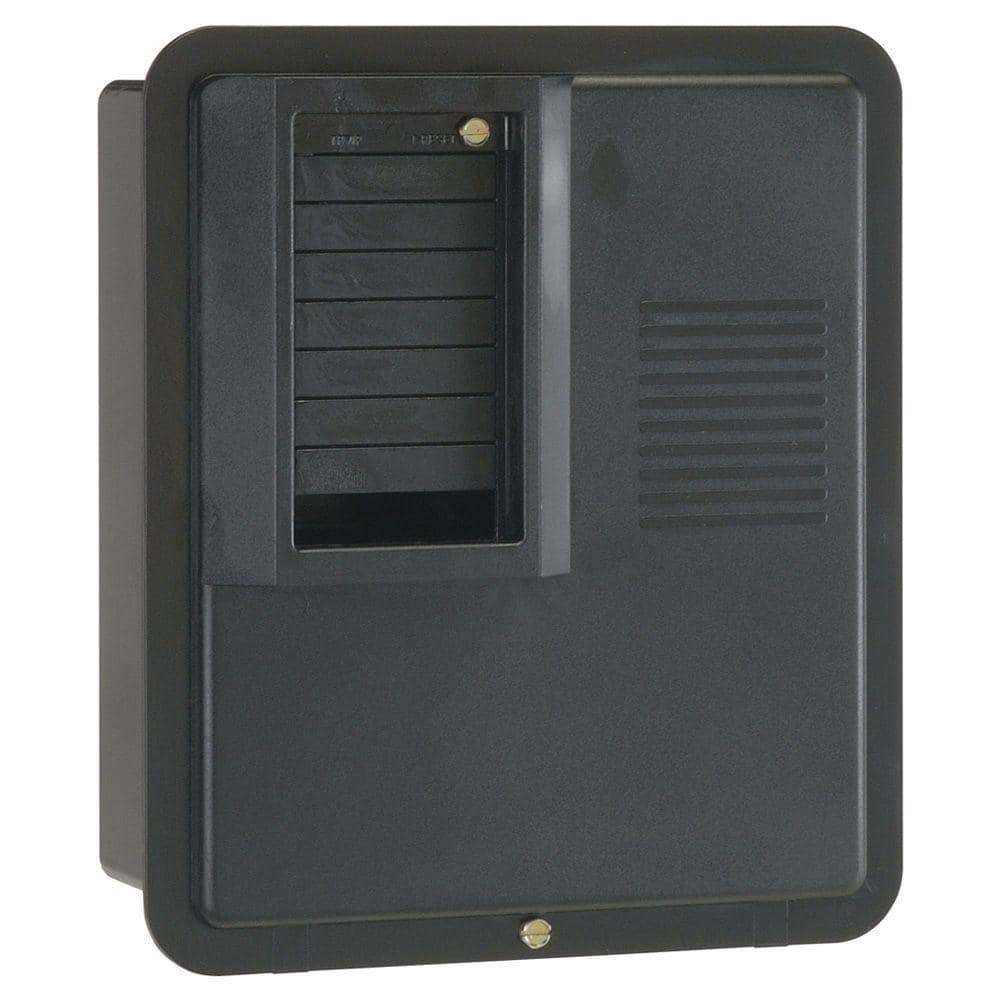
GE PowerMark Plus125 Amp 4-Space 8-Circuit Indoor Main Lug Circuit Breaker Panel TPL412CP
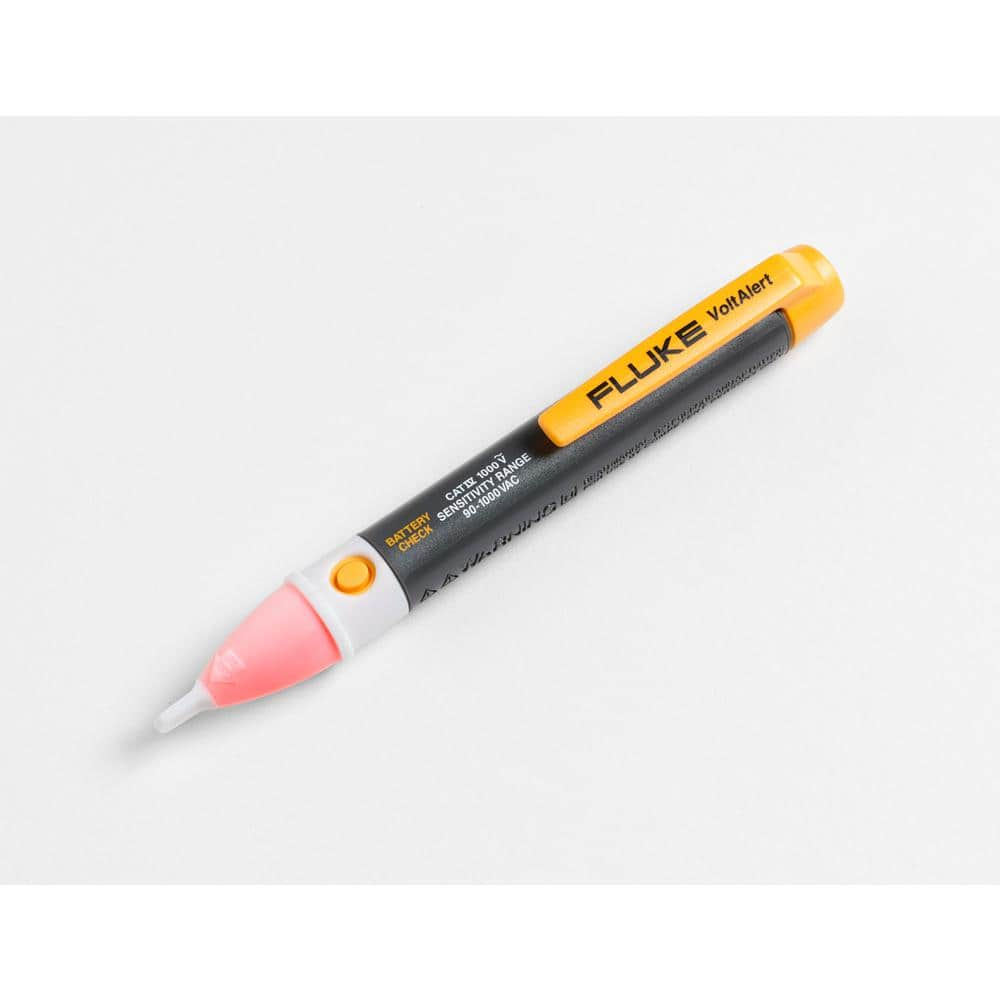
FLUKE 1AC-A1-II VoltAlert Non-Contact Voltage Tester 2432932
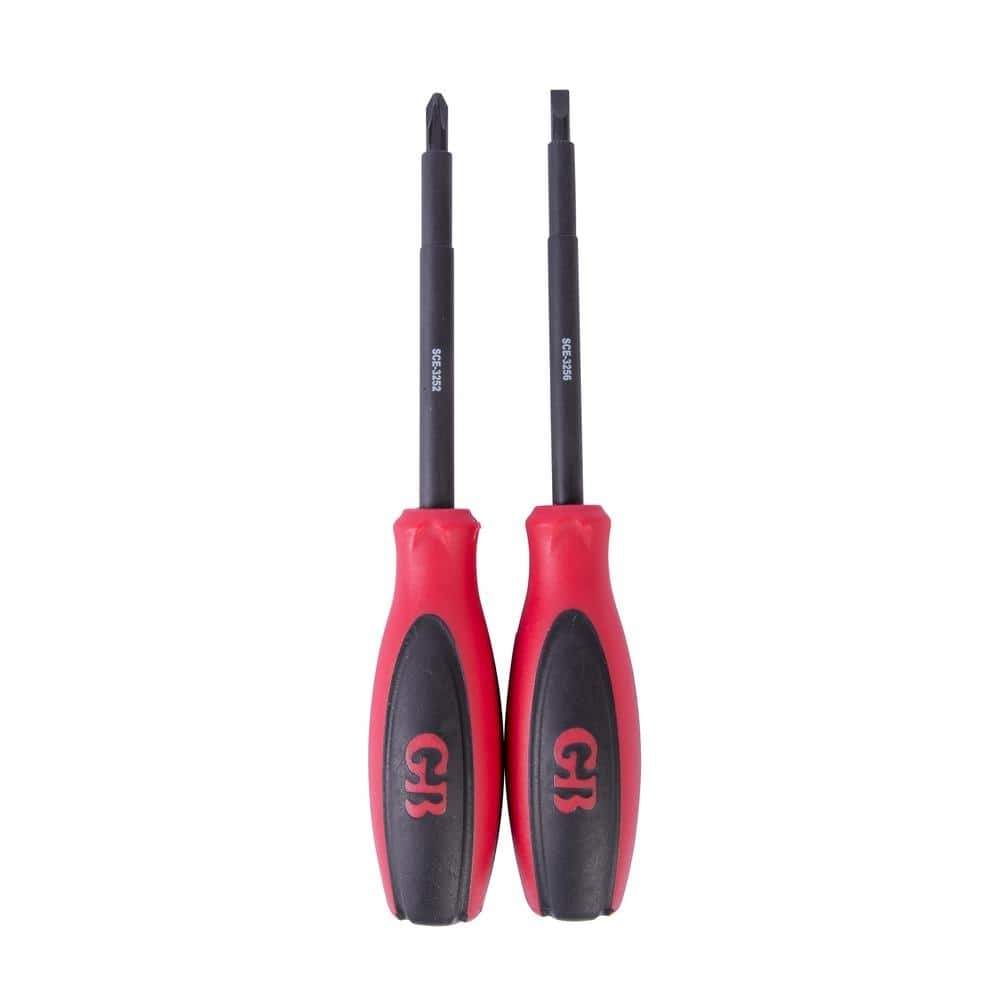
Gardner Bender #2 Phillips and 3/16 Standard Insulated Screwdriver Set (2-Piece) SCE-3262

CityPost 8 ft. Stair Cable Railing in White CP-8-W-S

Scotch 3/4 in. x 66 ft. Vinyl Electrical Tape, Black/Red and White (3-Pack) 6132-10828/6

Wire nuts
GE PowerMark Plus125 Amp 4-Space 8-Circuit Indoor Main Lug Circuit Breaker Panel TPL412CP
The load center includes a sturdy tin-plated copper buss bar and a galvanized box for increased durability and reliability. The one-piece interior removes and re-installs easily. Indoor NEMA 1 enclosure
FLUKE 1AC-A1-II VoltAlert Non-Contact Voltage Tester 2432932
The portable 1 AC II non-contact voltage tester from Fluke are easy to use - just touch the tip to a terminal strip, outlet or supply cord. When the tip glows red and the unit beeps, you know there's voltage present. Electricians, maintenance, service, safety personnel and homeowners can quickly test for energized circuits in the workplace or at home and even detect miswires of an electrical outlet.
Gardner Bender #2 Phillips and 3/16 Standard Insulated Screwdriver Set (2-Piece) SCE-3262
Hand tools are a part of every toolbox. With exclusive features for safety, durability, reliability and life strength, Gardner Bender hand tools offer superior performance on every job. This screwdriver
CityPost 8 ft. Stair Cable Railing in White CP-8-W-S
CityPost 36 in. tall cable railing kits can be ordered to fit your needs regardless of your project layout. All kits come with enough posts to install at a maximum center-to-center spacing of 6 ft. (example:
Scotch 3/4 in. x 66 ft. Vinyl Electrical Tape, Black/Red and White (3-Pack) 6132-10828/6
When your reputation is on the line, you use the tools that bring out your best work. Available in multiple fade-resistant colors, Scotch Vinyl Electrical Tape 35 helpsyou keep things color coded and organized on the job. Stretchy construction conforms to almost any shape. Excellent adhesion stands up to abrasion and weather, for a solid application that lasts.
Wire nuts
Connects electrical wires with a twist.
Steps


Remove existing switch and light fixture
20 minutesUnscrew the faceplate of the existing light switch. Carefully unscrew the switch from the electrical box, pulling it out to expose the wires. Note which wires are connected to the switch. Remove the light fixture canopy or cover to expose its wiring connections. Disconnect the wires from the light fixture.
Watch: Remove Old Light Switch
Identify and label wires
30 minutesAt the first switch location (e.g., top of stairs), identify the incoming hot wire (usually black), the wire going to the light (switched hot), and the traveler wires. At the second switch location (e.g., bottom of stairs), identify the wire coming from the first switch (traveler) and the wire going to the light (switched hot). At the light fixture, identify the hot wire from the switch, the neutral wire, and the ground wire. Use electrical tape or wire nuts to label each wire clearly (e.g., 'LINE', 'LOAD', 'TRAVELER 1', 'TRAVELER 2').
Watch: Label All Wires
Install new 3-way switches
45 minutesAt the first switch location, connect the incoming hot (LINE) wire to the 'common' terminal (usually black or a different color screw). Connect the two 'traveler' wires to the two 'traveler' terminals (usually brass screws). At the second switch location, connect the wire coming from the first switch's traveler terminals to the traveler terminals on this switch. Connect the wire going to the light fixture (LOAD) to the 'common' terminal of this switch.
Watch: Wire a Three-Way Switch Circuit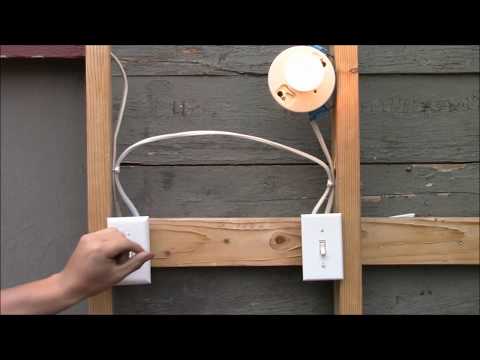
Wire the light fixture
15 minutesConnect the 'LOAD' wire from the second 3-way switch to the hot terminal of the light fixture. Connect the neutral wire from the electrical box to the neutral terminal of the light fixture. Connect the ground wire from the electrical box to the ground screw on the light fixture.
Watch: Connect Load Wire to Common (Second Switch Box)

Restore power and test operation
5 minutesGo back to the breaker panel and switch the circuit breaker to the 'ON' position. Test the light by operating each switch independently. The light should turn on or off regardless of the position of the other switch.
Watch: Restore Power and Test Functionality