

How to Install a Retractable Baby Gate on Stairs
About This Project
Install a retractable baby gate at the top or bottom of a staircase to ensure child safety. This typically involves mounting brackets to the wall or banister posts and then attaching the gate mechanism.
Tools & Materials
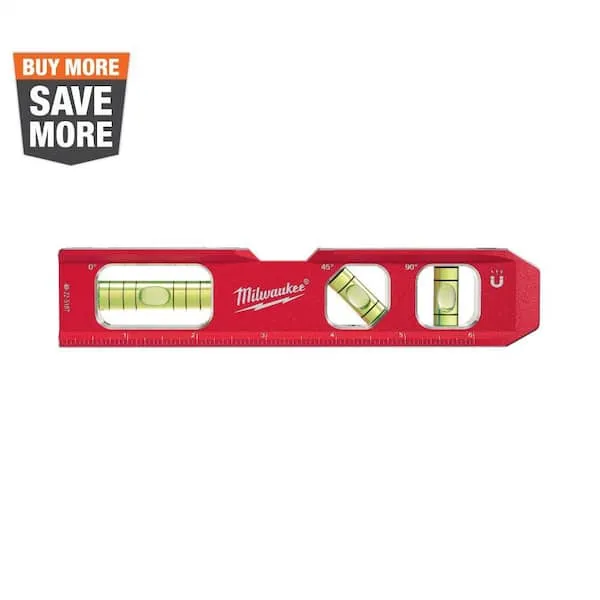
Level

Pencil
Measuring Tape

DEWALT 1-1/2 in. Stud Finder DW0150

Perma Child Safety 55 in. W x 33 in. H Indoor/Outdoor Retractable Baby Gate Gray 3116

Perma Child Safety 41 in. Tall x 71 in. W Retractable Baby Gate White 3122
Level
Ensures surfaces are just right.
Pencil
Marks and draws with ease.
Measuring Tape
For accurate measurements of plywood and components, ensuring proper assembly.
DEWALT 1-1/2 in. Stud Finder DW0150
This Center Sensor Stud Finder has a detection depth of 1-1/2 in. for wood and metal. Traditional stud sensors locate the edge of the stud, but our new product locates the center for a more efficient read, even when held at an angle. Plus, it is constantly calibrating to save time during use. An audible alert and directional LED arrows clearly notify you once the stud is located and you can easily mark the center of the stud with the center marking channel.
Perma Child Safety 55 in. W x 33 in. H Indoor/Outdoor Retractable Baby Gate Gray 3116
Create a safe, closed off environment to play with the Perma Child Safety Retractable Baby Gate. Standing at 33 in. Tall and expandable out to 55 in. W, this safety gate is suitable for infants aged 6-months
Perma Child Safety 41 in. Tall x 71 in. W Retractable Baby Gate White 3122
Create a safe, closed off environment to play with the Perma Child Safety Retractable Baby Gate. Standing at 41 in. Tall and expandable out to 71 in. W, this safety gate is suitable for infants aged 6-months
Steps

Determine Gate Placement
15 minutesAssess the intended location for the baby gate. For top-of-stair installation, identify two vertical mounting surfaces (wall studs or banister posts) that are plumb and provide sufficient width for the gate. For bottom-of-stair installation, the same applies. Ensure that the chosen location allows the gate to swing open fully without obstruction and that the retraction mechanism will have a clear path. Consider the height of the mounting points to align with the gate's operational range. Use a level to mark potential bracket positions to ensure they are aligned horizontally.
Watch: Mount Gate Assembly Brackets
Mark Bracket Positions
10 minutesRefer to your specific retractable baby gate's installation manual for exact bracket placement guidelines. Typically, one bracket will be mounted on one side of the opening and the other on the opposite side. Use the measuring tape to ensure the distance between the marks corresponds to the gate's required width. Employ the level to confirm that the marks for each bracket are perfectly horizontal relative to each other. If mounting to a banister, ensure the marks are on a flat, stable section of the post.
Watch: Mark Latching Side Bracket Locations
Drill Pilot Holes
5 minutesSelect a drill bit that is slightly smaller in diameter than the screws that will be used for mounting the brackets. This prevents the wood from splitting and makes it easier to drive the screws. If mounting into a banister or solid wood, drill directly at the marked spots. If mounting into drywall without a stud, you will likely be using anchors, and the pilot hole size will depend on the anchor's specifications. Ensure the drill is held perpendicular to the surface for a straight hole.
Watch: Drill Pilot Holes
Mount the Brackets
15 minutesAlign each bracket with its corresponding pilot hole(s). Insert the provided screws through the bracket holes and into the pilot holes. If using drywall anchors, install them first according to their specific instructions, then drive the screws through the bracket and into the anchors. Use a screwdriver or drill with a driver bit to tighten the screws until the bracket is firmly secured to the mounting surface. Ensure there is no wobble or looseness in the mounted brackets. Repeat for all bracket locations.
Watch: Install Mounting Brackets
Attach the Gate Mechanism
10 minutesOnce the brackets are securely fastened, align the gate mechanism with the installed brackets. This often involves sliding the gate onto the brackets or clipping it into place. Refer to your specific gate model's manual for the precise method of attachment. Ensure that the gate is seated correctly and locks into place, if applicable. Some gates may have specific orientations for attachment.
Watch: Install Retractable Gate
Test Gate Operation and Lock
5 minutesOperate the gate through its full range of motion. Extend it fully to ensure it spans the opening adequately and that the locking mechanism engages securely. Retract the gate to ensure it does so smoothly without binding. Test the latching mechanism multiple times to verify it is easy to operate for adults but secure enough to prevent a child from opening it. Check that there are no gaps where a small child could slip through.
Watch: Test Gate Operation

