

How to Install a New Newel Post
About This Project
This project outlines the steps to securely install a new newel post for a staircase or railing system. It covers site preparation, post attachment methods, and finishing touches to ensure a safe and sturdy structure.
Tools & Materials

Pencil
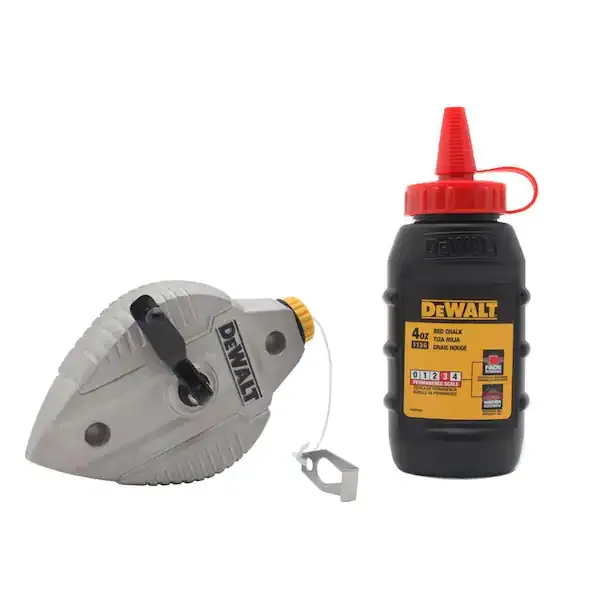
Chalk Line
Measuring Tape
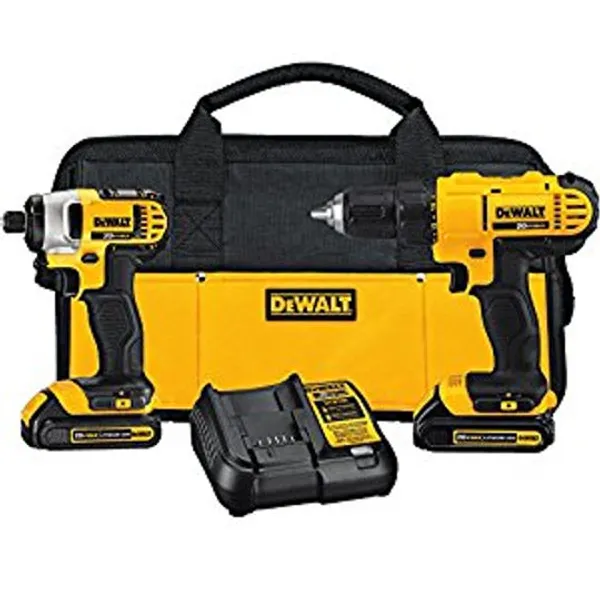
Drill

Buck Bros. Economy Wood Chisel Set (3-Piece) 40601

Hand Sanding Block
Pencil
Marks and draws with ease.
Chalk Line
Marks straight, precise lines on surfaces.
Measuring Tape
For accurate measurements of plywood and components, ensuring proper assembly.
Drill
Used for various drilling tasks, including the dust collection hole and assembly of cart components.
Buck Bros. Economy Wood Chisel Set (3-Piece) 40601
The Buck Bros. 3-Piece Economy Wood Chisel Set is perfect for projects such as installing door locks, and fitting or repairing window frames and doors. The 3-piece set includes 1/2 in., 3/4 in. and 1 in. wide chisels. This 3-Piece set is a must have for any DIY-er garage or workshop.
Hand Sanding Block
Manual sanding made comfortable.
Steps

Mark Newel Post Location
10 minutesDetermine the exact position where the new newel post will stand. This is crucial for ensuring it aligns correctly with any existing railing or balusters and provides adequate support. Use a pencil or chalk line to clearly mark this spot on the subfloor, finished floor, or stair tread.
Watch: Mark Newel Position
Prepare Post Base for Attachment
20 minutesDepending on the installation method, you may need to prepare the bottom of the newel post. If using a mounting flange, ensure the post base is flat and square for proper seating. If direct screwing, you might need to pre-drill pilot holes through the post or mark the post for corresponding holes in the floor.
Watch: Prepare Newel Post for Threaded Rod
Attach Mounting Hardware (if applicable)
15 minutesIf your chosen method involves a mounting flange or a specialized bracket, attach it to the bottom of the newel post according to the manufacturer's instructions. This typically involves screws or bolts passing through the flange and into the post's base.
Watch: Pre-drill Holes and Attach Mounting Plate to Newel
Position and Secure Newel Post
45 minutesCarefully position the newel post over the marked location. Use shims if necessary to ensure it is plumb (perfectly vertical). Secure the post using the appropriate fasteners. This could involve driving lag screws through the mounting flange or post base into floor joists or blocking, or using specialized post mounting systems. Ensure the post is stable and does not wobble.
Watch: Install and Level the Newel PostInstall Trim or Skirt Board (if applicable)
30 minutesIf your design includes a skirt board or trim piece around the base of the newel post, cut it to size and attach it. This typically involves mitering corners for a clean appearance and securing the trim to the floor and the newel post with finish nails or screws.
Watch: Install Decorative Molding
Check for Stability and Finish
20 minutesOnce installed, vigorously test the newel post for any signs of movement or instability. Push and pull on it from different directions. Inspect the installation for any gaps, loose fasteners, or rough edges. Fill any screw holes with wood filler, sand any rough areas smooth, and prepare the post for painting or staining if desired.
Watch: Perform Final Stability Check

