

How to Hang a Large Mirror on a Stair Landing
About This Project
This project outlines the steps to safely hang a large mirror on a stair landing wall. It covers assessing the wall, choosing appropriate hardware, and secure installation to prevent the mirror from falling.
Tools & Materials
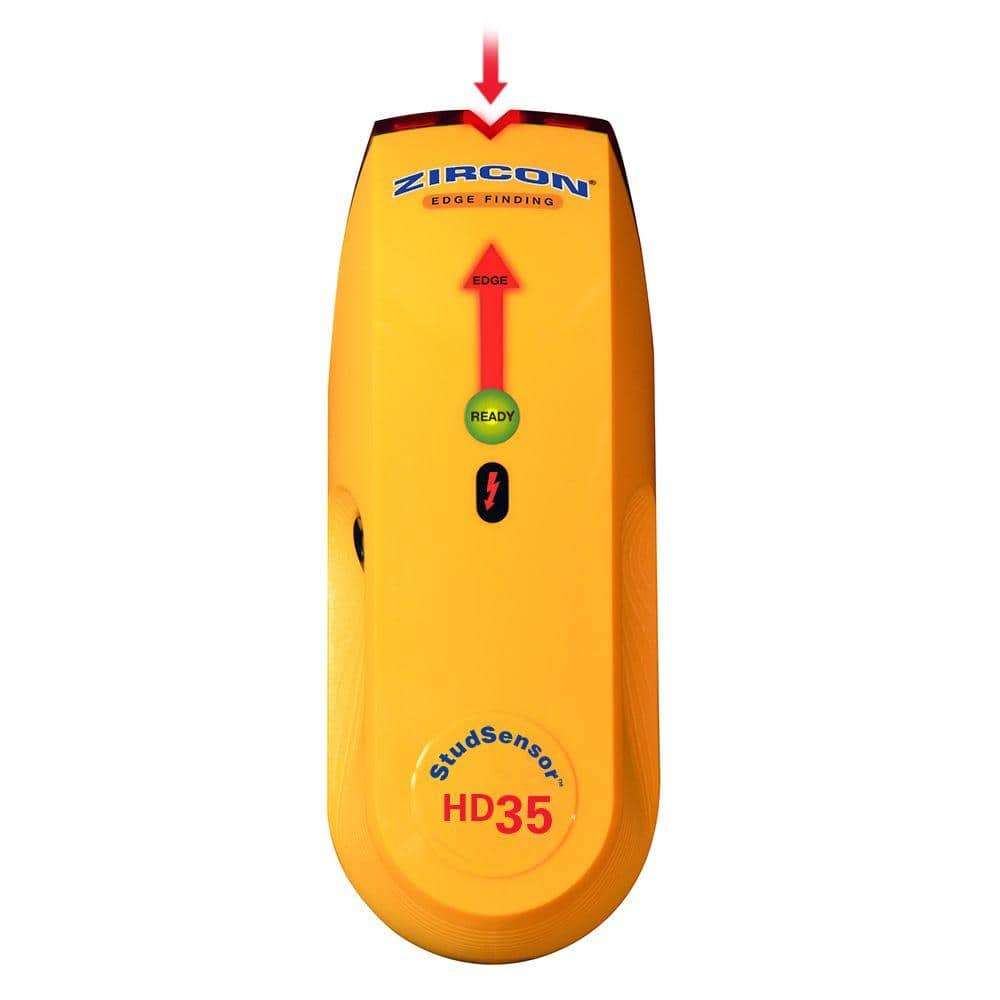
Zircon StudSensor HD35 Stud Finder 65944
Measuring Tape

Pencil
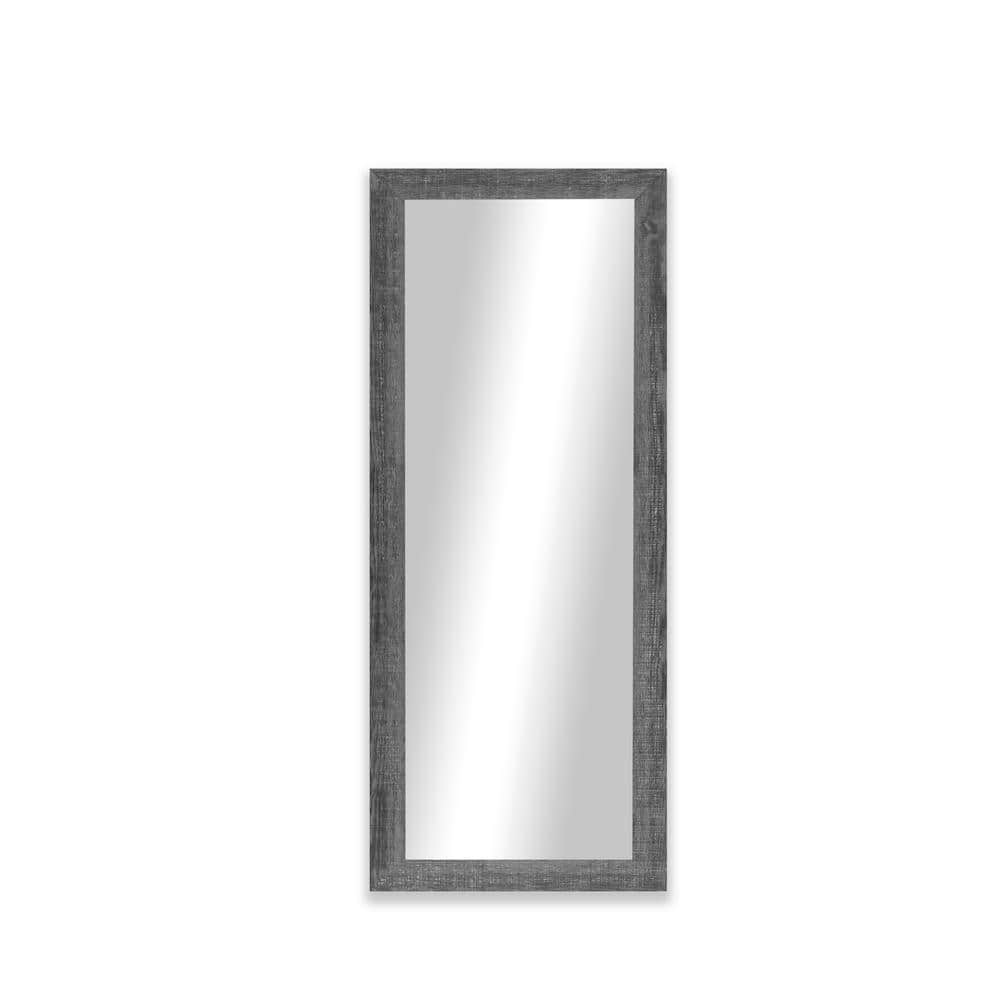
Modern Rustic ( 72 in. W x 36.5 in. H ) Wooden Grey Rectangular Wall Mirror (130F)30.5/66

Everbilt 1/2 in. x 3- 1/2 in. Galvanized Hex Drive Hex Head Lag Screw 804686
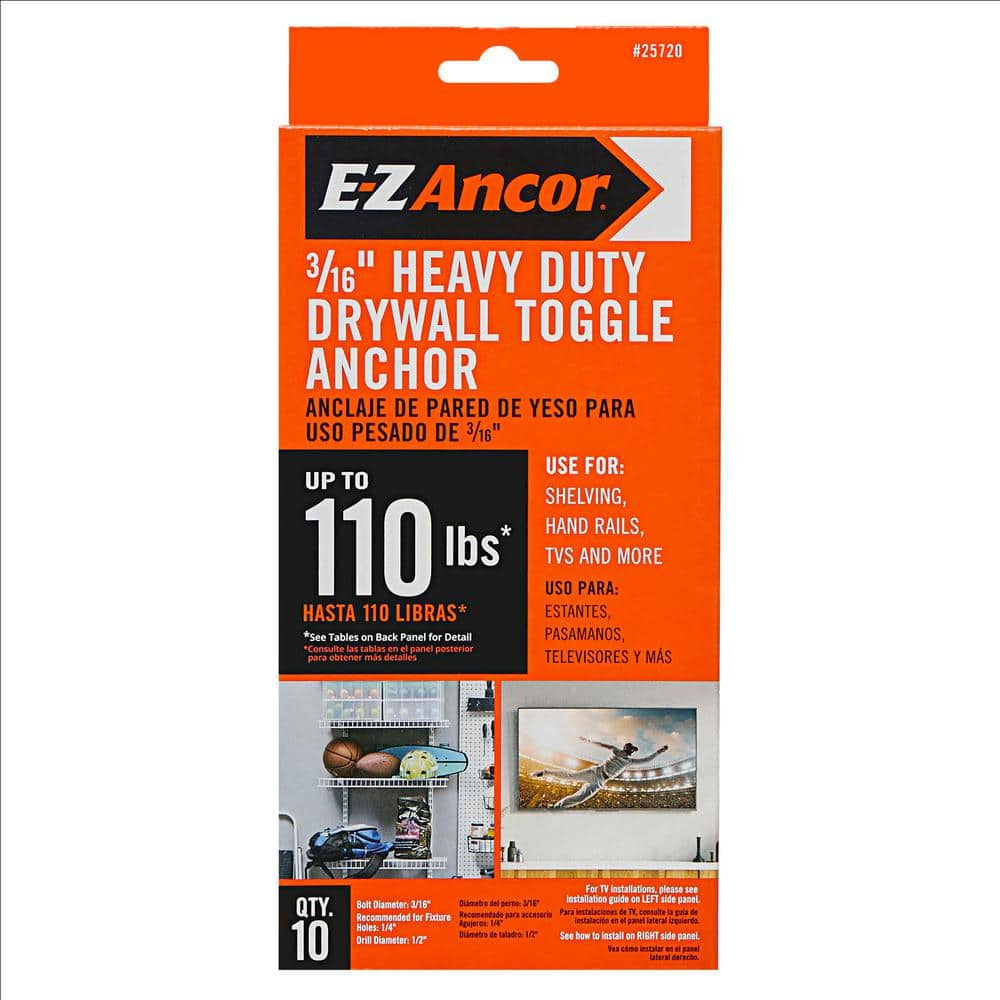
E-Z Ancor 3/16 in. x 2-1/2 Heavy-Duty Phillips Drywall Screw Toggle Anchors (10-Pack) 25720
Zircon StudSensor HD35 Stud Finder 65944
The StudSensor HD35 stud finder features a bright, easy-to-understand interface. A wide, contoured grip for comfort and ease of use, provides optimized visibility and a secure hold at any angle. Find the edges of wood and metal studs to securely anchor pictures, mirrors, and shelves to the wall while also avoiding live AC electrical wiring.
Measuring Tape
For accurate measurements of plywood and components, ensuring proper assembly.
Pencil
Marks and draws with ease.
Modern Rustic ( 72 in. W x 36.5 in. H ) Wooden Grey Rectangular Wall Mirror (130F)30.5/66
Compliment any style decor with a distressed grey mirror. The frame has real wood textured features. This mirror can be hung vertically or horizontally.
Everbilt 1/2 in. x 3- 1/2 in. Galvanized Hex Drive Hex Head Lag Screw 804686
Lag Screws are hex head screws with thick shafts and coarse threads. They are designed to securely join wood pieces together in heavy load applications. Commonly used for decks, framing, retaining walls,
E-Z Ancor 3/16 in. x 2-1/2 Heavy-Duty Phillips Drywall Screw Toggle Anchors (10-Pack) 25720
E-Z Ancor 3/16 in. Heavy-Duty Drywall Toggle Anchors (10-Pack) provide a strong hold for a variety of wall-hanging needs. They provide anchoring versatility and are easy to install. These anchors are ideal for use with shelving, hand rails, TVs and more.
Steps

Assess Stair Landing Wall
15 minutesExamine the wall of the stair landing. Identify the type of wall material (e.g., drywall, plaster, concrete). Locate any electrical wiring, plumbing, or studs using a stud finder or by tapping the wall. Note the placement of any light fixtures, vents, or doors that might interfere with the mirror's position. Determine the weight of the mirror to ensure the wall and chosen mounting hardware can safely support it.
Watch: Choose Location & Locate StudsDetermine Mirror Hanging Hardware
20 minutesBased on the mirror's weight and the wall material, choose the correct hanging hardware. For drywall, if studs are available, heavy-duty screws or lag bolts directly into studs are ideal. If studs are not precisely where needed, use heavy-duty drywall anchors (e.g., toggle bolts, screw-in anchors) rated for the mirror's weight. For plaster walls, similar anchors may work, but masonry bits and anchors might be necessary if the plaster is over masonry. For concrete walls, use masonry anchors and screws. Ensure the chosen hardware includes a robust hanging mechanism like D-rings with wire, a French cleat system, or heavy-duty picture hangers, all rated appropriately.
Watch: Install Hooks & Hang Mirror
Mark Mounting Points on Wall
15 minutesMeasure the distance between the hanging points (e.g., D-rings, wire) on the back of the mirror. Transfer these measurements to the wall at the desired height, ensuring they are perfectly level. If using a French cleat, mark the position of the wall-mounted cleat. Use a level to ensure all marks are accurately aligned horizontally. If mounting into studs, mark the center of the studs. For anchors, mark the exact locations specified by the anchor's instructions.
Watch: Mark and Drill Wall for Anchors
Install Wall Anchors or Mounts
25 minutesFor drywall or plaster with anchors, drill pilot holes at the marked locations using a drill bit size recommended by the anchor manufacturer. Insert the anchors into the pilot holes until they are flush with the wall surface. If using a French cleat, align the wall cleat with the marks and use appropriate screws (often included with the cleat) to secure it to the wall, driving them into studs or anchors as determined in Step 2. For concrete, drill holes using a masonry bit and insert masonry anchors, then screw in the mounting hardware.
Watch: Mount French Cleat to Wall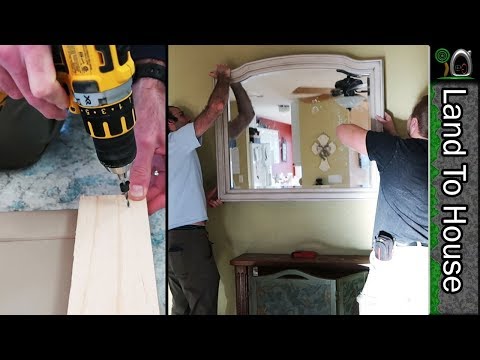
Attach Mirror Hanging Hardware
20 minutesIf your mirror does not already have hanging hardware installed, attach D-rings or other mounting brackets to the back of the mirror frame. Ensure the hardware is positioned at the correct height and distance apart to match the wall-mounted hardware. Use screws that are appropriate for the mirror frame material (wood, metal) and do not penetrate through the front of the mirror. If using a French cleat, ensure the mirror-side cleat is firmly attached to the mirror's frame, usually along the top edge.
Watch: Attach Cleat and Spacers to Mirror
Hang the Mirror
10 minutesWith assistance if the mirror is large or heavy, carefully lift the mirror. Align the mirror's hanging mechanism (e.g., wire, D-rings, cleat) with the corresponding hardware on the wall. Gently lower the mirror until it is securely seated on the wall mounts. If using a French cleat, ensure the mirror's cleat interlocks with the wall cleat, and the mirror is stable and flush against the wall. Check that the mirror is hanging level.
Watch: Hang the Mirror
Final Inspection and Cleanup
10 minutesGently push on the mirror to ensure it is securely fastened to the wall and does not move. Check for any smudges or fingerprints on the mirror and clean it with an appropriate glass cleaner. Remove any dust or debris from the installation process. Tidy up the workspace and store all tools and leftover materials.
Watch: Clean and Finalize Installation

