
RR BuildingsRR Buildings
BrowseMy Projects
Log inSign up
RR Buildings
Project video

Step 8 · Reassemble Faucet

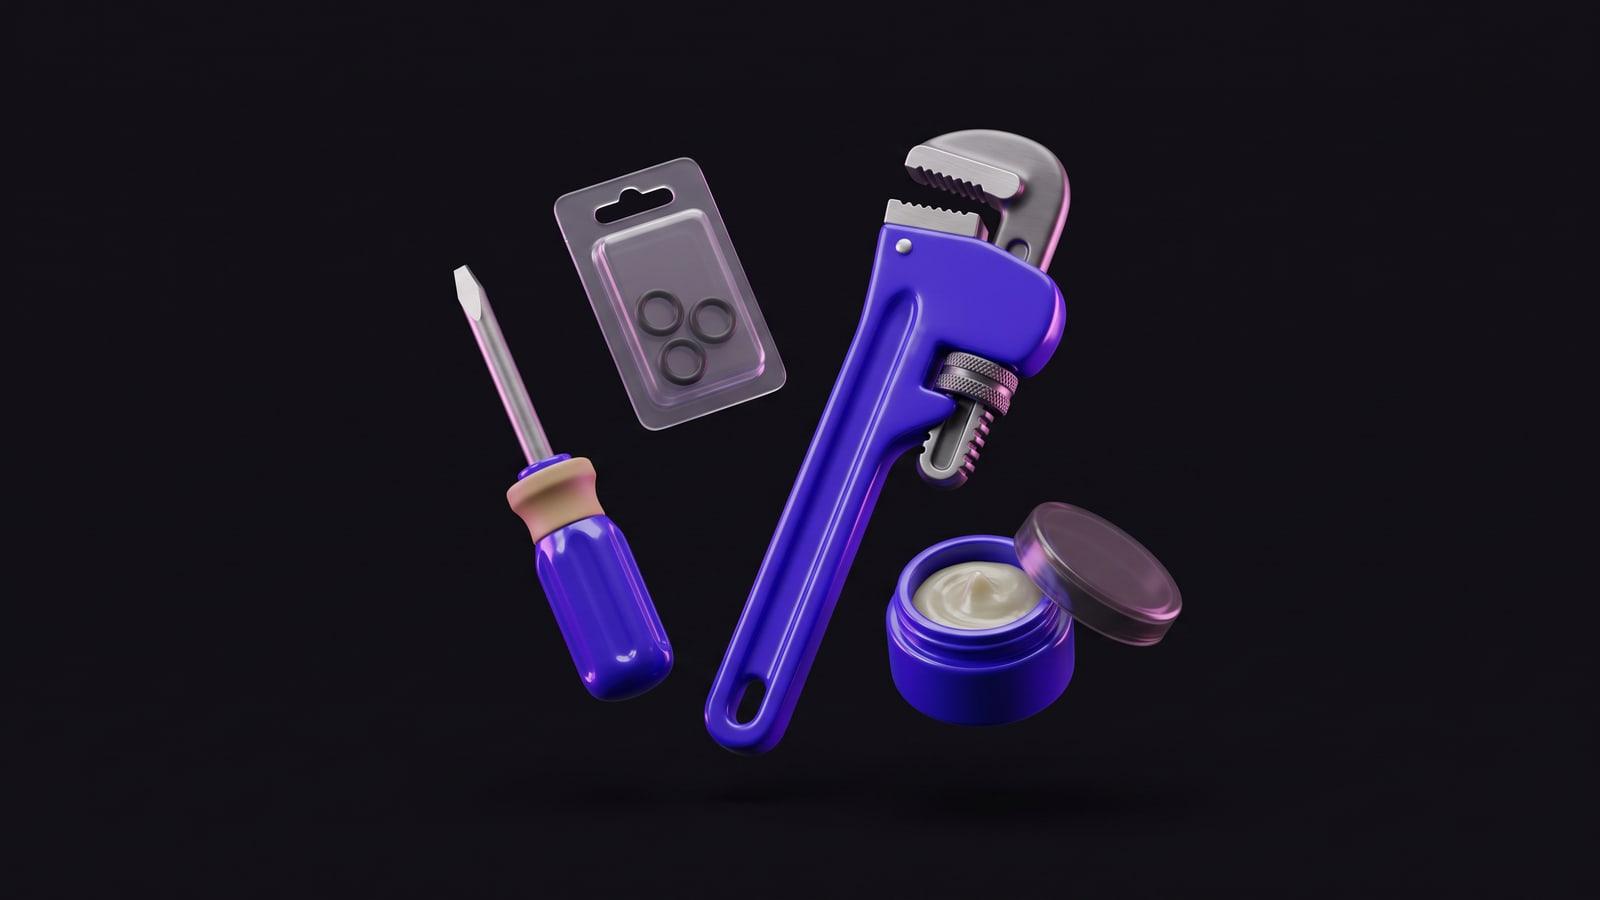
Reinstall the faucet components in the reverse order of their removal. For cartridge faucets, insert the new cartridge, ensuring it's properly aligned, and secure it with the retaining clip or nut. For ball faucets, place the cam, packing, and ball, then screw on the cap. For compression faucets, reinstall the stem assembly. Lubricate O-rings with plumber's grease as you go.

Stesso home
SearchSearchBrowseBrowseMy ProjectsMy Projects
Log inLog inSign upSign up

Step 8 · Reassemble Faucet

Reinstall the faucet components in the reverse order of their removal. For cartridge faucets, insert the new cartridge, ensuring it's properly aligned, and secure it with the retaining clip or nut. For ball faucets, place the cam, packing, and ball, then screw on the cap. For compression faucets, reinstall the stem assembly. Lubricate O-rings with plumber's grease as you go.

← Project

Dripping Faucet Repair

Step 8 of 10·25 min left

Turn Off Water Supply
5 minutes
Drain Residual Water
2 minutes
Identify Faucet Type
5 minutes
Disassemble Faucet Handle(s)
10 minutes
Remove Faucet Components
15 minutes
Inspect and Replace Worn Parts
20 minutes
Clean Faucet Interior
10 minutes
8
Reassemble Faucet
15 minutes
9
Reattach Faucet Handle(s)
5 minutes
10
Turn On Water Supply and Test
5 minutes
Prev
Next
TermsPrivacySafetyLegal© 2026 Stesso, Inc.