
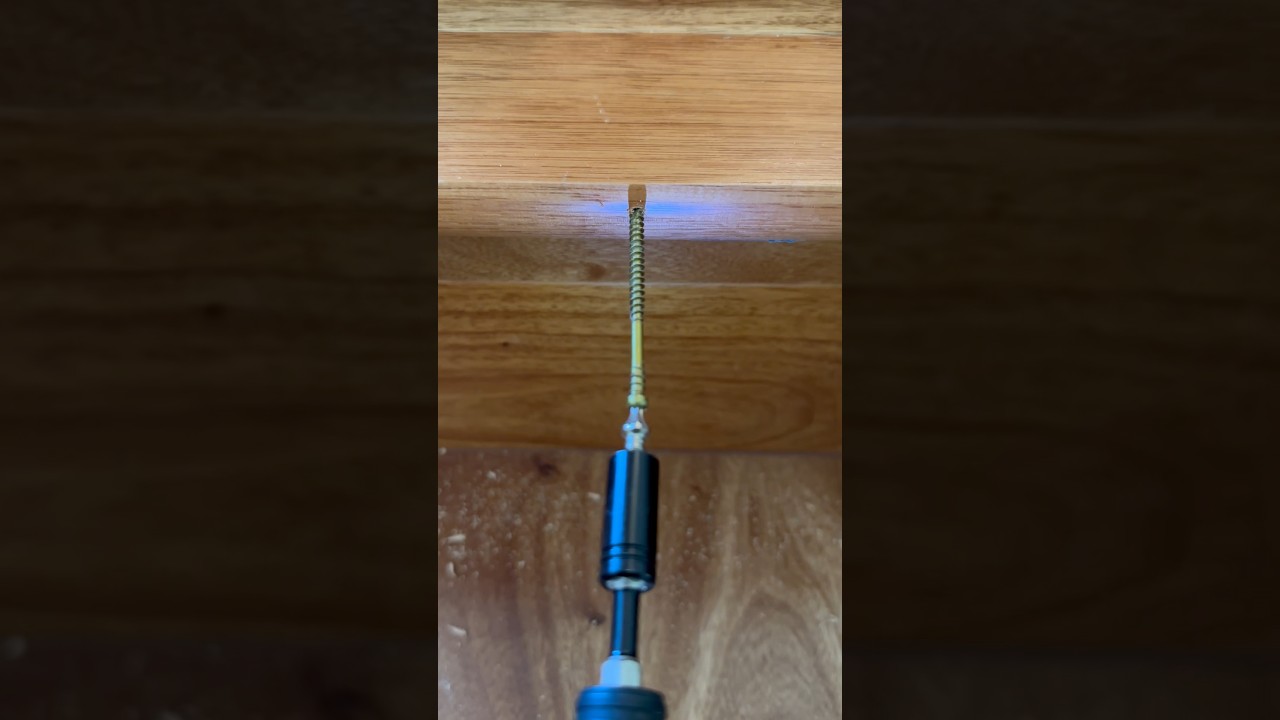
How to Stop a Stair Tread from Creaking and Shifting
About This Project
Outline for a DIY project to fix a creaking and shifting stair tread.
Tools & Materials

Defiant 2000 Lumens LED Slide-to-Focusing Aluminum Flashlight 90706

Warner ProGrip 1-1/4 in. Flex Putty Knife 29990
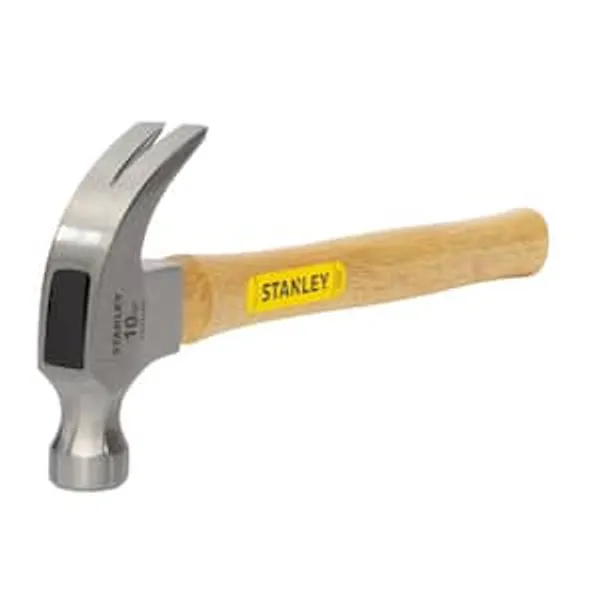
Hammer
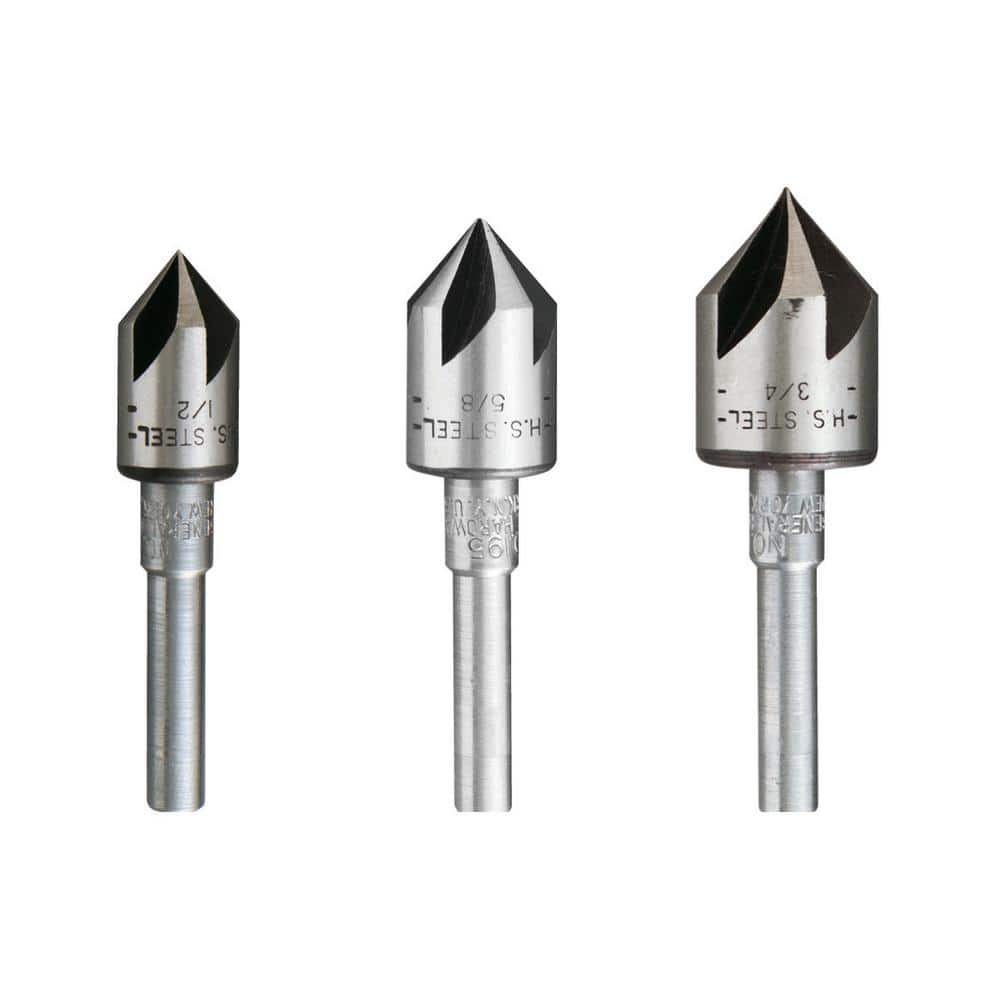
General Tools Countersink Set (3-Piece) 195ST

DEWALT 1/32 in., 2/32 in., 3/32 in. Bi-Material Nail Set (3-Piece) DWHT58018

PRO-FIT 1-1/2 in. (4D) Brite Finish Nail 1 lb. (445-Count) 0058098
Defiant 2000 Lumens LED Slide-to-Focusing Aluminum Flashlight 90706
This Defiant 2000-Lumens LED Slide-to-Focusing Aluminum Flashlight features high- powered LED chips to emit up to 2000-Lumens of light, illuminating your work area and beyond. Its tough aluminum material
Warner ProGrip 1-1/4 in. Flex Putty Knife 29990
Flex blade that works great with heavier spackles and compounds. Standard carbon steel hollow-ground blade to provide consistent flex and proper stiffness. Professional quality tool. Tapered handle design
Hammer
Delivers forceful blows with precision.
General Tools Countersink Set (3-Piece) 195ST
This set includes three heavy-duty countersink bits for creating chatter-free countersunk screw holes in steel, brass, aluminum, plastic, wood and other materials. The three sizes included are 1/2 in.
DEWALT 1/32 in., 2/32 in., 3/32 in. Bi-Material Nail Set (3-Piece) DWHT58018
These DEWALT nail sets are constructed with bi-material grips which provides comfort and shock absorption. The grips are flared to protect the hand against glancing blows. The solid steel cores provides
PRO-FIT 1-1/2 in. (4D) Brite Finish Nail 1 lb. (445-Count) 0058098
Use PRO-FIT finish nails for interior trim and fine finishing work where a smaller, less visible head is desired. They are used to set door and window frames, attach crown molding and trim, and other applications where appearance is important. Their small head can be easily concealed by sinking the nail and filling the void with putty, spackle, or caulk.
Steps

Inspect the Stair Tread
15 minutesCarefully inspect the stair tread that is creaking or shifting. Look for loose nails, screws, gaps between the tread and the riser, or any visible damage to the wood. Try to determine if the issue is with the tread itself, the riser, or the supporting structure underneath. Gently press down on the tread in different areas to pinpoint the exact location of the movement and noise.
Watch: Diagnose Creaking Causes
Secure Loose Tread Edges
20 minutesIf the edges of the stair tread are loose, drive screws or finish nails through the tread and into the underlying stringer or supporting joist. For a cleaner finish, use finish nails and set them slightly below the surface, or pre-drill pilot holes and use wood screws, countersinking them so the heads are flush or slightly below the wood surface. If driving screws from the top, consider filling the holes with wood putty later for a seamless look.
Watch: Drive Screws to Secure Tread to RiserAddress Gaps with Shims and Adhesive
30 minutesIf there are visible gaps between the tread and the riser, or between the tread and the stringer, apply a wood adhesive into the gap. Then, carefully insert thin wood shims into the gap, tapping them gently until they are snug. The goal is to eliminate any play or movement. Trim any excess shim material flush with the tread surface once it's secure.
Watch: Apply 5-Minute Wood Adhesive
Reinforce with Stair Tread Repair Brackets
45 minutesFor persistent creaking or shifting, install stair tread repair brackets. These metal brackets typically screw into the underside of the tread and the front edge of the riser, or into the stringer. Follow the manufacturer's instructions for the specific bracket system you are using. This often involves positioning the bracket, marking screw locations, pre-drilling, and then driving the screws firmly to secure the tread.
Watch: Fix with Heavy-Duty Stair Angle Brackets (Method 2)
Fill Screw Holes and Finish
25 minutesAfter all repairs are complete and the adhesive has dried, fill any visible screw or nail holes. Use a wood putty or wood filler that matches the color of your stair tread. Apply the filler with a putty knife, pressing it into the holes. Once the filler is dry, sand it smooth so it is flush with the surrounding wood. If necessary, touch up the area with matching wood stain or paint.
Watch: Fill Screw Holes with Wood Putty

