

How to Make Stairs Quieter with Carpet Treads
About This Project
This project outlines the process of installing carpet treads on existing stairs to reduce noise and improve comfort. It covers preparation, measurement, cutting, and securing the carpet treads.
Tools & Materials
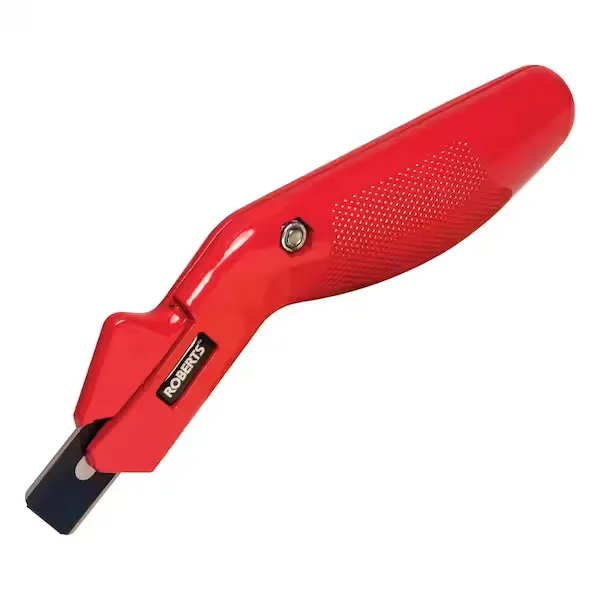
Carpet Knife
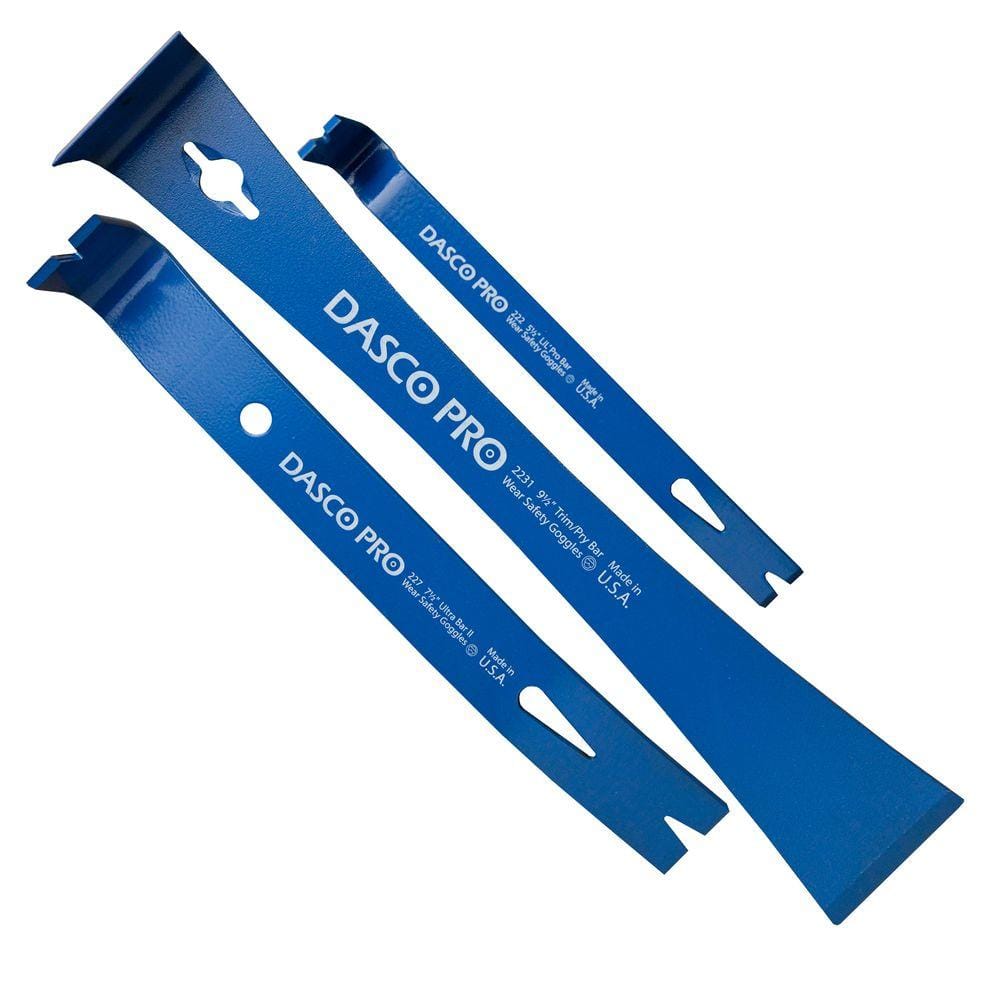
Dasco Pro Pry Bar Set (3-Piece) 91

Anvil 1.5 in. Stiff Steel Paint Scraper X15S-ANV
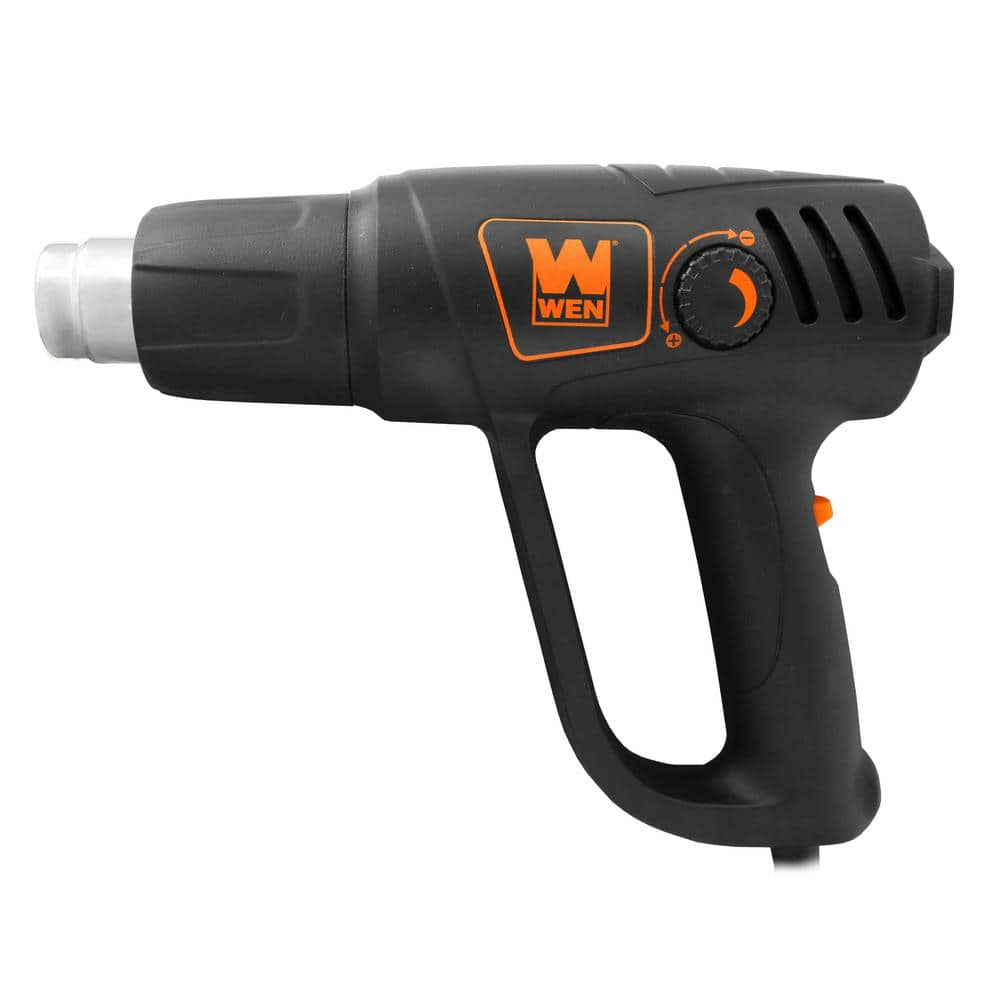
WEN 12.5 Amp Variable-Temperature Heat Gun with Adjustable Air Flow HG112V
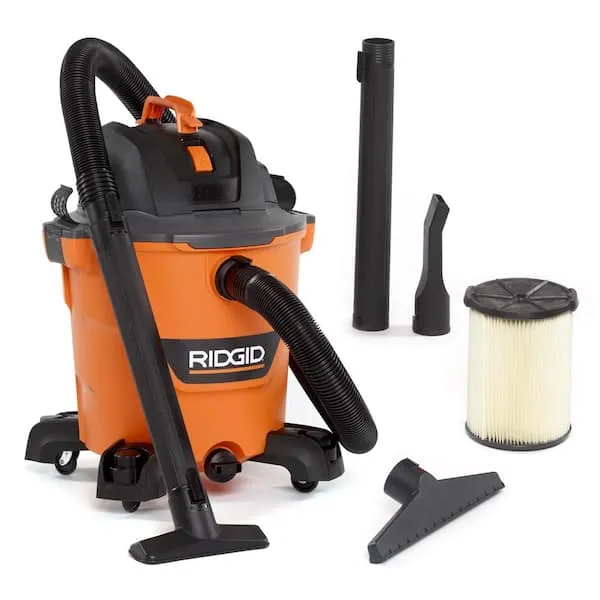
Shop Vacuum
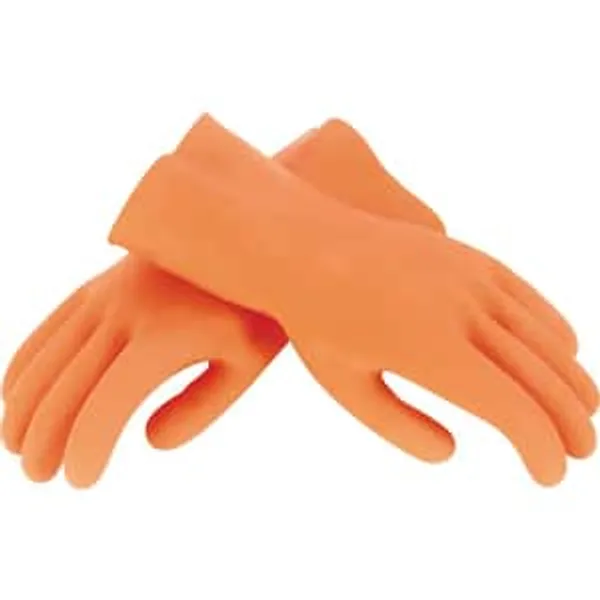
Heavy Duty Latex Gloves
Carpet Knife
Precision blade crafted for carpet cuts.
Dasco Pro Pry Bar Set (3-Piece) 91
The Dasco Pro 3-Piece Pry Bar Set is well suited to a wide variety of prying and scraping applications. This bar kit includes three popular small bar styles that are perfect for do-it-yourselfers and pros alike. Designed in a compact size that fits just about anywhere, these bars work great for prying trim and molding, scraping excess paint, opening paint cans and pulling nails.
Anvil 1.5 in. Stiff Steel Paint Scraper X15S-ANV
The Anvil 3 in. stiff scraper features a comfortable soft-grip polymer handle. It's hollow-ground carbon steel blade is made to be durable and long lasting. This scraper can be used on wood, glass, and
WEN 12.5 Amp Variable-Temperature Heat Gun with Adjustable Air Flow HG112V
Remember when you could make stuff really hot. Add some heat to your life with the WEN Variable-Temperature Heat Gun Kit. This versatile tool creates heat ranging anywhere from 122°F to 1112°F. Simply
Shop Vacuum
Cleans workshop mess efficiently.
Heavy Duty Latex Gloves
Protection during intense tasks.
Steps

Remove Existing Stair Treads
60 minutesBegin by inspecting the current stair covering. If it's carpet, use a utility knife to cut it into manageable strips. Once cut, use a pry bar or a stiff scraper to lift the edges and peel the carpet away from the stairs. Pay close attention to any tack strips or adhesive residue left behind. For tack strips, carefully pry them up, ensuring you don't damage the underlying wood. For adhesive, use the scraper to remove as much as possible. If the adhesive is particularly stubborn, a heat gun can sometimes help soften it, but use this with caution to avoid damaging the wood or creating fumes. Vacuum the stairs thoroughly after all old covering and debris are removed.
Watch: Remove Old Stair Carpet
Clean and Repair Stair Surfaces
45 minutesOnce the old covering is removed, inspect the stair treads for any damage. Sweep or vacuum away any remaining dust or debris. Use sandpaper (around 120-grit) to smooth out any rough areas, splinters, or uneven patches on the wood. Pay special attention to the edges and the nosing of each tread. For any significant gouges, holes, or cracks, apply wood filler according to the manufacturer's instructions. Allow the wood filler to dry completely, then sand it smooth so it is flush with the surrounding wood surface. Wipe down each tread with a damp cloth to remove all sanding dust, and allow it to dry thoroughly before proceeding.
Watch: Prepare Surface by Filling Holes
Measure and Cut Carpet Treads
90 minutesMeasure the width of each stair tread from wall to wall. Then, measure the depth of the tread from the nosing to the riser. If you are wrapping the carpet over the nosing and down the riser slightly, add the desired overlap length (typically 1-2 inches) to the tread depth measurement. It is often best to cut a paper template for the first tread, then use that to trace onto the carpet. For subsequent treads, measure each individually as stair dimensions can vary. Use a sharp utility knife or carpet shears to cut the carpet precisely according to your measurements. Cut a straight line for the back edge and the sides. For the nosing, ensure a clean cut that will allow for a neat wrap.
Watch: Measure and Cut Carpet TreadAttach Carpet Treads
120 minutesBegin by positioning the first carpet tread on the stair. Ensure it is centered and aligned correctly, with the front edge neatly over the nosing. Apply a generous bead of carpet adhesive along the underside of the carpet where it will contact the wood, focusing on the edges and center. Alternatively, or in addition, use a heavy-duty staple gun to secure the carpet. Start by stapling the front edge of the carpet under the nosing, then work your way back, stapling along the sides and the back edge where the carpet meets the riser. If using adhesive, press the carpet firmly into it. If wrapping the carpet down the riser, ensure it is pulled taut and secured with staples or adhesive on the riser. Repeat for all stairs, ensuring consistent placement and tension for a uniform look.
Watch: Pre-form and Secure Carpet Underneath Tread

