How to Light Basement Stairs Without an Electrician
About This Project
Outline for installing DIY lighting on basement stairs without hiring an electrician. This will focus on safe, low-voltage, or battery-operated solutions, and will cover planning, component selection, and installation steps.
Tools & Materials
Measuring Tape

Pencil
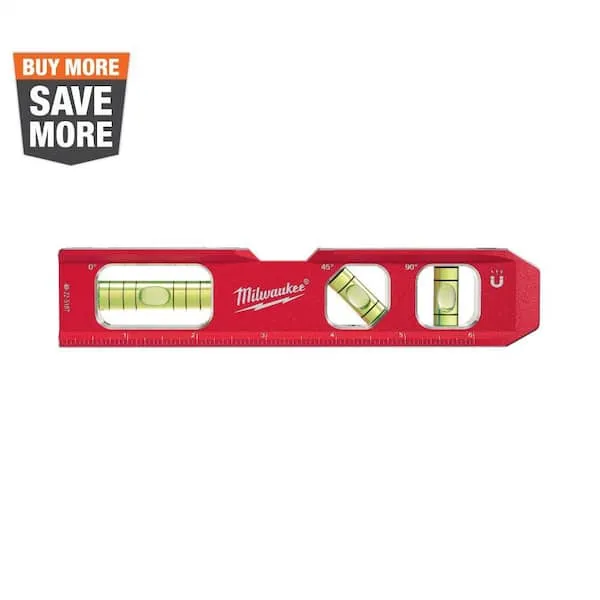
Level

Rite in the Rain All-Weather 8-1/2 in. x 11 in. 100 lbs. Printer Paper, White (250-Sheet Pack) 1008511
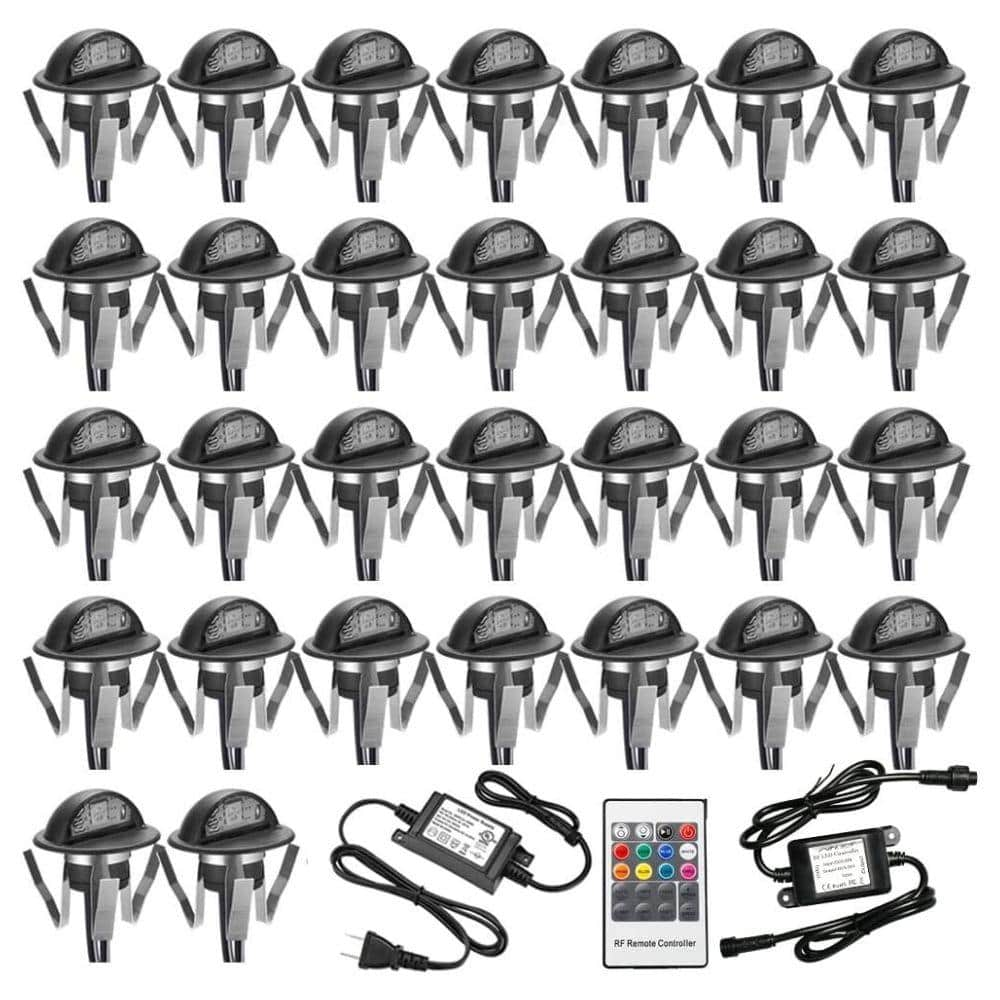
Etokfoks LED Plug-In Black Stair Lights Kit Low Voltage Waterproof IP65 Outdoor Half Moon Stainless Steel Recessed Deck Lighting HDSA04-5LT027

ACDelco Super Alkaline 9-Volt Battery (12-Pack) AC265
Measuring Tape
For accurate measurements of plywood and components, ensuring proper assembly.
Pencil
Marks and draws with ease.
Level
Ensures surfaces are just right.
Rite in the Rain All-Weather 8-1/2 in. x 11 in. 100 lbs. Printer Paper, White (250-Sheet Pack) 1008511
Copy or laser print your own all-weather forms, charts, maps and worksheets on patented 8-1/2 in. x 11 in. Rite in the Rain all weather copier paper. Now you can have the convenience of using your existing
Etokfoks LED Plug-In Black Stair Lights Kit Low Voltage Waterproof IP65 Outdoor Half Moon Stainless Steel Recessed Deck Lighting HDSA04-5LT027
Elevate the ambiance of your outdoor and indoor spaces with our LED Stair Lights Kit. These stylish, low voltage lights feature a unique half-moon design and are perfect for recessed deck and yard lighting.
ACDelco Super Alkaline 9-Volt Battery (12-Pack) AC265
The most well-known use of the 9-volt battery is in smoke alarms or carbon monoxide detectors. Smoke alarms or, in some cases, heat-sensitive fire alarms use 9-volt batteries as the power source. It is
Steps

Plan Lighting Layout and Power Source
60 minutesDecide where each light will be positioned on the stair risers or stringers. Consider the reach of battery-powered lights or the proximity to a power outlet for low-voltage options. Sketch out the layout to visualize the final appearance and ensure adequate illumination.
Watch: Plan Light Placement and Spacing
Select Lighting Fixtures and Power Source
90 minutesSelect LED lights that fit your aesthetic and the planned layout. For battery-powered options, ensure the battery life is adequate. If opting for low-voltage, choose a transformer with sufficient wattage for all lights and a plug that reaches a nearby outlet. Consider lights with integrated switches or remote controls.
Watch: Selecting the Right Lighting System
Prepare Stair Surface for Light Installation
30 minutesEnsure the surfaces where the lights will be attached are clean, dry, and free of dust, grease, or loose paint. For adhesive mounting, lightly sanding the surface may improve adhesion. If mounting with screws, pre-drill pilot holes to prevent wood from splitting.
Watch: Prepare the Surface
Install Lighting Fixtures
60 minutesFollowing the manufacturer's instructions, attach the lights. If using adhesive backing, peel off the protective layer and press firmly into place. If using screws, ensure they are tightened appropriately without overtightening. Position lights evenly spaced and aligned.
Watch: Affix Lights with AdhesiveConnect Wiring and Power Source
45 minutesFor battery-powered lights, insert the batteries. For low-voltage systems, connect the light wires to the transformer's output wires using appropriate connectors, ensuring correct polarity. Route wires neatly and discreetly, securing them with cable clips or ties to prevent tripping hazards.
Watch: Manage Wiring and Connect to Transformer
Test the Lighting System
15 minutesTurn on the lights or plug in the transformer. Check each light individually to confirm it illuminates properly. If using a switch or remote, test its functionality. Troubleshoot any lights that do not turn on by checking connections and battery/power supply.
Watch: Test and Finalize Installation