How to Install Low-Voltage Deck Stair Lights
About This Project
This project outlines the steps for installing low-voltage lighting on deck stairs to improve safety and aesthetics. It involves planning the layout, running wires, mounting fixtures, and connecting to a power source.
Tools & Materials
Measuring Tape

Pencil

Safety Glasses
Drill

Drill Bit Set

Staple Gun
Measuring Tape
For accurate measurements of plywood and components, ensuring proper assembly.
Pencil
Marks and draws with ease.
Safety Glasses
Keeps eyes safe from potential hazards.
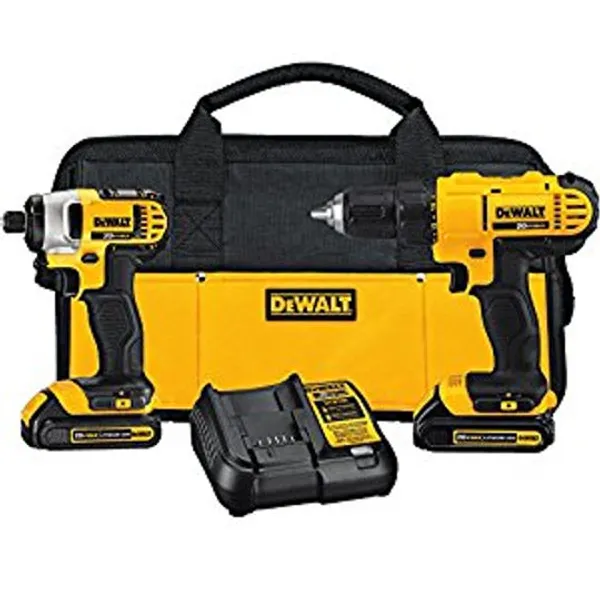
Drill
Used for various drilling tasks, including the dust collection hole and assembly of cart components.
Drill Bit Set
A variety for all your drilling needs.
Staple Gun
Drives staples with precision.
Steps

Plan Light Placement and Wire Runs
60 minutesWalk along the deck stairs and identify the desired location for each light fixture. Consider visibility, aesthetics, and safety. For each fixture, visualize the wire path to the next fixture or to the power source. Mark the chosen locations lightly with a pencil. Plan to run wires along the underside of the stair treads or along the side of the stringers, using staples or clips to secure them later. Ensure the wire path avoids sharp edges, potential pinch points, and areas where it could be easily damaged.
Watch: Plan Light Layout and Mark LocationsDrill Pilot Holes for Fixtures
30 minutesUsing a drill and an appropriately sized drill bit (check the light fixture manufacturer's recommendations), drill pilot holes at each marked location on the stair risers. Ensure the drill is held perpendicular to the surface for a clean hole. If mounting fixtures directly into wood, the pilot hole should be slightly smaller than the screw diameter. If mounting into composite or other materials, follow the manufacturer's guidance for pilot hole size.
Watch: Drill Holes for Lights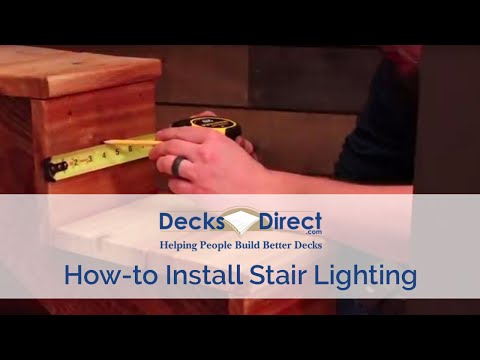
Run Low-Voltage Wiring
90 minutesBeginning at the location of the first light fixture, unroll the low-voltage landscape wire. Route the wire along the planned path, ensuring it lies flat and follows the contours of the stairs. Use cable staples or clips designed for outdoor use to secure the wire to the underside of treads or along stringers at regular intervals (approximately every 12-18 inches). Leave a sufficient length of wire at each fixture location to make the connection. If running wires along stringers, ensure they are tucked away from view and potential damage.
Watch: Run Power Wiring
Install Light Fixtures
45 minutesTake each light fixture and align it with the pilot holes drilled in Step 2. Secure the fixture using the provided mounting screws. Hand-tighten the screws initially, then use a screwdriver to snug them up, being careful not to overtighten, which could strip the holes or crack the fixture housing. Ensure each fixture is firmly attached and properly oriented.
Watch: Mount New Light Fixture
Connect Wiring to Fixtures
60 minutesAt each installed fixture, use the wire strippers to expose about 1/2 inch of the conductor on both the wire coming from the power source and the wire leads on the fixture. Connect the corresponding wires (usually positive to positive, negative to negative, or follow manufacturer's color-coding) using the provided waterproof wire connectors. Ensure the connections are tight and that the connectors completely seal the exposed wire. For some fixtures, this may involve pushing stripped wire ends into specialized terminals or using wire nuts with silicone sealant.
Watch: Make Wire Connections
Connect to Low-Voltage Transformer
45 minutesLocate the main low-voltage wire run that originates from the first fixture and extends towards the power source. Identify the positive and negative leads on the transformer. Strip a sufficient length of insulation from the main wire run. Connect the main wire run to the transformer's output terminals, ensuring correct polarity. Use the appropriate connectors (often screw terminals or spade connectors) provided with the transformer. Secure the transformer in a dry, protected location, such as near an outdoor GFCI-protected outlet or in a weatherproof junction box.
Watch: Connect to Transformer
Test the Lighting System
15 minutesOnce all wiring is complete and connections are secure, plug the low-voltage transformer into a GFCI-protected outdoor outlet. Turn on the power to the outlet or switch controlling the transformer. Verify that each light fixture illuminates. Check for any flickering or dim lights, which may indicate a loose connection or an issue with the wiring.
Watch: Test the Lighting System
Secure and Conceal Wiring
30 minutesAfter confirming the lights are working, go back and secure any sections of wire that may have been left slightly loose during installation. Use additional cable staples or clips as needed to ensure the wiring is tidy and completely out of sight. Tuck wires into crevices or behind structural elements where possible. Ensure no wires are exposed to potential damage from foot traffic, weather, or lawn equipment.
Watch: Secure and Route Wiring