

How to Install Chair Rail Along a Staircase
About This Project
This project outlines the steps to install a chair rail molding along a staircase, which involves measuring, cutting, and adhering the molding to the wall at a consistent height.
Tools & Materials
Measuring Tape

Pencil
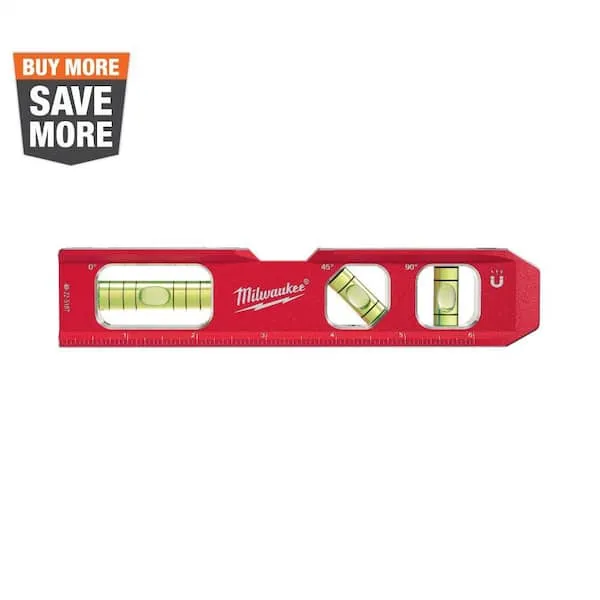
Level
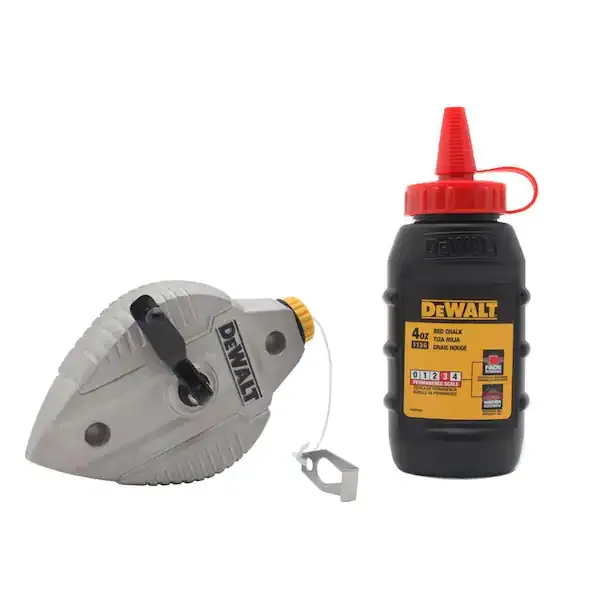
Chalk Line

Hand Sanding Block

THE CLEAN STORE Microfiber Pink/White Cleaning Cloths (Pack of 100) 79136
Measuring Tape
For accurate measurements of plywood and components, ensuring proper assembly.
Pencil
Marks and draws with ease.
Level
Ensures surfaces are just right.
Chalk Line
Marks straight, precise lines on surfaces.
Hand Sanding Block
Manual sanding made comfortable.
THE CLEAN STORE Microfiber Pink/White Cleaning Cloths (Pack of 100) 79136
The Pull N Wipe Microfiber Cleaning Rags are the ideal cleaning cloths for all your cleaning needs. Whether you keep a box at Home to clean around the house, In the Kitchen to clean up after cooking or
Steps

Determine Chair Rail Height
30 minutesUsing a tape measure, determine the desired height for your chair rail. A common height is 32 inches from the floor, but this can vary based on furniture or personal preference. Use a pencil to make a mark at this height on the wall. For staircases, it's crucial to maintain this height relative to the nosing of each step. You can use a long level or a chalk line to ensure the height is consistent across all sections of the wall and that it follows the angle of the stairs.
Watch: Measure and Mark Chair Rail Height
Prepare the Wall Surface
45 minutesBefore applying any molding, ensure the wall surface is clean, dry, and smooth. Wipe down the wall with a damp cloth to remove any dust, dirt, or grease. If there are any imperfections like holes or cracks, fill them with spackling paste and allow it to dry completely. Once dry, lightly sand the patched areas smooth. For optimal adhesion, lightly sand any glossy paint to create a better surface for the adhesive or caulk to grip.
Watch: Prepare the Wall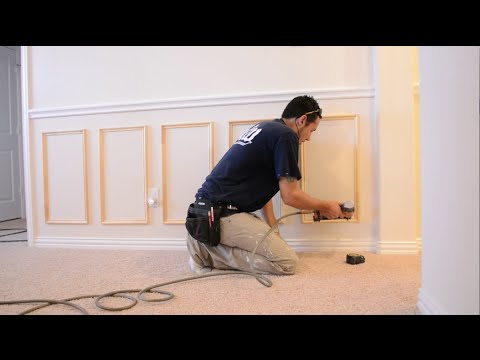
Measure and Cut Molding for Straight Sections
60 minutesMeasure the length of each straight wall section where the chair rail will be installed. Transfer these measurements to your chair rail molding. For straight cuts, use a miter saw or a hand saw with a miter box to cut the molding to length. Ensure cuts are square (90 degrees) for a clean fit against corner pieces or end caps.
Watch: Measure and Cut Chair Rail
Measure and Cut Molding for Staircase Sections
90 minutesFor the staircase, accurately measure the length of each section along the marked height line. Use a miter saw or a miter box to cut the molding at an angle that matches the rake of the staircase. This often involves setting your miter saw to an angle that complements the stair's pitch, typically between 30 and 45 degrees, but it's best to measure the exact angle if possible. You may need to make compound miter cuts if the molding needs to turn a corner at the top or bottom of the stairs.
Watch: Measure and Make Initial Cuts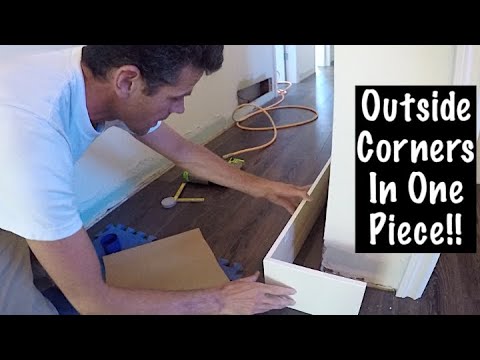
Test Fit the Molding
30 minutesBefore applying any adhesive or nails, place the cut pieces of molding against the wall along your marked lines. This allows you to check the fit of each piece, identify any gaps, and ensure the angles are correct, especially around corners and on the staircase. Make any necessary minor adjustments or re-cuts at this stage to ensure a seamless appearance.
Watch: Test Fit Cut Molding
Install the First Piece of Molding
45 minutesStart with a straight section or a corner. Apply a bead of construction adhesive along the back of the molding piece. You can also use finishing nails for added security, especially on staircase sections or areas that may experience more stress. Position the molding against the wall, aligning it with your marked height line. Press firmly into place. If using nails, drive them through the molding and into the wall studs if possible, or use the appropriate nail gun. For areas where studs are not accessible, use adhesive and consider using painter's tape to hold the molding in place while the adhesive cures.
Watch: Install Molding onto the WallContinue Installation Around Staircase
120 minutesContinue installing the remaining pieces of molding, working your way around the staircase. For each piece, apply adhesive to the back and align it with the previous piece and the marked line. Ensure mitered joints are tight and fit snugly. Use nails or the brad nailer to secure each piece. Pay close attention to the angles and transitions on the staircase to maintain a professional look. Use painter's tape to hold pieces in place if needed while the adhesive sets.
Watch: Cut and Fit Remaining Skirting Pieces
Fill Nail Holes and Gaps
45 minutesOnce all molding pieces are installed and the adhesive has cured, use wood filler to fill all visible nail holes. For gaps between the molding and the wall, or at mitered joints, use paintable caulk. Apply the wood filler and caulk smoothly. Allow the wood filler to dry completely, then lightly sand any excess until it is flush with the molding surface. Wipe away any sanding dust.
Watch: Fill Nail Holes
Paint or Finish the Molding
180 minutesOnce all filler and caulk have dried and been sanded smooth, the chair rail is ready for finishing. Apply primer if you are painting. Then, apply one or two coats of your chosen paint color, allowing adequate drying time between coats. If you prefer a stained look, apply wood stain according to the manufacturer's instructions, followed by a protective topcoat like polyurethane or varnish. Ensure good ventilation during painting or staining.
Watch: Finish and Paint the Chair Rail

