

How to Install Carpet Treads on Garage Steps
About This Project
This project outlines the steps for installing carpet treads on garage steps to improve safety and aesthetics.
Tools & Materials

HDX Giant Commercial Corn Broom 750
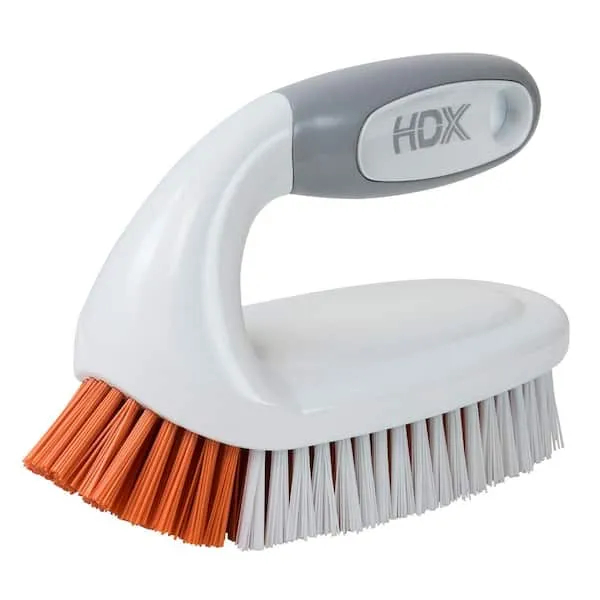
Scrub Brush
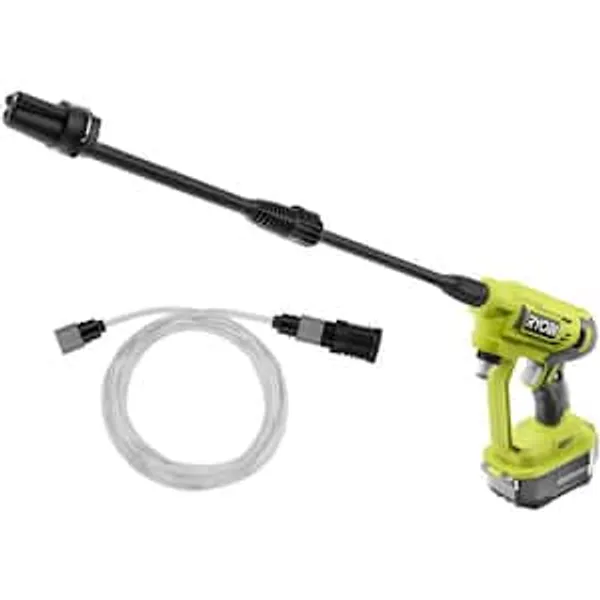
Pressure Washer
Measuring Tape
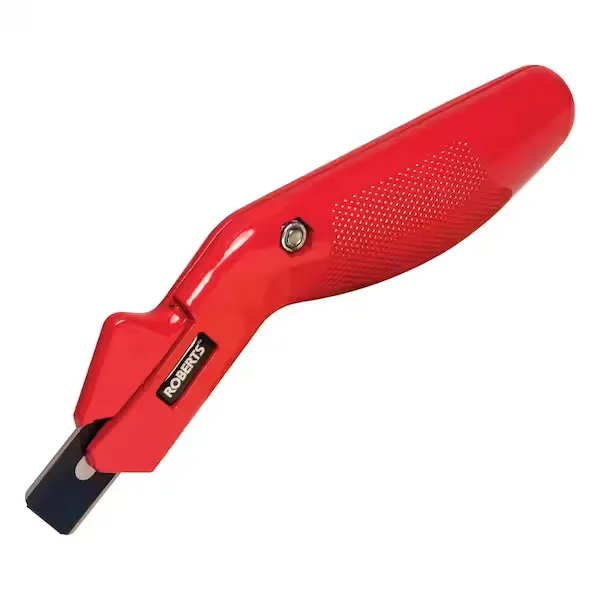
Carpet Knife
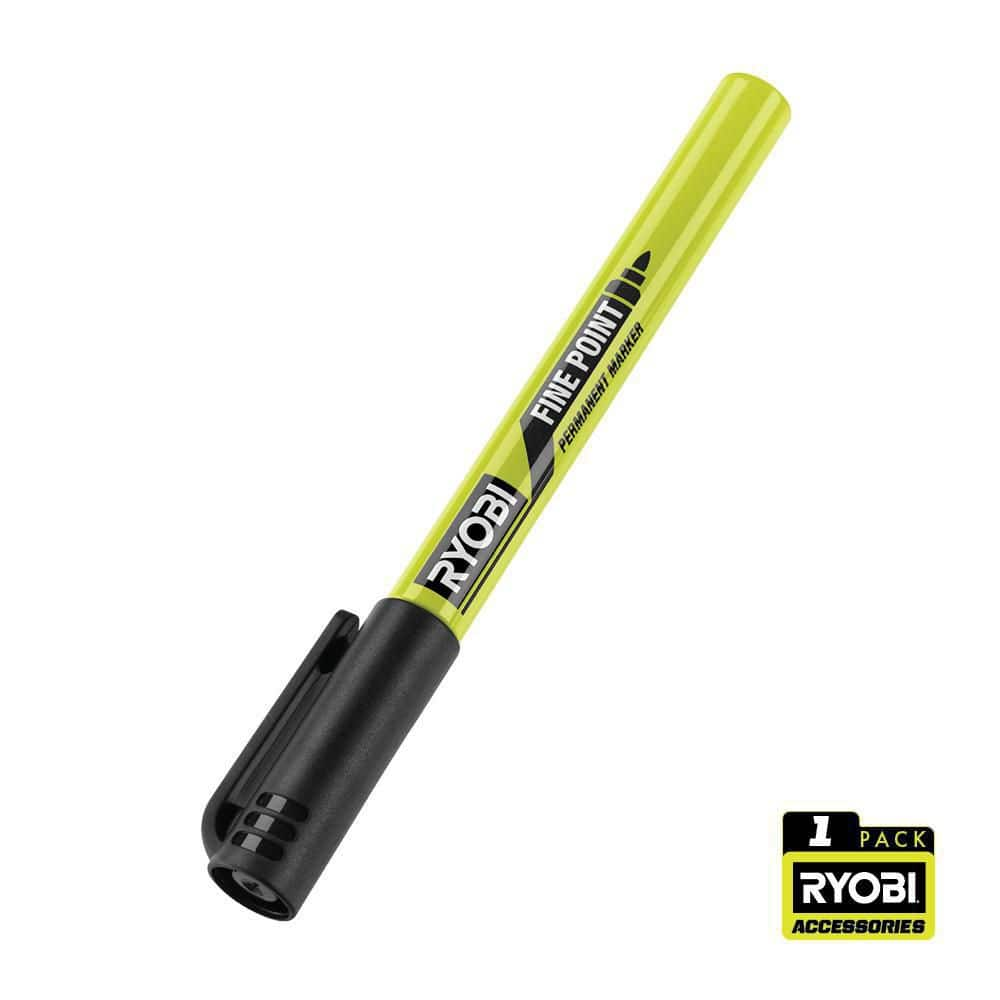
RYOBI Black Fine Point Permanent Workshop Marker RPM121
HDX Giant Commercial Corn Broom 750
This Giant Commercial Corn Broom is a premium, heavy-duty corn broom with exceptional fiber weight that picks up dirt and dust effectively. It offers an extra wide 15 in. sweep path, creating a larger
Scrub Brush
Tackles tough stains with stiff bristles.
Pressure Washer
Cleans surfaces with high-pressure water.
Measuring Tape
For accurate measurements of plywood and components, ensuring proper assembly.
Carpet Knife
Precision blade crafted for carpet cuts.
RYOBI Black Fine Point Permanent Workshop Marker RPM121
The RYOBI Black Fine Point Permanent Marker provides precise, clean marks on most materials. This marker is perfect for your workshop or the jobsite because of its durability. Its high quality ink is easily visible on rough surfaces. Common surfaces include wood, plastic, tile, and metal. The marker also features a hang clip for easy storage and accessibility. This pack includes one Black Fine Point Permanent Workshop Marker.
Steps

Clean the Garage Steps
30 minutesSweep the garage steps to remove any loose dirt, dust, or debris. Then, wash the steps with a degreaser or a strong detergent and water solution to remove any oil, grease, or grime. Rinse the steps thoroughly with clean water and allow them to dry completely before proceeding. A clean, dry surface is crucial for the adhesive on the carpet treads to bond effectively.
Watch: Clean the Stairs
Measure and Cut Carpet Treads
45 minutesMeasure the width and depth of each individual garage step. If the carpet treads come in a standard roll or large sheet, carefully mark the dimensions for each step onto the material. Use a sharp utility knife or heavy-duty scissors to cut out each tread piece. Aim for a snug fit, but allow for a slight overlap onto the riser if desired for a cleaner look and better coverage.
Watch: Measure and Cut Carpet Tread
Apply Adhesive (if necessary)
20 minutesCheck the manufacturer's instructions for your carpet treads. If they do not have a peel-and-stick backing, you will need to apply an appropriate adhesive. Common options include heavy-duty spray adhesive, carpet seam tape, or a high-strength construction adhesive. Apply the adhesive evenly to either the back of the carpet tread or the surface of the step, following the adhesive manufacturer's recommendations for application and drying time (tack time).
Watch: Apply Adhesive to Treads
Install Carpet Treads
60 minutesStarting from the front edge of the step, carefully peel away the backing from the adhesive on the carpet tread. Align the tread with the edge of the step, ensuring it is straight and centered. Once positioned, firmly press the tread down, working from the center outwards to eliminate any air bubbles and ensure complete contact with the step surface. Pay close attention to the edges and corners for a secure bond.
Watch: Install Carpet Treads
Allow Adhesive to Cure
72 minutesAfter all carpet treads have been installed, check the adhesive or tread manufacturer's documentation for the recommended curing time. This can range from a few hours to 24-72 hours, depending on the type of adhesive used. Avoid walking on the steps or placing any heavy objects on them during this period to ensure the strongest possible bond and prevent premature loosening.
Watch: Final Curing and Caulking

