

How to Install Carpet Tiles on a Landing or Loft
About This Project
This project involves preparing a landing or loft floor and installing carpet tiles. The process includes cleaning the subfloor, measuring and planning the layout, cutting tiles as needed, and adhering them to the floor surface.
Tools & Materials

HDX 13 in. Super Stiff Angle Broom 2032S

Razor-Back 14 in. Industrial Floor Scraper 2451600
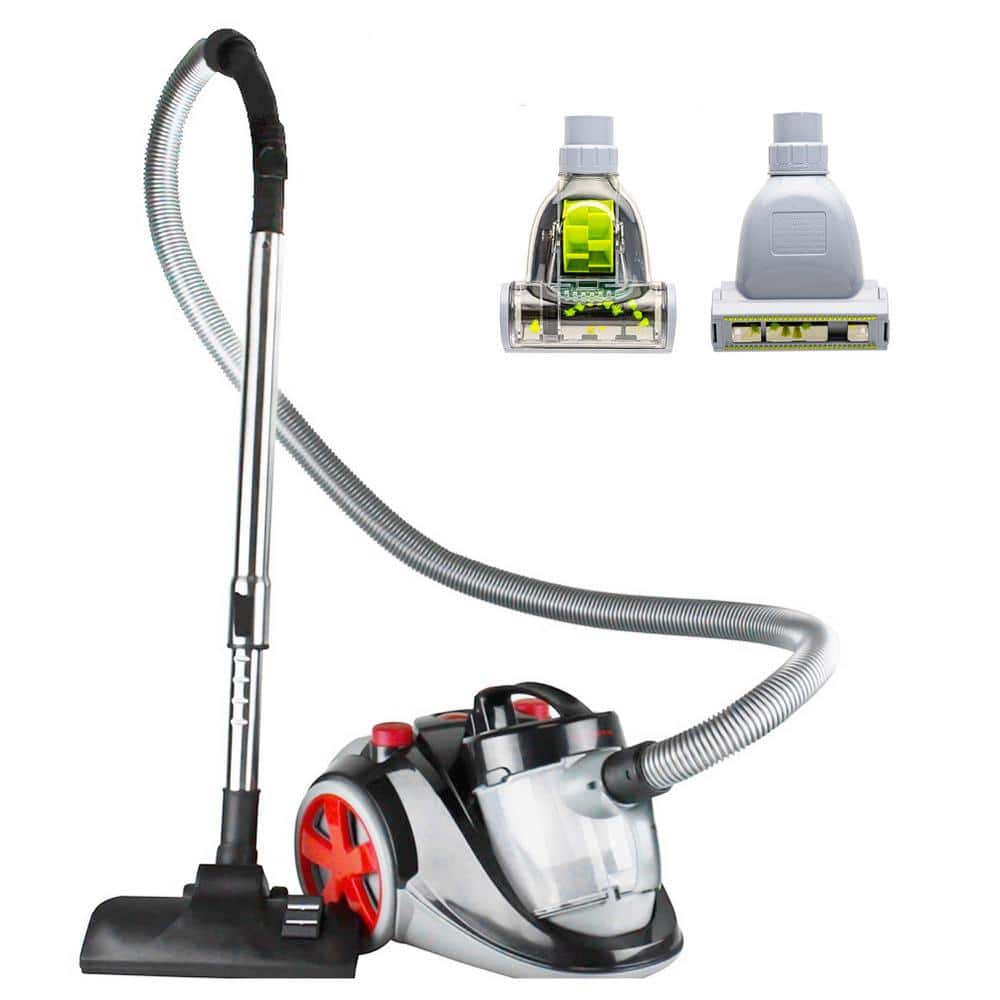
OVENTE Bagless Corded HEPA filter Multisurface Black Canister Vacuum Cleaner ST2010
Measuring Tape
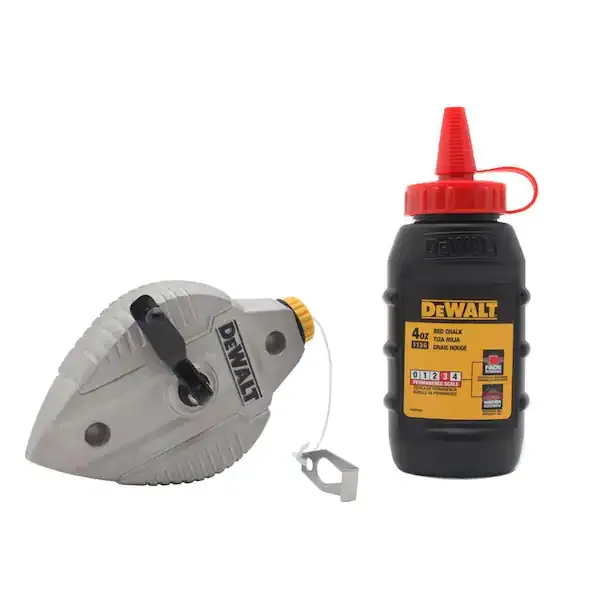
Chalk Line

Pencil
HDX 13 in. Super Stiff Angle Broom 2032S
The HDX Stiff Angle Broom features heavy-duty fibers and a steel handle. It's ideal for easily sweeping crushed brick, block, stones, landscape materials and other heavy items. Use it for residential and commercial use.
Razor-Back 14 in. Industrial Floor Scraper 2451600
14 in. flexible scraper head is perfect for removing encrusted materials from other surfaces. Good for removing tile, general construction and concrete form cleaning. Features hardwood handle for strength
OVENTE Bagless Corded HEPA filter Multisurface Black Canister Vacuum Cleaner ST2010
Clean Air for All! With Ovente Vacuums you can trust in a powerful 20kPa suction that easily picks up dust, crumbs, pet hair, dander and various other hidden floor scrap. Ovente's ST2010 Cyclonic Vacuum
Measuring Tape
For accurate measurements of plywood and components, ensuring proper assembly.
Chalk Line
Marks straight, precise lines on surfaces.
Pencil
Marks and draws with ease.
Steps

Clean the Subfloor
60 minutesUsing a stiff brush or broom, sweep the entire subfloor area to remove loose dirt and debris. For stubborn residues or old adhesive, a floor scraper may be necessary. A vacuum cleaner can then be used to pick up fine dust. The subfloor must be completely clean and dry before proceeding.
Watch: Clean and Prepare Subfloor
Measure and Plan Layout
45 minutesMeasure the length and width of the room. Determine the starting point for your tile layout, often from the center of the longest wall or the most visible area. Use a chalk line to mark a straight reference line across the floor from the center of this wall. This line will guide the placement of the first row of tiles. Dry-lay a few tiles to visualize the pattern and anticipate any necessary cuts.
Watch: Plan Tile Layout and Mark Starting Lines
Apply Adhesive
30 minutesBased on the carpet tile manufacturer's recommendations, select a suitable adhesive. If using a trowel-applied adhesive, use the recommended trowel size to spread a thin, even layer over a manageable section of the subfloor. Avoid applying adhesive to the entire floor at once, as it may dry out before tiles can be placed. For spray adhesives or adhesive strips, follow the specific product instructions.
Watch: Apply Adhesive
Install First Row of Tiles
40 minutesStarting from the chalk line, carefully place the first carpet tile. Align its edge with the chalk line and ensure it is perpendicular to the starting wall. Press the tile firmly into the adhesive. Place the next tile directly beside the first, butting its edge tightly against the previous tile. Continue this process, working outwards from the chalk line and pressing each tile down firmly to secure it.
Watch: Lay Center Tiles
Cut Tiles for Edges and Obstacles
60 minutesFor tiles that need to be cut, use a measuring tape to determine the required dimensions. Transfer these measurements to the back of the carpet tile using a pencil. For straight cuts, use a sharp utility knife and a straight edge (like a metal ruler or a piece of scrap wood) to guide the knife. For irregular shapes, such as around pipes or door frames, use a template or freehand cut carefully. Always cut from the back of the tile for cleaner edges. Press cut tiles firmly into place.
Watch: Cut and Fit Edge Tiles
Complete the Installation
120 minutesProceed with laying tiles, ensuring each new tile is butted tightly against its neighbors. Continue this process until the entire floor is covered. Pay close attention to alignment, especially in areas where multiple rows meet. After all tiles are laid, do a final inspection of the entire floor to ensure all edges are secure and there are no gaps. A final pass with a tile roller over the entire surface can help ensure maximum adhesion.
Watch: Secure Tiles with Roller

