

How to Install an Alternating Tread Stair Kit
About This Project
This project involves installing a pre-fabricated alternating tread stair kit to access a loft, attic, or other elevated space. The process includes preparing the opening, assembling the stair kit according to manufacturer instructions, and securing it to the existing structure.
Tools & Materials
Measuring Tape

Pencil

Makita 15 Amp Reciprocating Saw JR3070CTZ

MGP 24 in. H Teak Wood Extendable Circular fence Trellis TCF-36

Jig Saw

Safety Glasses
Measuring Tape
For accurate measurements of plywood and components, ensuring proper assembly.
Pencil
Marks and draws with ease.
Makita 15 Amp Reciprocating Saw JR3070CTZ
Makita's Reciprocating Saw with AVT (model JR3070CTZ) delivers superior power and performance with less vibration. The JR3070CTZ is equipped with Anti-Vibration Technology (AVT), an internal counterbalance
MGP 24 in. H Teak Wood Extendable Circular fence Trellis TCF-36
MGP teak wood circular trellis fence is built with naturally rot resistant teak wood. Place these attractive circular fences around your garden plants, flowers and young trees, to form a physical barrier
Jig Saw
Necessary for cutting and shaping plywood, particularly for the flip-top table.
Safety Glasses
Keeps eyes safe from potential hazards.
Steps

Measure and Mark Opening Dimensions
30 minutesBefore you begin assembling or installing the alternating tread stair, you must accurately determine and mark the exact dimensions of the opening required in the existing floor or ceiling structure. Use a tape measure to find the length and width needed to accommodate the stair kit. Transfer these measurements to the structure, marking the cut lines clearly. Ensure these dimensions account for any required clearances as specified by the stair kit manufacturer.
Watch: Measure and Cut First Tread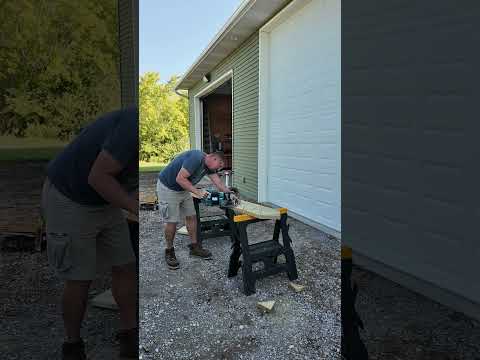
Cut the Opening
60 minutesUsing a reciprocating saw, circular saw, or jigsaw, carefully cut along the marked lines to create the opening for the alternating tread stair. Ensure the cuts are straight and precise to match the dimensions determined in the previous step. Be mindful of any existing electrical wiring, plumbing, or other structural elements that may be present in the area to be cut.
Watch: Cutting Stringers and Treads
Assemble Alternating Tread Stair Kit
90 minutesLay out all components of the alternating tread stair kit. Follow the step-by-step assembly guide provided by the manufacturer meticulously. This typically involves attaching treads to the stringers, ensuring all fasteners are securely tightened. Pay close attention to the correct orientation of each tread and stringer as indicated in the manual.
Watch: Install Stair Stringers and Treads
Position and Secure Stair Top
45 minutesCarefully maneuver the assembled alternating tread stair into the prepared opening. Position the top of the stair so that it aligns correctly with the floor or ceiling structure. Use the provided mounting brackets or appropriate fasteners (e.g., lag screws, bolts) to securely attach the top of the stair to the structural members. Ensure the stair is plumb and level.
Watch: Install and Level the StairsSecure Stair Bottom
45 minutesOnce the top of the stair is secured, address the bottom end. Depending on the design of the stair kit and the configuration of the lower space, the bottom may rest on the floor or need to be attached to a wall. Use appropriate fasteners, such as screws, brackets, or anchors, to firmly secure the base of the stair, preventing any movement or instability.
Watch: Install and Level the Stairs
Install Handrails and Guardrails
60 minutesFollowing the manufacturer's instructions, attach the handrails to the sides of the alternating tread stair. Ensure they are installed at the correct height and provide a continuous gripping surface. If the installation area requires guardrails around the opening at the top of the stairs, install these as well, ensuring they meet local building code requirements for height and spacing.
Watch: Install Treads and Railings
Inspect and Test Stability
15 minutesOnce all components are installed and secured, conduct a comprehensive inspection. Check all fasteners to ensure they are tight. Gently apply weight to the stairs, walking up and down cautiously, to test for any wobbling, creaking, or instability. Confirm that the entire structure feels solid and secure.
Watch: Final Test and Inspection

