

How to Install a Deck Stair Railing
About This Project
This project outlines the steps for installing a railing system for deck stairs, ensuring safety and code compliance. It covers measuring, cutting, assembling, and securely attaching railing components.
Tools & Materials
Measuring Tape

Pencil
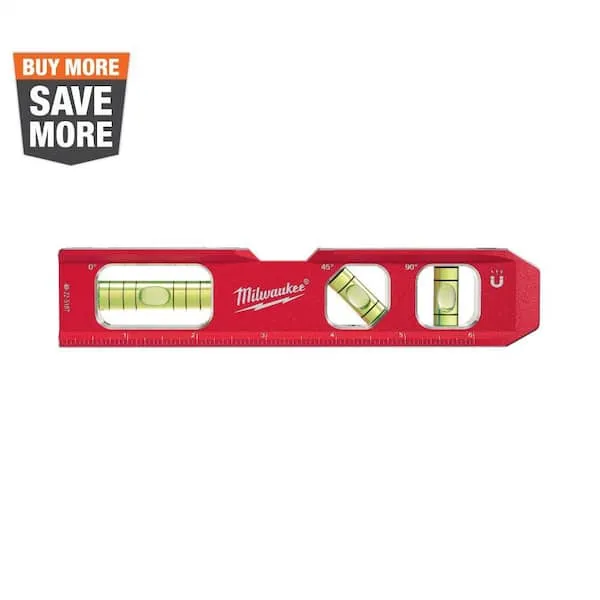
Level
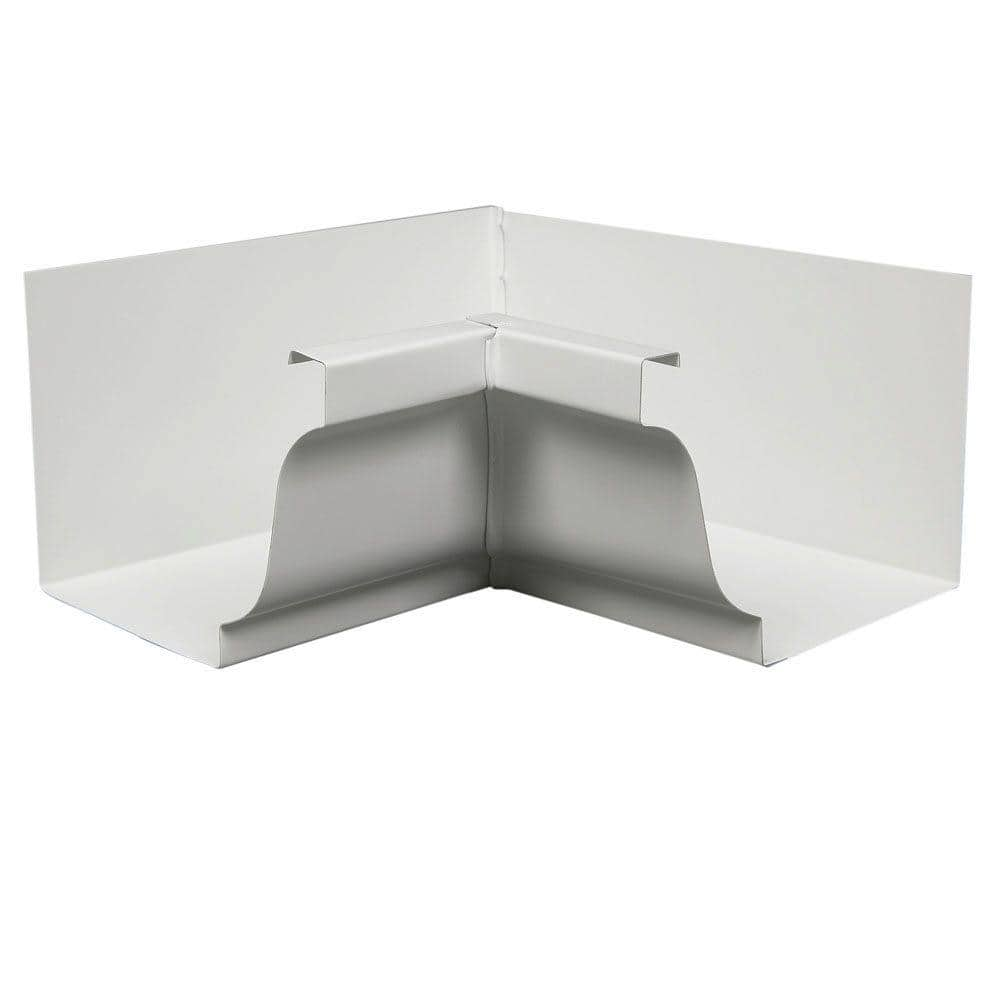
Amerimax Home Products 6 in. White Aluminum K-Style Inside Gutter Miter 47001

SPAX 3/8 in. x 6 in. Exterior Hex Head Structural Wood Lag Screws Powerlags Hex (1 Each) 4571820101527

Fiberon CountrySide 8 ft. x 36 in. Composite Line Section H-Channel Top Rail, Bottom Rail SEC19 S BL 8 29.5SB
Measuring Tape
For accurate measurements of plywood and components, ensuring proper assembly.
Pencil
Marks and draws with ease.
Level
Ensures surfaces are just right.
Amerimax Home Products 6 in. White Aluminum K-Style Inside Gutter Miter 47001
The Amerimax Home Products 6 in. Aluminum Inside Gutter Mitre features rust-free aluminum construction for durability and a baked-on white enamel finish for low maintenance. To install, snip the back of the gutter, overlap the pieces, and rivet them together. Sealant is required for installation (not included). This product attaches with screws or pop rivets (not included)
SPAX 3/8 in. x 6 in. Exterior Hex Head Structural Wood Lag Screws Powerlags Hex (1 Each) 4571820101527
The SPAX Factor - For the craftsman that concentrates on the details, We Work for You. For the Pro that puts qualify first, we help you create stronger connections, enhance performance and improve results
Fiberon CountrySide 8 ft. x 36 in. Composite Line Section H-Channel Top Rail, Bottom Rail SEC19 S BL 8 29.5SB
From its understated satin finish to its cleaver sub-rail reinforcement. Haven View Country Side railing is the ideal balance of beauty and strength. HavenView Country Side railing pairs well with any
Steps

Measure and Mark Stair Stringers
15 minutesUsing a tape measure and a pencil, mark the desired railing height on the inside face of each stair stringer. Typically, this height is around 36 inches from the nose of the tread, but it should be verified against local building codes. Ensure the marks are level and consistent across all stringers.
Watch: Measure and Mark Handrail Height
Cut and Attach Railing Posts
45 minutesCut wooden posts for the railing to the appropriate height, typically from the base of the stringer to the marked railing height, plus extra for attachment. Using appropriate fasteners such as lag screws or structural screws, securely attach the posts to the stair stringers. Ensure posts are plumb and stable.
Watch: Install Stair Railing Posts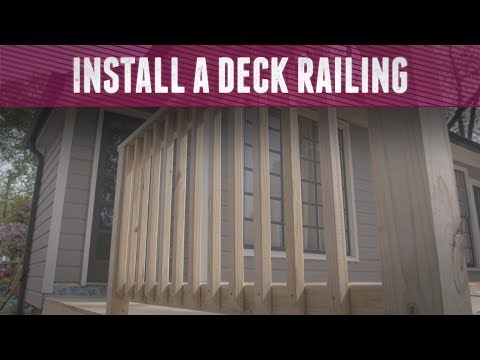
Install Top and Bottom Rails
60 minutesMeasure the distance between the installed railing posts. Cut the top and bottom railing boards to fit snugly. Attach the top rail to the tops of the posts using screws or specialized connectors. Attach the bottom rail at the appropriate height below the top rail, ensuring it is parallel and secure.
Watch: Install Top and Bottom Rails
Install Balusters (Spindles)
90 minutesMeasure the distance between the top and bottom rails to determine the length of the balusters. Cut the balusters to size. Attach the balusters to the top and bottom rails using screws or specialized baluster connectors. Ensure the spacing between balusters is no more than 4 inches on center to meet code requirements.
Watch: Attach Balusters
Attach Handrail
30 minutesIf a separate handrail is being installed over the top rail, measure and cut it to fit. Secure the handrail to the top rail using appropriate fasteners, such as specialized handrail screws or brackets, ensuring it is comfortable to grip and continuous along the entire length of the stairs.
Watch: Install Handrail
Final Inspection and Safety Check
20 minutesTest the stability of the railing by applying firm pressure to various points. Check that all screws and fasteners are tight and that there are no loose parts. Verify that the baluster spacing, railing height, and handrail graspability meet local building code requirements.
Watch: Perform Final Inspection and Safety Check

