
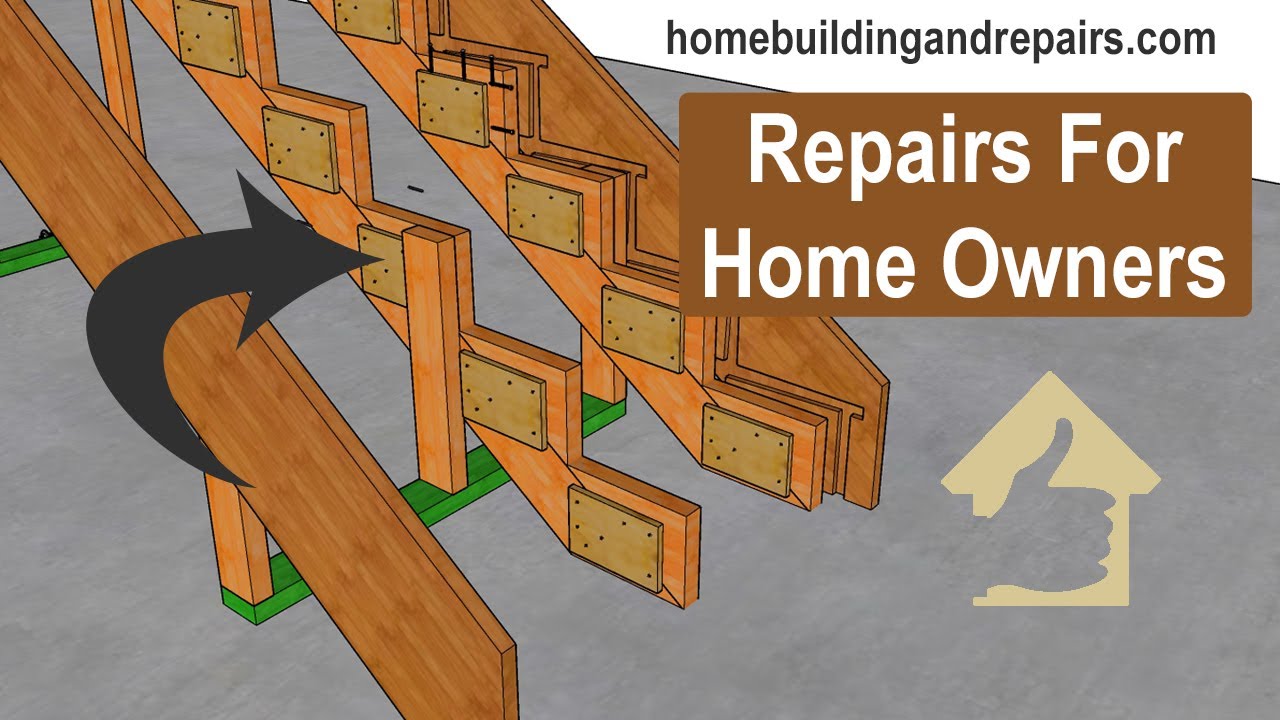
How to Fix a Bouncy or Wobbly Staircase
About This Project
This project outlines the steps to diagnose and repair a bouncy or wobbly staircase. It involves identifying the cause of the instability, reinforcing structural components, and ensuring the staircase is safe and secure.
Tools & Materials

Defiant 2000 Lumens LED Slide-to-Focusing Aluminum Flashlight 90706
Measuring Tape
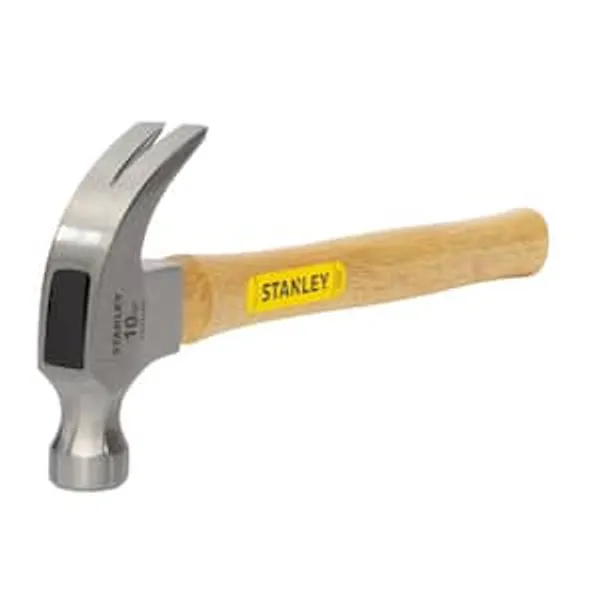
Hammer
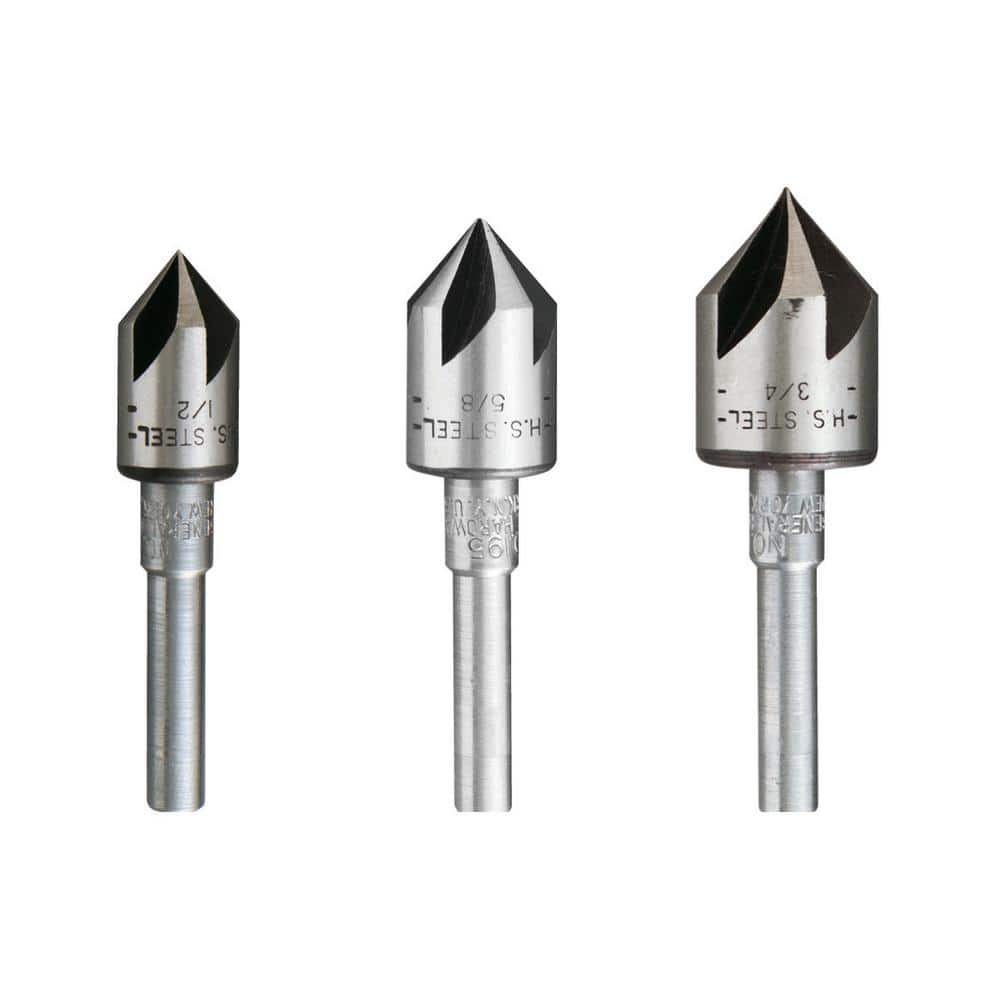
General Tools Countersink Set (3-Piece) 195ST
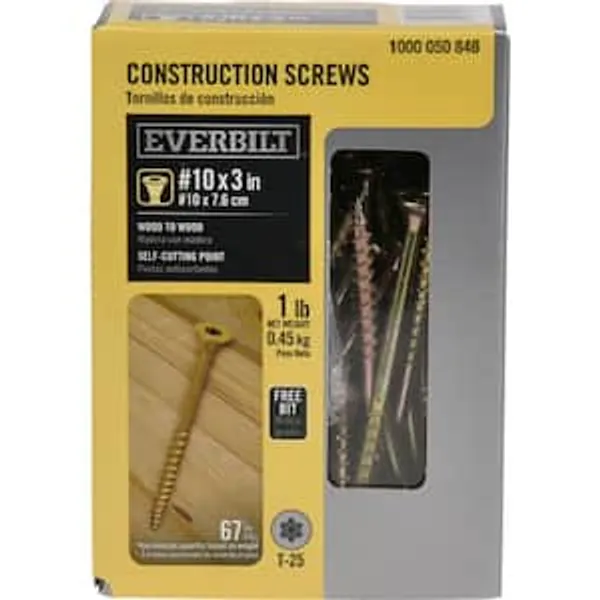
#10 3” Wood Screws

PRO-FIT 1-1/2 in. (4D) Brite Finish Nail 1 lb. (445-Count) 0058098
Defiant 2000 Lumens LED Slide-to-Focusing Aluminum Flashlight 90706
This Defiant 2000-Lumens LED Slide-to-Focusing Aluminum Flashlight features high- powered LED chips to emit up to 2000-Lumens of light, illuminating your work area and beyond. Its tough aluminum material
Measuring Tape
For accurate measurements of plywood and components, ensuring proper assembly.
Hammer
Delivers forceful blows with precision.
General Tools Countersink Set (3-Piece) 195ST
This set includes three heavy-duty countersink bits for creating chatter-free countersunk screw holes in steel, brass, aluminum, plastic, wood and other materials. The three sizes included are 1/2 in.
#10 3” Wood Screws
Sturdy screws ideal for wood.
PRO-FIT 1-1/2 in. (4D) Brite Finish Nail 1 lb. (445-Count) 0058098
Use PRO-FIT finish nails for interior trim and fine finishing work where a smaller, less visible head is desired. They are used to set door and window frames, attach crown molding and trim, and other applications where appearance is important. Their small head can be easily concealed by sinking the nail and filling the void with putty, spackle, or caulk.
Steps

Inspect Staircase for Looseness
60 minutesBegin by visually inspecting the staircase for any obvious signs of damage, such as cracked treads, loose risers, or separated stringers. Then, systematically go through each step, applying pressure to the treads, risers, and railings. Walk up and down the stairs, paying close attention to where you feel movement or hear squeaking. Gently rock each baluster and the handrail to check for any play. Note down the specific locations and nature of the instability (e.g., wobbly tread, loose riser, detached stringer).
Watch: Assess Damage & Prepare for Repair
Address Loose Treads
45 minutesIf a tread is loose but the riser is still firmly attached to it, drive screws or nails from the front of the riser into the back edge of the tread. Predrill pilot holes to prevent wood splitting. If the tread is loose and the riser is also loose from the stringer, you may need to first secure the riser to the stringer. For very loose treads where screws might not hold, consider using specialized tread repair brackets or L-brackets, screwing them into the underside of the tread and the stringer.
Watch: Drive Screws to Secure Tread to Riser
Reinforce Loose Risers
30 minutesIf a riser is loose, drive screws or nails through the face of the riser into the back of the tread. Ensure the screws/nails are long enough for a good hold. For additional support or if direct attachment is difficult, attach L-brackets to the back of the riser and the adjacent stringer. Use appropriate screws for attaching the brackets to both wood surfaces.
Watch: Secure Risers to Treads from Behind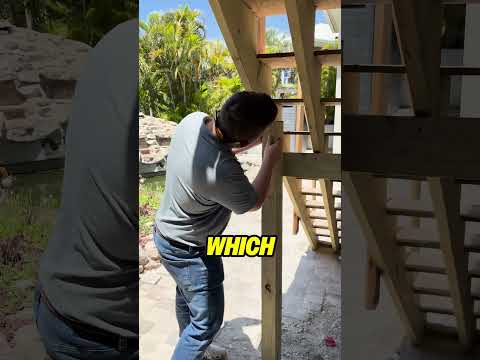
Tighten Loose Stringers
90 minutesLocate wall studs or floor joists where the stringers are attached. If there's a gap between the stringer and the wall/floor, use shims to close it. Then, drive heavy-duty lag screws or structural screws through the stringer and into the framing members. Ensure the screws are long enough to get a solid bite into the framing. If the stringer is loose at the bottom where it meets the subfloor, secure it by driving screws up through the subfloor into the stringer, or by adding blocking and screwing the stringer to the blocking.
Watch: Fasten Stringer with Lag Bolts
Stabilize Handrails and Balusters
60 minutesInspect the handrail system. If the handrail itself is wobbly, locate the mounting brackets. If attached to a wall, ensure the screws go into wall studs. If attached to newel posts or directly to stringers, ensure those connections are solid. Tighten any visible screws or bolts. If the handrail is loose within its brackets, you may need to use adhesive or set screws. For loose balusters, check if they are loose at the top or bottom. If loose at the bottom where they enter the tread or skirt board, apply wood glue and re-seat them. If loose at the top where they enter the handrail, remove any excess glue or finish, apply wood glue, and clamp them firmly until dry. In some cases, balusters might be secured with screws from the underside of the handrail or from the back of the tread, which would need tightening.
Watch: Secure Basement Handrail to BlockAdd Support Blocks or Bracing
75 minutesFor added stability, especially in areas of significant bounce or movement, install solid wood blocks. These are typically cut into triangles or rectangles and fit snugly between the underside of a tread and the stringer, or between the stringer and the wall. Secure these blocks with screws driven from the outside of the stringer or wall into the block, and from the block into the tread or wall framing. This bracing helps to reduce flex and vibration.
Watch: Install Triangular Support Blocks
Check and Secure Ledger Board (if applicable)
90 minutesIf your staircase connects to another level or deck via a ledger board, inspect this connection carefully. The ledger board should be securely attached to the rim joists or other structural framing of the upper level. Look for signs of separation, rot, or loose fasteners. Ensure adequate flashing is in place to prevent water intrusion. If loose, re-secure it using appropriate lag screws or structural screws, ensuring they are driven into solid joists or framing. If the ledger appears undersized or improperly installed, this may require professional assessment.
Watch: Verify Ledger Board Attachment
Test Stability and Make Adjustments
30 minutesOnce all repairs are completed, systematically test the staircase again. Walk up and down the stairs, paying attention to any remaining movement or sound. Apply firm pressure to treads, risers, and railings. If any areas still feel unstable or squeak, re-inspect those specific locations and make further adjustments as needed. Minor adjustments may include adding an extra screw, a small shim, or a bit more glue. Ensure all fasteners are snug but not stripping the wood.
Watch: Test the Repaired Stairs

