How to Cut and Join LED Strip Lights Around Stair Corners
About This Project
A high-level outline for installing LED strip lights around stair corners, focusing on cutting, joining, and mounting techniques.
Tools & Materials
Measuring Tape

Pencil

Painters Tape

Stanley 5 in. Hobby Utility Knife 10-401

Armacost Lighting RibbonFlex Pro 32.8 ft. 12-Volt White Tape Strip Light 60 LEDs/m Soft White (2700K) 132250
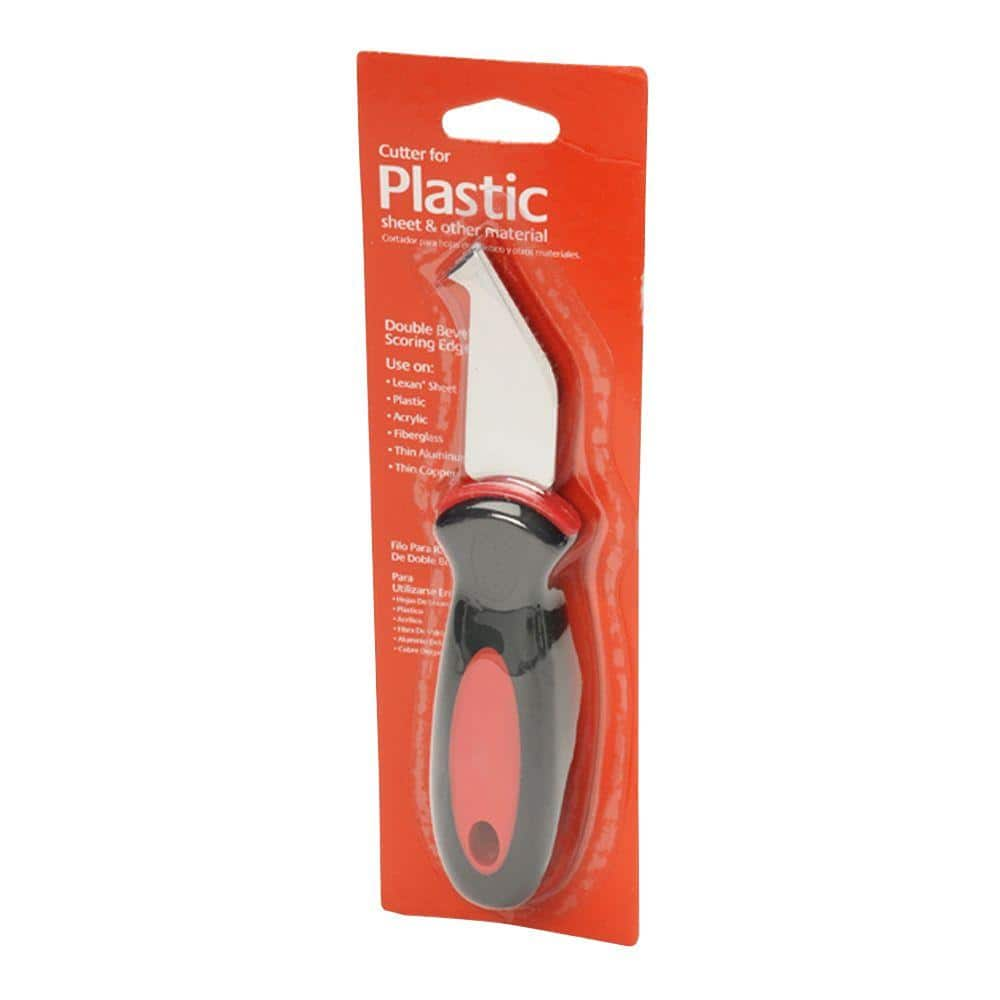
Utility Knife Plastic Sheet Cutting Tool GE-41
Measuring Tape
For accurate measurements of plywood and components, ensuring proper assembly.
Pencil
Marks and draws with ease.
Painters Tape
Masks areas for precision painting.
Stanley 5 in. Hobby Utility Knife 10-401
The Stanley Hobby Knife is a great tool in the home, office, studio and workshop. The handle is crafted with a strong, lightweight aluminum. Positive metal barrel locks the blade in place. It is compatible
Armacost Lighting RibbonFlex Pro 32.8 ft. 12-Volt White Tape Strip Light 60 LEDs/m Soft White (2700K) 132250
Armacost Lighting's RibbonFlex Pro LED Tape Light is the perfect LED light strip for low-voltage, energy-efficient accent lighting projects. These LED strip lights are designed to meet the layout and installation requirements of lighting professionals and feature high quality, professional-grade components that are longer lasting and create a premium look.12V strip lights are easy-to-install and feature 3M adhesive backing for a permanent hold. LED light tape is ideal for many applications including under cabinet lighting, tray ceiling lighting, toe kicks, RVs, boats, motor homes and commercial spaces. RibbonFlex Pro LED Tape Light is part of Armacost Lighting's premium-quality component-based system, designed for custom installations.
Utility Knife Plastic Sheet Cutting Tool GE-41
The plastic sheet cutting knife is designed for use on LEXAN polycarbonate sheets and other plastic materials. It features a double-bevel scoring edge for clean, consistent cuts and a rounded handle that
Steps
Plan LED Strip Layout
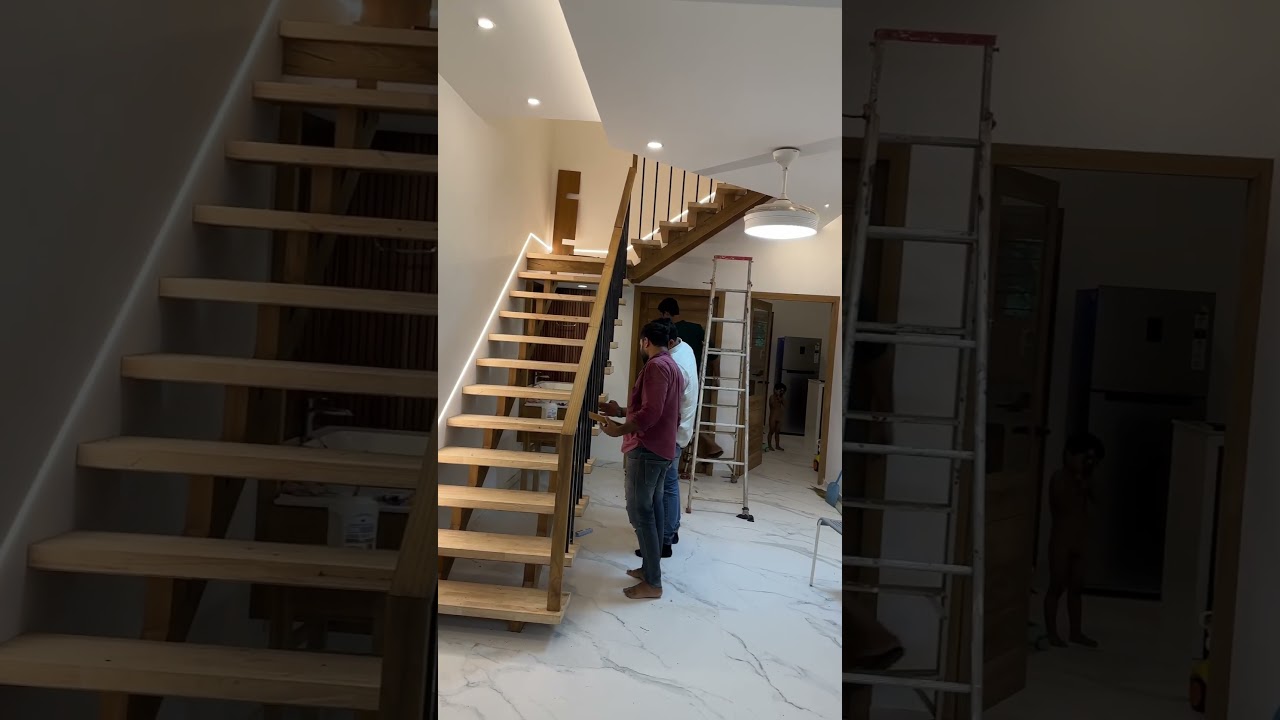
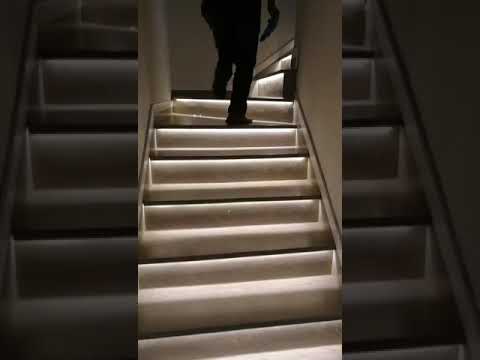
30 minutesBefore cutting any LEDs or wires, carefully plan where each strip will be placed. Typically, this involves running the LED strip along the edge of each stair tread or riser. Mark the starting and ending points for each segment. Consider the location of the power supply and how the wires will be discreetly routed. Plan for any corner turns or transitions between steps. This planning phase is crucial for ensuring a clean and professional-looking installation and for calculating the correct amount of LED strip and wire needed.
Watch: Plan and Gather Components
Cut LED Strips to Length
15 minutesLED strips are designed to be cut at specific intervals, usually marked with a small scissor icon or a copper pad. Measure the required length for each stair segment based on your planning. Carefully align your cutting tool with the designated cut line on the LED strip. Make a clean, straight cut. It is critical to cut only at the indicated points to avoid damaging the internal circuitry of the LED strip.
Watch: Cut LED Strip to Length
Prepare LED Strip Ends for Connection
20 minutesFor each LED strip segment that needs to be connected to another segment or to a power wire, you'll need to prepare the ends. Carefully peel back the adhesive backing to expose the copper solder pads. If using solderless connectors, ensure the pads are clean and free of debris. If soldering, lightly sand the copper pads with fine-grit sandpaper to ensure good adhesion for the solder.
Watch: Prepare and Connect LED Strips
Join LED Strips (if necessary)
45 minutesIf your stair layout requires connecting multiple LED strip segments end-to-end or at angles, use appropriate joining methods. **Soldering:** Apply a small amount of solder to the exposed copper pads on both the strip ends to be joined. Then, carefully bridge the pads with a soldering iron, ensuring a solid electrical connection. Use heat-shrink tubing to insulate and protect the soldered joint. **Solderless Connectors:** Slide the prepared ends of the LED strips into the corresponding channels of a solderless connector. Ensure the copper contacts align correctly with the connector's internal pins. Close the connector securely. For corner connections, use L-shaped connectors.
Watch: Connect Strip Sections
Mount LED Strips to Stairs
30 minutesMost LED strips come with an adhesive backing. Clean the surface of the stairs where the LED strip will be mounted with an appropriate cleaner (e.g., isopropyl alcohol) to ensure good adhesion. Carefully peel off the protective backing from the adhesive strip. Align the LED strip precisely along your marked path and press down firmly along its entire length. For enhanced security, especially on stairs, you can use additional mounting clips or a suitable adhesive.
Watch: Adhere LED Strips to Stair Treads
Connect Power Supply and Test
40 minutesConnect the input end of your first LED strip segment (or the end of the main run) to the power supply. This typically involves connecting a low-voltage wire from the power adapter to the appropriate input terminals on the LED strip, ensuring correct polarity (+ to +, - to -). If using a controller for dimming or color changes, wire the LED strip to the controller's output and the power supply to the controller's input. Plug in the power supply and test all segments of the LED strip to ensure they light up correctly and consistently. Check for any flickering or dead sections.
Watch: Connect Power Supply and TestSecure and Conceal Wiring
25 minutesOnce the lights are working, neatly organize and secure all visible wires. Use cable ties, adhesive clips, or raceways to route wires along the underside of the stairs, behind walls, or in other discreet locations. Ensure wires are not pinched, stressed, or in a position where they could be tripped over or damaged. Carefully tuck away any excess wire. If power supply is external, ensure it is placed in a well-ventilated area and is accessible.
Watch: Connect Power and Conceal Wiring