
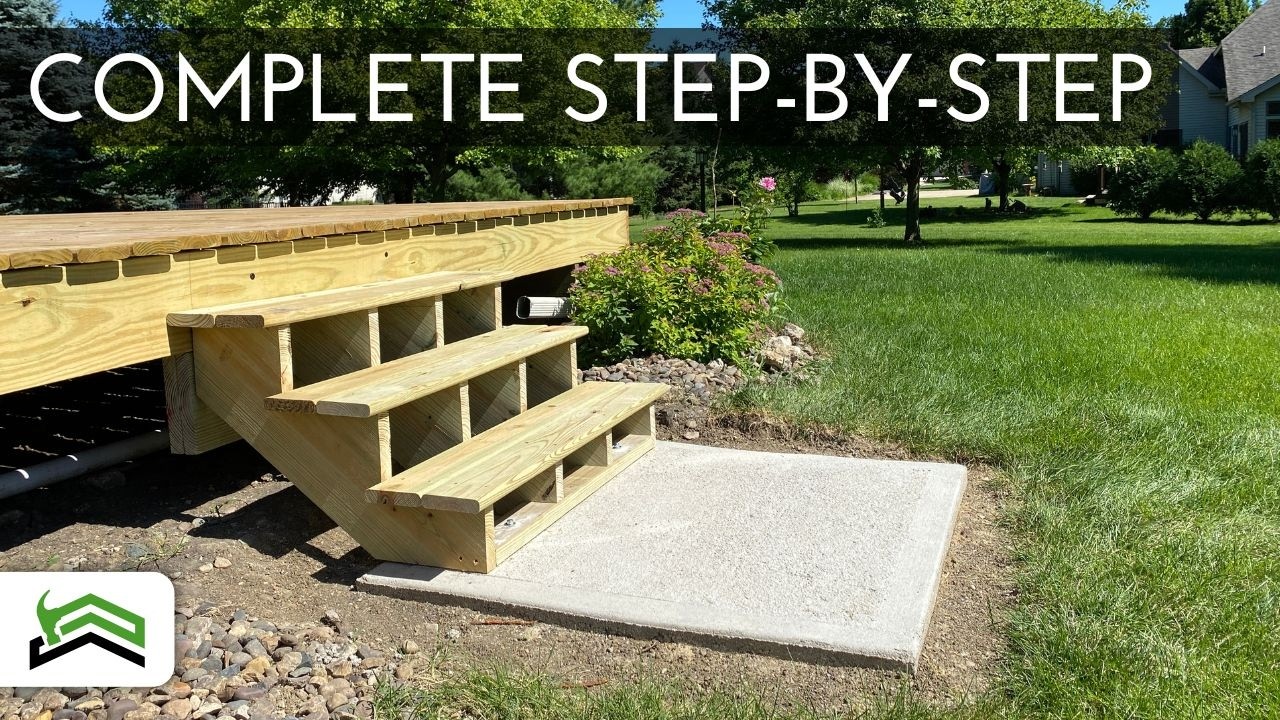
How to Build Stairs for a Shed or Mobile Home
About This Project
Outline for building a set of stairs for a shed or mobile home, focusing on structural integrity and safety.
Tools & Materials
Measuring Tape

Pencil

Construction Master 5 Calculator
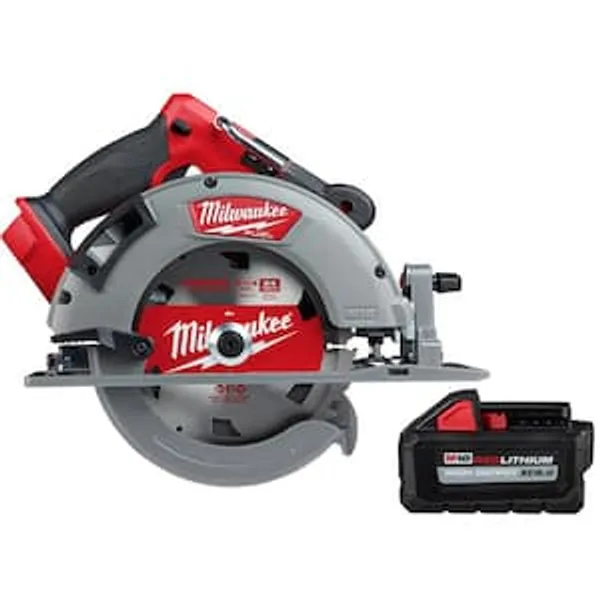
Circular Saw

Milwaukee 16 in. x 24 in. Aluminum Framing Square with 7 in. Rafter Square MLSQ024-MLSQ070

2 in. x 12 in. x 12 ft.Prime Lumber 749869
Measuring Tape
For accurate measurements of plywood and components, ensuring proper assembly.
Pencil
Marks and draws with ease.
Construction Master 5 Calculator
Makes construction calculations a breeze.
Circular Saw
Cuts through materials with power.
Milwaukee 16 in. x 24 in. Aluminum Framing Square with 7 in. Rafter Square MLSQ024-MLSQ070
The Milwaukee 16 in. x 24 in. Aluminum Framing Square is stronger than steel and is the most versatile framing square. The Milwaukee Aluminum Framing Square has a 50% thicker frame providing users with
2 in. x 12 in. x 12 ft.Prime Lumber 749869
Every piece of 2 in. x 12 in. x 12 ft. #2 Prime Kiln Dried Southern Yellow Pine Lumber meets high grading standards for strength and appearance, and is easy to cut, fasten and paint, making this the best
Steps

Determine Stair Dimensions
60 minutesMeasure the total vertical height from the ground to the shed floor. Divide this height by the desired number of steps to determine the 'rise' (height of each step). A common comfortable rise is between 7 and 8 inches. Then, calculate the 'run' (depth of each step) by multiplying the desired number of steps by a comfortable tread depth, typically between 10 and 12 inches. Ensure the total run does not exceed the available space. Consult local building codes for maximum allowable rise and minimum tread depth, as well as for total run limitations.
Watch: Plan and Calculate Stair Dimensions
Cut Stringers
120 minutesUsing the calculated rise and run, lay out the dimensions on your lumber for the stringers. Mark the 'riser' (vertical cut) and 'tread' (horizontal cut) lines for each step. Typically, you'll need two or three stringers depending on the width of the stairs. Use a speed square or framing square to ensure accurate 90-degree angles for the cuts. Cut along the marked lines using a circular saw or handsaw.
Watch: Cut StringersAttach Stringers to Shed
45 minutesPosition the stringers against the shed's framing. The top of each stringer should align with the edge of the shed floor or a reinforced ledger board. Use heavy-duty structural screws or lag bolts to attach the stringers to the shed's rim joist or blocking. Ensure the stringers are plumb and parallel to each other, with the correct spacing for your treads.
Watch: Install Stringers
Install Treads
90 minutesPlace the cut treads onto the horizontal supports of the stringers. Ensure they are flush with the front edge of the stringer (or have a slight overhang, typically 1 inch). Secure each tread by driving screws through the tread and into the stringer. Use at least two screws per stringer per tread for stability. If using pressure-treated lumber for treads, pre-drilling pilot holes can prevent splitting.
Watch: Install Wooden Treads
Install Risers (Optional)
60 minutesCut riser boards to fit the width of the stairs and the height of each step. Position the riser board flush against the back of the tread above it and the front of the stringer. Secure the riser board by driving screws through it and into the stringer and the back of the tread above. This step is optional but recommended for a more finished look and to prevent items from falling through the stairs.
Watch: Install Risers
Attach Stringers to Ground/Landing
45 minutesEnsure the bottom of the stringers rests on a stable foundation, such as a concrete pad, paver, or a securely anchored wooden landing. If anchoring to concrete, use appropriate concrete anchors. If building a wooden landing, ensure it is robust and properly constructed to support the stairs. Secure the stringers to this base to prevent shifting or movement.
Watch: Securing Stringers to Landing Pad with Base Plate
Install Handrails and Balusters (if required)
120 minutesIf your local codes require handrails, attach sturdy posts to the stringers or treads using appropriate hardware. Install the handrail along the posts at the required height (typically 34-38 inches above the tread). If balusters are required, space them no more than 4 inches apart and secure them to the treads and the underside of the handrail or a cap board. Ensure all connections are strong and stable.
Watch: Install Balusters

