

How to Build a Built-In Bench on a Stair Landing
About This Project
This project outlines the steps to build a custom built-in bench on a stair landing, providing a functional and integrated seating solution. The process involves designing the bench to fit the landing space, constructing a sturdy frame, adding a seat and backrest, and finishing it to match the surrounding decor.
Tools & Materials
Measuring Tape

Pencil

Rite in the Rain All-Weather 8-1/2 in. x 11 in. 100 lbs. Printer Paper, White (250-Sheet Pack) 1008511
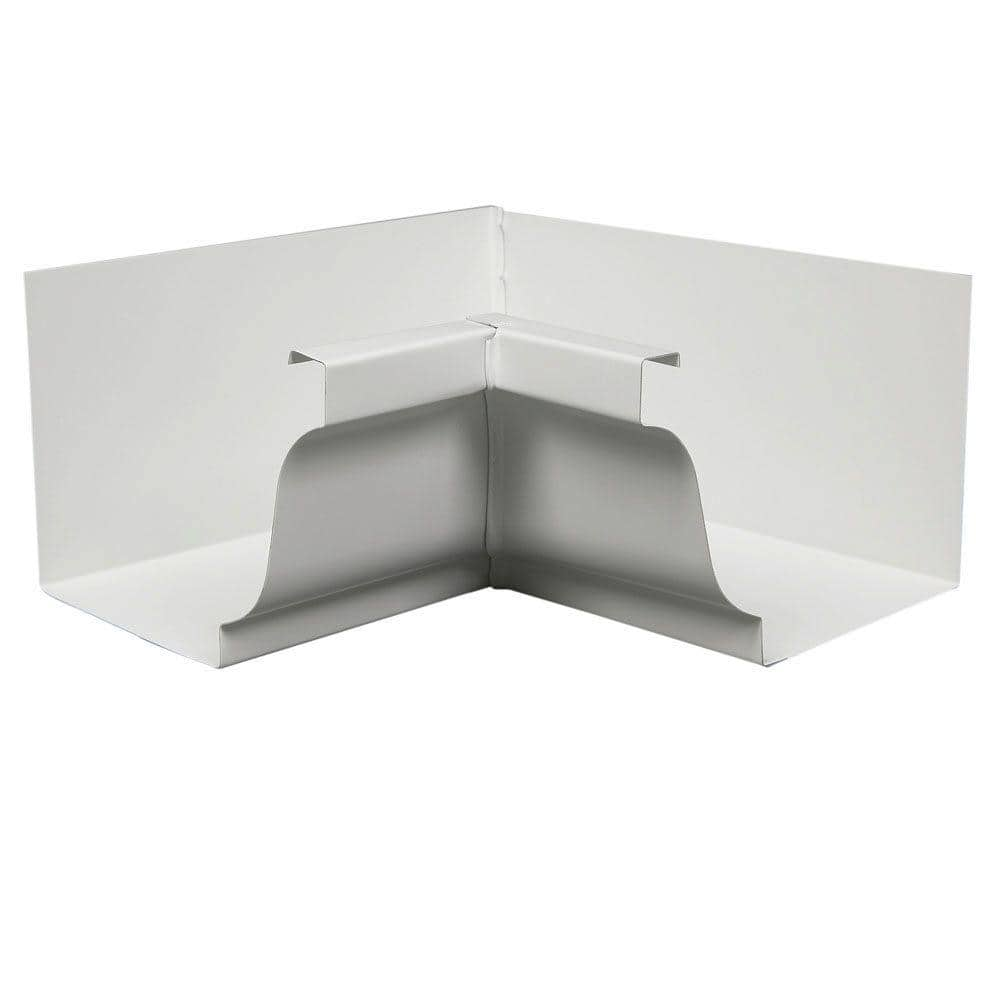
Amerimax Home Products 6 in. White Aluminum K-Style Inside Gutter Miter 47001

Swanson Speed Square and Combination Square Bundle S0101CB
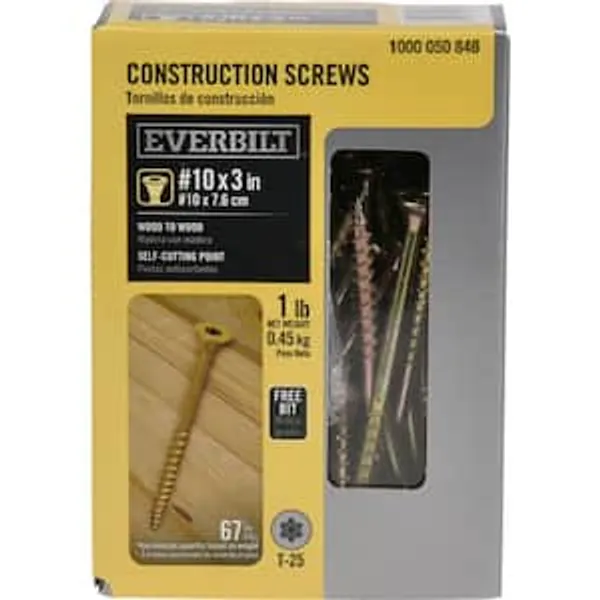
#10 3” Wood Screws
Measuring Tape
For accurate measurements of plywood and components, ensuring proper assembly.
Pencil
Marks and draws with ease.
Rite in the Rain All-Weather 8-1/2 in. x 11 in. 100 lbs. Printer Paper, White (250-Sheet Pack) 1008511
Copy or laser print your own all-weather forms, charts, maps and worksheets on patented 8-1/2 in. x 11 in. Rite in the Rain all weather copier paper. Now you can have the convenience of using your existing
Amerimax Home Products 6 in. White Aluminum K-Style Inside Gutter Miter 47001
The Amerimax Home Products 6 in. Aluminum Inside Gutter Mitre features rust-free aluminum construction for durability and a baked-on white enamel finish for low maintenance. To install, snip the back of the gutter, overlap the pieces, and rivet them together. Sealant is required for installation (not included). This product attaches with screws or pop rivets (not included)
Swanson Speed Square and Combination Square Bundle S0101CB
Speed Squares and Combination Squares are essential tools, so we bundled our one and only top selling, innovative Speed Square with our 6 in. Combination Square for Home Depot customers. These 2 squares
#10 3” Wood Screws
Sturdy screws ideal for wood.
Steps

Measure and Plan Bench Dimensions
60 minutesMeasure the width, depth, and height of the stair landing area where the bench will be installed. Account for any existing architectural features like railings, baseboards, or walls. Determine the desired height of the bench seat, typically around 18 inches from the floor. Plan the depth of the bench, ensuring it's comfortable for seating but doesn't obstruct pathways. Note any obstructions such as doors, windows, or electrical outlets. Sketch out a basic plan indicating these dimensions to guide the construction.
Watch: Plan Bench Dimensions and Prepare Area
Construct the Bench Frame
180 minutesBased on the planned dimensions, cut 2x4 or 2x6 lumber to create the front, back, and side pieces of the bench frame. Also cut any internal support pieces (joists) needed for rigidity, spaced appropriately (e.g., every 16 or 24 inches). Assemble the frame using wood screws, ensuring all corners are square and the structure is robust. If the bench is long, include additional internal bracing to prevent sagging.
Watch: Construct the Wooden Frame
Secure the Bench Frame to the Landing
60 minutesPlace the assembled bench frame in its final position on the stair landing. Ensure it is level and aligned correctly. Use sturdy wood screws or lag bolts to attach the frame to the floor joists below, or to any wall studs it abuts. If attaching to a concrete floor, use appropriate concrete anchors. The connection must be very secure to prevent the bench from shifting.
Watch: Install Main Bench and Backrest Frames
Install the Bench Seat
90 minutesMeasure the top surface of the bench frame. Cut a piece of 3/4-inch plywood or select solid wood boards (like pine, oak, or poplar) to fit this area precisely. If using multiple boards, ensure they are joined tightly. Lay the seat material over the frame and attach it using wood screws, driving them into the frame members below. Space screws every 6-8 inches for a secure fit.
Watch: Install Plywood Seat Base
Build and Attach the Backrest (Optional)
120 minutesIf a backrest is desired, construct a frame using 2x4s similar to the base frame, sized to fit the width of the bench and the desired height. Attach this backrest frame to the rear edge of the bench seat and frame using long wood screws or lag bolts. Ensure the backrest is vertical (plumb) and well-supported. You may want to add internal bracing for the backrest, especially if it's tall.
Watch: Construct Angled Backrest Supports
Add Decorative Paneling or Trim
180 minutesMeasure and cut pieces of 1/4-inch or 1/2-inch plywood, beadboard, or MDF to cover the exterior sides and front of the bench frame. Attach these panels using wood glue and finishing nails or small screws. Once the panels are in place, add decorative trim molding around the top edge of the seat and along the bottom of the bench for a more refined appearance. Ensure trim pieces are mitered correctly at the corners.
Watch: Add Decorative Trim
Sand and Prepare for Finishing
120 minutesUsing sandpaper or an orbital sander, thoroughly sand all exterior surfaces of the bench, including the seat, backrest (if applicable), and any decorative panels or trim. Start with a medium-grit sandpaper (e.g., 120-grit) and finish with a fine-grit sandpaper (e.g., 220-grit) for a smooth finish. Pay extra attention to filling any nail holes or imperfections with wood filler and sanding them smooth once dry. After sanding, wipe down the entire bench with a tack cloth or a damp rag to remove all dust.
Watch: Sand All Lumber Pieces
Apply Primer and Paint or Stain
240 minutesApply a thin, even coat of high-quality primer to all surfaces of the bench. Allow the primer to dry completely according to the manufacturer's instructions. Lightly sand any rough spots after the primer dries. Then, apply your chosen finish. If painting, apply two or more thin coats of your desired paint color, allowing each coat to dry thoroughly. If staining, apply the wood stain evenly, wipe off any excess, and let it dry. Follow with one or two coats of a durable clear sealant (like polyurethane or varnish) for protection.
Watch: Apply Primer
Add Cushions or Upholstery (Optional)
120 minutesIf desired, measure the bench seat and backrest dimensions for custom cushions. You can purchase pre-made cushions that fit or have them custom-made. Alternatively, you can create your own upholstery by cutting foam padding to size, covering it with fabric, and securing the fabric to the underside of the bench seat or to a plywood base with staples. Ensure the upholstery is taut and neatly finished.
Watch: Install Cushions and Non-Slip Underlay

