
How to Use a Squeak-Repair Kit on Carpeted Stairs and Floors
About This Project
Outline for using a squeak-repair kit on carpeted stairs and floors to eliminate annoying squeaking sounds.
Tools & Materials
Chalk Line

Blue Tape

Everbilt Squeaky Floor Repair Kit 19594

Drill Bits

DEWALT 20V MAX Cordless Compact 1/2 in. Drill/Drill Driver with (2) 20V 1.3Ah Batteries, Charger and Bag DCD780C2

Amerock Satin Nickel 1/4 in. (6 mm) Double-Demountable Inset Hinge (2-Pack) BPR8701G10
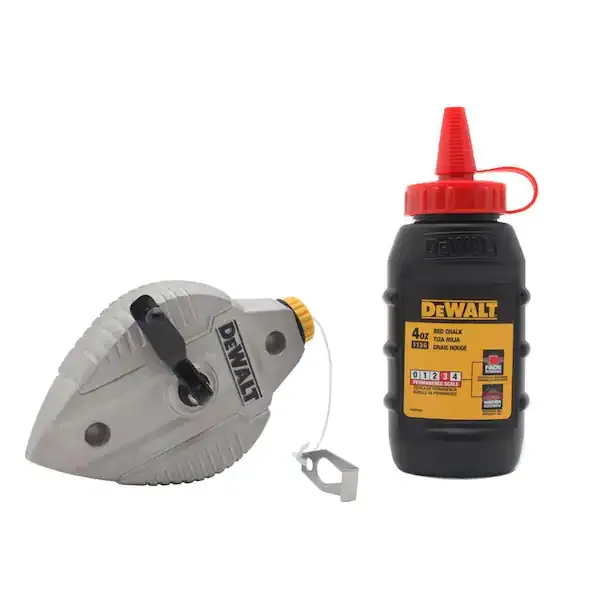
Chalk Line
Marks straight, precise lines on surfaces.
Blue Tape
Used for marking measurements and guidelines on materials.
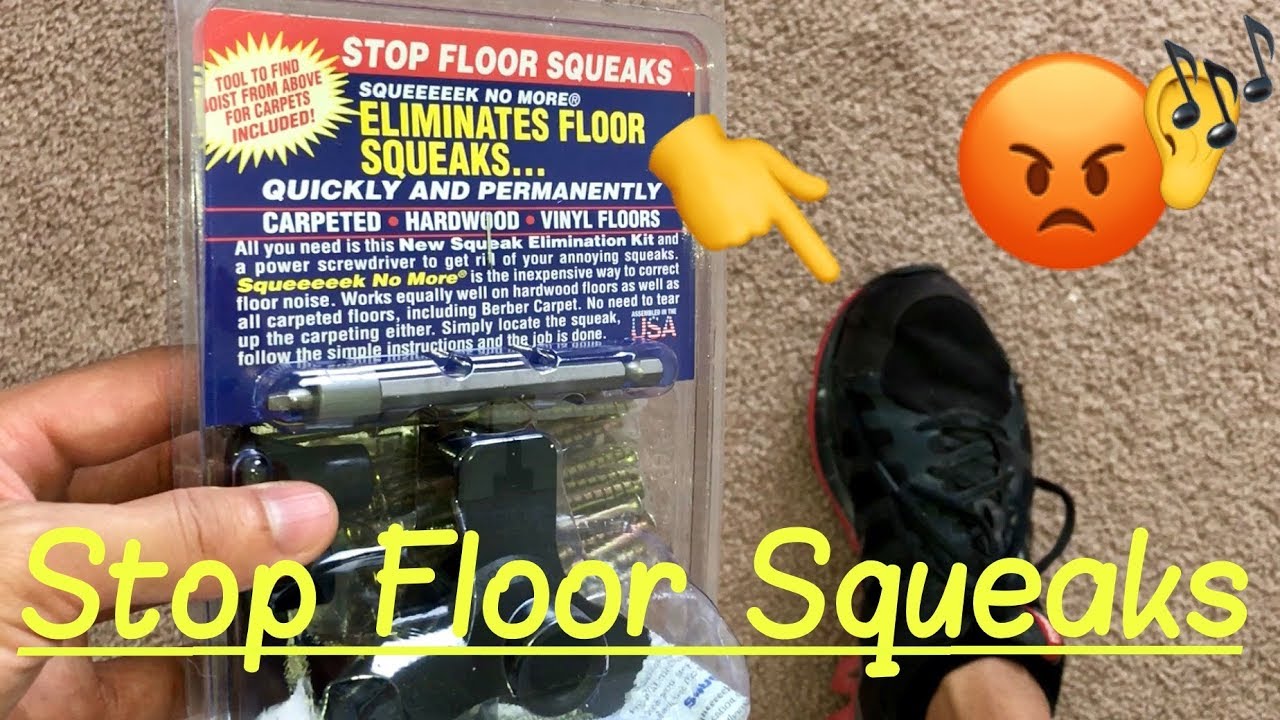
Everbilt Squeaky Floor Repair Kit 19594
This Squeeeeek No More kit quickly and permanently stops annoying floor squeaks. Works for hardwood, vinyl and carpet. Installation bit, special screws, alignment and depth control fixture for carpeted
Drill Bits
Cutting tools used to remove material to create holes.
DEWALT 20V MAX Cordless Compact 1/2 in. Drill/Drill Driver with (2) 20V 1.3Ah Batteries, Charger and Bag DCD780C2
Powerful enough for rigorous job site applications, the DEWALT 20-Volt Cordless Compact Drill/Driver features durability, performance and comfort. It has a slim handle with a contoured, ergonomic grip
Amerock Satin Nickel 1/4 in. (6 mm) Double-Demountable Inset Hinge (2-Pack) BPR8701G10
The Amerock BP8701G10 1/4in(6mm) Overlay Hinge is finished in Satin Nickel. Double demountable hinges feature claming plates which clamp hinge to both the door and the frame stile. Use to easily correct
Steps

Identify Squeak Location
15 minutesThe first crucial step is to accurately locate the source of the squeak. This often involves a process of elimination by systematically walking over the affected areas. Pay close attention to where the sound originates. Once identified, mark the spot. For stairs, this might be on the tread or riser. For floors, it could be near a seam or in the middle of a wider expanse.
Watch: Identify Squeak Location
Prepare the Squeak Repair Kit
5 minutesMost squeak repair kits contain specialized screws designed to bridge the gap between carpet and subfloor, and often include a drill bit sized for these screws. Familiarize yourself with all the parts included in your specific kit and carefully review the manufacturer's instructions. This ensures you understand how each component is intended to be used.
Watch: Gather Squeak Repair Kit and Drill
Drill Pilot Holes
10 minutesThe pilot hole guides the repair screw and helps prevent the carpet backing from tearing excessively. Use the specified drill bit from the kit. For optimal effectiveness, especially on floors, aim the drill at a slight angle towards the nearest floor joist. This helps the screw secure into the joist, providing better support. Be careful not to drill too deep, only penetrating the subfloor sufficiently to anchor the screw.
Watch: Drill a Pilot Hole
Install Repair Screws
15 minutesWith the pilot holes drilled, insert the repair screws. These screws are typically designed with a break-off head or a mechanism to allow the visible portion to be removed or countersunk. Attach the appropriate screw-driving bit to your drill and carefully drive the screw. Stop when the screw is snug and has effectively pulled the carpet and subfloor tightly together, eliminating the gap causing the squeak. The goal is to create a tight bond that stops movement.
Watch: Install Specialized Repair Screws
Break Off Screw Heads (if applicable)
5 minutesMany squeak repair kits include screws with heads designed to break off at a specific point. This leaves a clean finish and prevents the screw head from being a tripping hazard or visible. Once the screw is driven in, use needle-nose pliers or the tool provided in the kit to grip the screw head and snap it off. The aim is for the remaining shaft to be flush with or slightly below the carpet surface.
Watch: Break Off the Screw Head
Test the Repaired Area
5 minutesAfter installing the screw and breaking off the head, put weight back on the repaired spot. Walk on it firmly to see if the squeak is gone. If you still hear a squeak, it's possible the screw didn't fully engage the joist, or there might be multiple points of friction. You can try inserting another screw adjacent to the first, or slightly repositioning the original screw in its pilot hole if it allows. Repeat the process if necessary until the squeak is resolved.
Watch: Test Repaired Floor

