
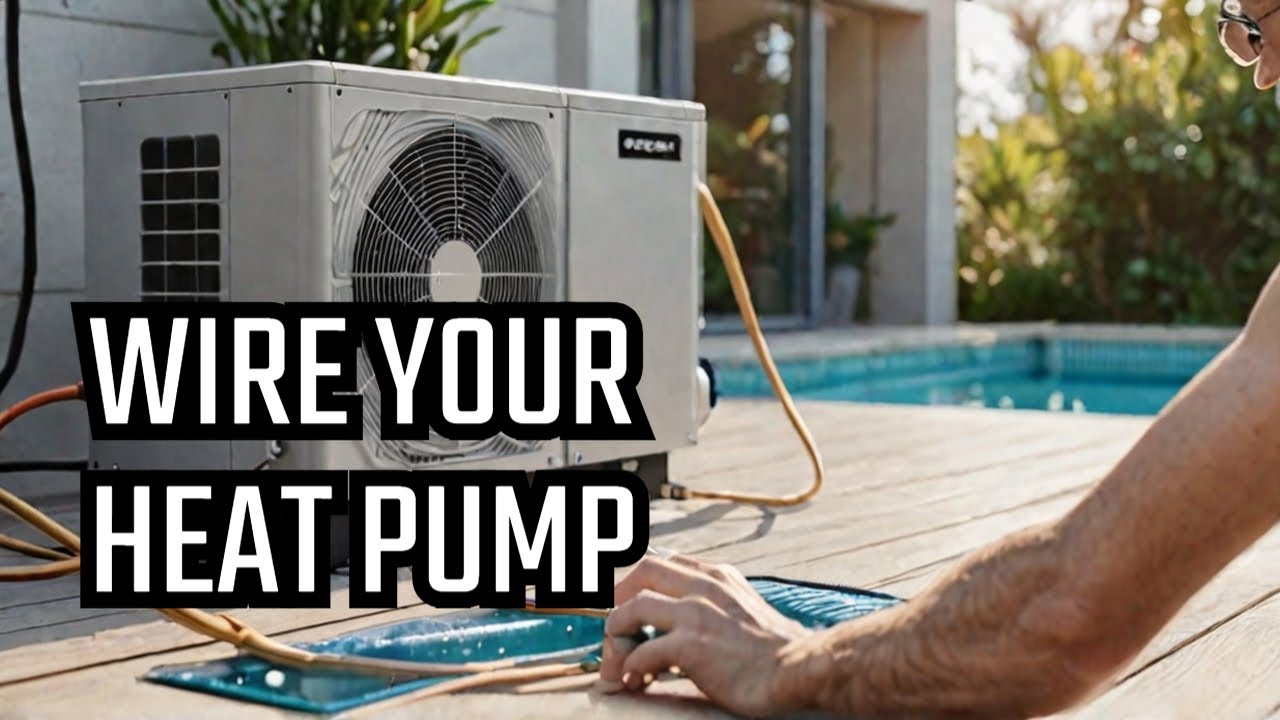
Professional Installation Recommendation
About This Project
Due to the complexities and safety requirements involved in heat pump installation, including electrical wiring, refrigerant handling, and potential structural modifications, it is strongly recommended to hire a licensed HVAC professional. They possess the necessary expertise, tools, and certifications to ensure the system is installed correctly, safely, and efficiently, complying with all local codes and regulations. Attempting a DIY installation can lead to system malfunction, safety hazards, voided warranties, and potential damage to your property.
Tools & Materials

Carrier Installed Performance Series Heat Pump HSINSTCARPHP

Square D Homeline 100 Amp 6-Space 12-Circuit Outdoor Main Lug Electrical Panel(HOM612L100RBCP) HOM612L100RBCP
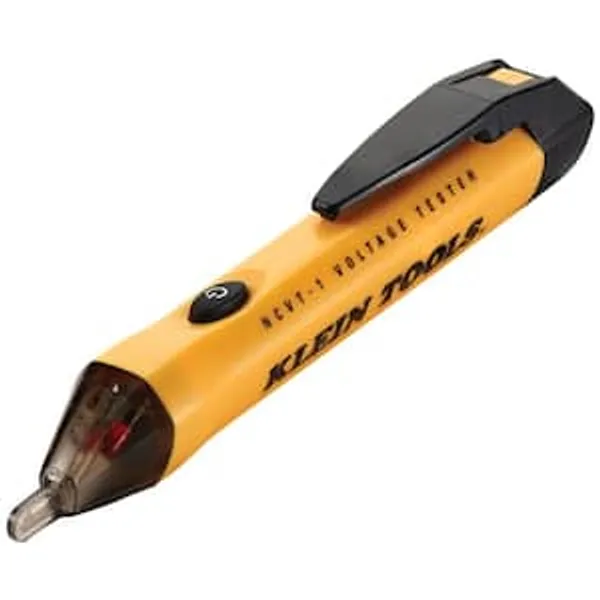
Voltage / Circuit Tester

FLUKE 400 Amp AC/DC True RMS Auto Ranging Digital Clamp Meter 5065866
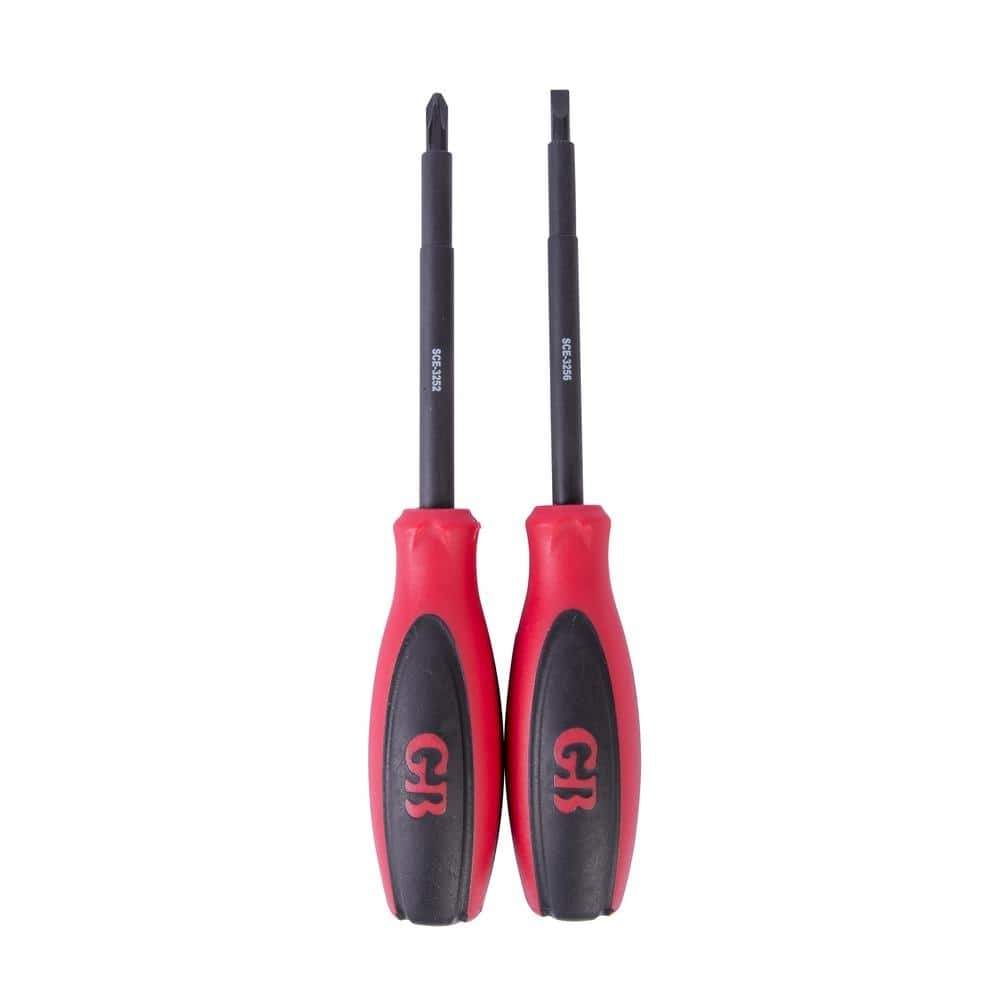
Gardner Bender #2 Phillips and 3/16 Standard Insulated Screwdriver Set (2-Piece) SCE-3262

Wire Cutter or Stripper
Carrier Installed Performance Series Heat Pump HSINSTCARPHP
Carrier Performance Series heat pumps deliver on the promise of comfort you can feel, efficiency and savings you can appreciate, and lasting performance you can depend on. This versatile product line features a variety of models, all designed to represent the Performance name no matter which one you choose, no matter where you live. Our top-of-the-line in this collection is the ENERGY STAR qualified Performance 16 with impressive cooling efficiencies of up to 17.5 SEER. Featuring two-stage compression, this model enhances your comfort experience by selecting the best stage for current conditions. As a result, you'll enjoy even temperatures, quiet operation and improved summer dehumidification. Like other Carrier heat pumps, it's designed to be Hybrid Heat system compatible with a matched Carrier gas furnace to help you save on heating costs in winter too. What does the in-home consultation include, During your consultation, an expert will visit your home to: determine the best way of replacing your existing system, perform a load calculation to determine proper size of system for your home, discuss product and extended service options that best fit your needs and budget, discuss dehumidification, humidification and air filtration options, review financing options, provide an estimate on the cost of your new system replacement, and identify installation date for your new system.
Square D Homeline 100 Amp 6-Space 12-Circuit Outdoor Main Lug Electrical Panel(HOM612L100RBCP) HOM612L100RBCP
The Square D Homeline 100 Amp 6-Space 12-Circuit Outdoor fixed Main Lugs Load Center is UL listed for residential and commercial power distribution. This load center is built with a plated, aluminum bus
Voltage / Circuit Tester
Detects electrical voltage presence.
FLUKE 400 Amp AC/DC True RMS Auto Ranging Digital Clamp Meter 5065866
The FLUKE 325 True-rms Clamp Meter is a reliable, versatile troubleshooting tool for commercial and residential electricians. Featuring a slim design for easy transport and use and a large display for
Gardner Bender #2 Phillips and 3/16 Standard Insulated Screwdriver Set (2-Piece) SCE-3262
Hand tools are a part of every toolbox. With exclusive features for safety, durability, reliability and life strength, Gardner Bender hand tools offer superior performance on every job. This screwdriver
Wire Cutter or Stripper
Cuts or strips wire insulation.
Steps

Verify Electrical Requirements and Connections
120 minutesThe installation of a heat pump requires a dedicated electrical circuit. You must verify the power requirements of the new unit against your home's electrical panel capacity. This includes checking the required amperage and voltage. If your existing electrical panel does not have sufficient capacity or the correct type of breaker (e.g., a double-pole breaker for 240V systems), it will need to be upgraded by a qualified electrician. Proper grounding and wiring methods, as specified by the manufacturer and local building codes, are critical for safety and system performance.
Watch: Electrical Sizing and Professional Consultation
Position the Outdoor Unit
60 minutesThe outdoor unit, or condenser, must be placed on a solid, level pad. This pad can be a pre-fabricated concrete or composite base. Ensure there is at least 2 feet of clearance around the unit for proper airflow and service access. Avoid placing it directly on the ground, as this can lead to corrosion and blockages. The location should also consider proximity to the indoor unit, the electrical supply, and potential refrigerant line runs. Check local ordinances for any specific setback requirements from property lines or buildings.
Watch: Installing the Outdoor Condenser Unit
Install Refrigerant Lines and Condensate Drain
180 minutesRefrigerant lines must be properly sized, insulated, and free of kinks. The larger, insulated line is the suction line (low pressure), and the smaller, uninsulated line is the liquid line (high pressure). Both lines need to be connected securely to the appropriate ports on the indoor and outdoor units. The condensate drain line collects moisture from the indoor unit's evaporator coil. It must be sloped downward away from the unit to ensure proper drainage and prevent water buildup, which can lead to mold and water damage. Use appropriate fittings and sealant to prevent leaks.
Watch: Connect Refrigerant Lines, Condensate Drains, and Communication Wires
Connect Ductwork to Indoor Unit
90 minutesThe indoor unit (air handler or furnace) serves as the central point for air distribution. The supply ductwork carries conditioned air into the living spaces, while the return ductwork brings air back to the unit for reconditioning. Securely attach the ductwork to the unit's flanges using appropriate connectors, mastic sealant, and screws or rivets to create airtight seals. If adapting to existing ductwork, ensure the transition is smooth and well-sealed to avoid airflow obstructions and energy loss.
Watch: Connect Air Handler to Ductwork
Perform System Startup and Initial Checks
150 minutesThis step is critical and requires specialized knowledge and tools. It involves turning on the power to the unit and initiating the startup sequence as outlined in the installation manual. A key part of this is ensuring the correct refrigerant charge. Overcharging or undercharging can severely damage the compressor and reduce efficiency. A licensed HVAC technician will use manifold gauges to measure pressures and temperatures, and a leak detector to confirm there are no refrigerant leaks. They will also verify that the indoor and outdoor fans are operating correctly, the thermostat is functioning, and that heating and cooling modes are engaging as expected.
Watch: System Activation and Final ChecksCommon Problems
Electric shock or system failure due to incorrect or unsecure electrical wiring. This is a severe safety hazard and can damage the unit or your home's electrical system.
Solution: IMMEDIATELY shut off power at the main electrical panel. Use your voltage tester to confirm zero voltage before touching any wires. Carefully re-examine all wiring connections against the manufacturer's diagram, ensuring wires are stripped to the correct length, fully seated in terminals, and tightened securely. If unsure, contact a licensed electrician.
Prevention: ALWAYS turn off power at the main breaker before starting any electrical work. Verify power is off with a voltage tester. Double-check all wiring diagrams and ensure connections are tight and insulated correctly before restoring power. If you are not completely confident, hire a professional.
Refrigerant leaks from line set connections, leading to poor heating/cooling performance, loss of efficiency, and environmental damage. This often happens due to improper flaring or overtightening the flare nuts.
Solution: Shut down the system. Using soapy water or a refrigerant leak detector, locate the source of the leak (often at the flare nuts). If it's a loose connection, tighten the flare nut carefully, but do not overtighten. If the flare itself is damaged, you will need to cut the line, re-flare it, and reconnect. This often requires specialized tools and expertise; consider calling an HVAC professional as handling refrigerant is dangerous and requires EPA certification.
Prevention: Ensure copper lines are cut cleanly and deburred using the proper copper pipe cutter and reamer. Use a flaring tool correctly to create a perfect flare. Use a torque wrench on flare nuts to achieve the manufacturer-specified tightness, avoiding both under-tightening (leaks) and over-tightening (cracked flares). Practice flaring on scrap pieces first.
Outdoor unit is not level or stable on the mounting pad, causing excessive vibration, noise, and potential damage to the unit or refrigerant lines over time. Poor drainage can also lead to water pooling around the unit.
Solution: Turn off power to the unit. Carefully lift or reposition the unit. Use a level to ensure the HDPE mounting pad is perfectly level in all directions. If the ground underneath is uneven, add or remove gravel and compact it thoroughly. Ensure any anchors used are securely fastened to prevent shifting.
Prevention: Before placing the unit, prepare the ground thoroughly. Dig a level base, add and compact a sufficient layer of gravel (like Quikrete 50 lb. All-Purpose Gravel), and then place the HDPE mounting pad. Use a level to confirm the pad is perfectly flat before setting the unit down.
Condensate drain line becomes clogged or doesn't have a continuous downward slope, causing water to back up and overflow into the indoor unit or home, leading to water damage.
Solution: Turn off the system. Locate the drain line and check for any visible kinks or blockages. If accessible, try to clear the blockage by flushing with water or using a wet-dry vacuum to suction out debris from the outdoor end. Ensure the entire length of the drain line has a continuous, gentle downward slope towards its discharge point.
Prevention: When installing, ensure the condensate drain line (e.g., DuctlessAire 5/8 in. UV Protected Universal Condensate Drain Line) has a minimum slope of 1/8 to 1/4 inch per foot. Secure it properly to prevent sagging or kinks, and avoid sharp bends that could restrict flow. Periodically check and clean the drain pan and line.
The heat pump unit fails to turn on or displays an error code after initial power up, indicating a problem with the electrical supply, control wiring, or a component malfunction.
Solution: Immediately refer to the heat pump's owner's manual for specific error code interpretations. Check the circuit breaker for the unit; reset if tripped. Verify all low-voltage control wires (thermostat to indoor/outdoor unit) are correctly connected and secure. Use a multimeter (like the FLUKE 400 Amp AC/DC True RMS Digital Clamp Meter) to check for proper voltage supply to the unit. If the problem persists or involves complex diagnostics, contact an HVAC professional.
Prevention: Before initial startup, double-check all electrical connections (both high and low voltage) for tightness and correct wiring according to the manufacturer's diagram. Use your multimeter to verify continuity for critical circuits where possible. Follow the system startup sequence exactly as outlined in the installation manual.
Refrigerant lines are kinked, flattened, or damaged during installation, restricting refrigerant flow and severely impacting system efficiency or leading to immediate leaks.
Solution: If a line is severely kinked or flattened, it often needs to be replaced entirely, as repairing it can be difficult and lead to future issues. For minor kinks that haven't compromised the line's integrity, you might gently try to reshape it, but be very cautious not to cause a leak. This requires careful handling and specialized tools, so consider professional assistance.
Prevention: Handle the copper line set (e.g., MRCOOL 25 ft. Flared Line Set Kit) with extreme care, especially when uncoiling or bending. Avoid sharp bends and use appropriate bending tools if necessary. Plan your routing carefully to minimize bends and ensure there's enough slack, but not so much that it creates a tripping hazard or allows kinking.


