
Paint Stair Risers
About This Project
Dreaming of a fresh, updated staircase but dreading the thought of a dusty, time-consuming sanding project? You're in luck! This guide shows you how to achieve a beautiful, professional-looking finish on your stair risers—the easy way. While our passion is creating beautiful, non-slip stair treads that bring safety and style to your home, we know that a full stair makeover often involves the risers, too. Consider this our supportive guide to help you complete your easy DIY stair remodel.
Steps

Prepare and Clean Your Risers
60 minutesFirst things first, let's get that surface perfectly clean. Start by vacuuming away any loose dust or cobwebs. Next, wash the risers with a TSP (trisodium phosphate) substitute cleaner or a good degreaser mixed with water. For any tough spots, a little elbow grease with a soft brush will do the trick. Wipe everything down with a clean, damp cloth to rinse, and then—this is important—let the risers dry completely. Taking the time to do this step right is the key to a professional finish and prevents any issues with adhesion down the line.
Watch: Prepare Stair Risers
Apply a High-Quality Bonding Primer
120 minutesChoose a high-quality bonding primer specifically made for slick or glossy surfaces—this is your secret weapon for a no-sand project. Use a small, high-density foam roller for the flat areas to get a super-smooth finish, and an angled brush to cut in neatly along the edges. Apply a thin, even coat and let it dry completely according to the manufacturer's directions (usually 2-4 hours). If your original surface was dark or very slick, a second coat is a great idea for extra peace of mind and coverage. Let it dry thoroughly before moving on. This primer is what makes a professional, durable result possible without all the dust.
Watch: Prepare Surface with Scuff Sanding or Bonding Primer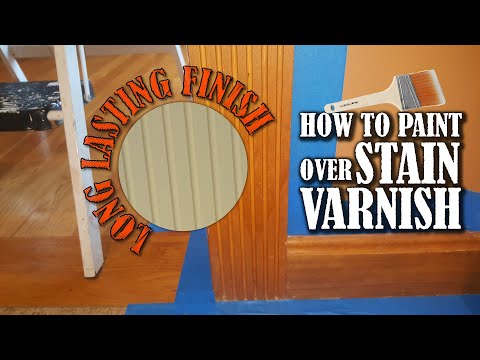
Paint with a Durable Top Coat
180 minutesWith your primer fully cured, it's time to bring your vision to life. Using the same foam roller and angled brush, apply your top coat. The key here is patience: apply thin, even coats and resist the urge to go too thick, which can cause drips. Let each coat dry completely before starting the next—check the paint can for specific times. You'll likely need two or three coats to get beautiful, solid coverage. We recommend choosing a high-quality enamel paint designed for trim or high-traffic areas to ensure it stands up to everyday life.
Watch: Apply Top CoatLet the Paint Fully Cure
168 minutesHere's a crucial tip that makes all the difference: 'dry to the touch' is not the same as 'fully cured.' While your risers might feel dry in a few hours, the paint is still hardening underneath. To get that rock-solid, durable finish you worked so hard for, you need to let it cure. This is the process where the paint film hardens completely and bonds to the surface. Try to avoid any foot traffic, bumps, or cleaning for at least 7 days (or whatever the manufacturer recommends). This final bit of patience ensures your beautiful new risers can handle all the comings and goings of a busy home.
Watch: Allow for Final Drying and Curing