

How to Install Shiplap on a Stair Wall
About This Project
Outline for installing shiplap on a stair wall, covering preparation, material selection, and installation steps.
Tools & Materials

DEWALT 1-1/2 in. Stud Finder DW0150

VEVOR Drywall Skimming Kit Handle + Fixator Smoothing Knife Accessory, Professional Skim Coat Tools for Drywall DBSNZGDTZB1P3OCKDV0
Box Cutter

Drop Cloth

Bosch Line and Point Laser Level GLL 1P
Measuring Tape
DEWALT 1-1/2 in. Stud Finder DW0150
This Center Sensor Stud Finder has a detection depth of 1-1/2 in. for wood and metal. Traditional stud sensors locate the edge of the stud, but our new product locates the center for a more efficient read, even when held at an angle. Plus, it is constantly calibrating to save time during use. An audible alert and directional LED arrows clearly notify you once the stud is located and you can easily mark the center of the stud with the center marking channel.
VEVOR Drywall Skimming Kit Handle + Fixator Smoothing Knife Accessory, Professional Skim Coat Tools for Drywall DBSNZGDTZB1P3OCKDV0
Multi-functional professional putty knife set. Still struggling with your wall projects don't worry get our set now and say goodbye to all your worries the ultimate multi-functional putty tool from crack
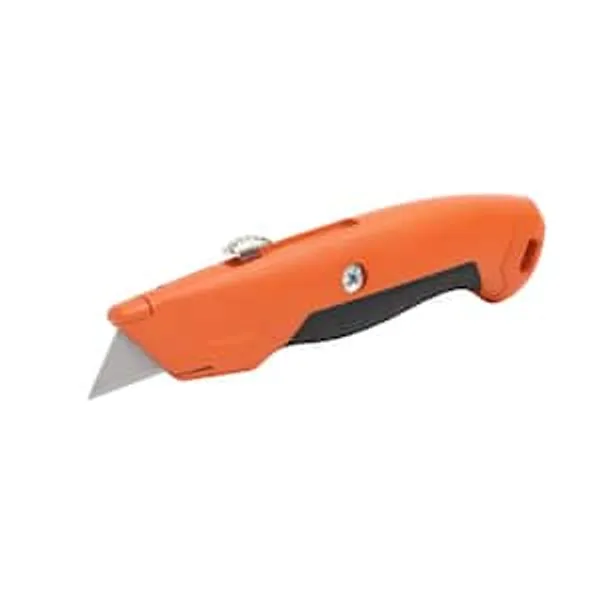
Box Cutter
Sharp and handy for precise cuts.
Drop Cloth
Protects surfaces from unwanted spills.
Bosch Line and Point Laser Level GLL 1P
The Bosch GLL 1P Line and Point Laser Level features easy mount and setup for most leveling and alignment needs. Clear visible laser line and point ideal for interior short range jobs. Bright Laser Line
Measuring Tape
For accurate measurements of plywood and components, ensuring proper assembly.
Steps

Inspect and Prepare Stair Wall Surface
60 minutesThoroughly inspect the stair wall for any cracks, holes, or unevenness. Clean the wall surface to remove dust, grime, and cobwebs. Repair any significant drywall damage, such as large holes or cracks, using joint compound and allowing it to dry completely before proceeding. Lightly sand any rough spots or old paint drips to ensure a smooth surface for the shiplap.
Watch: Prepare Walls
Plan Shiplap Layout and Determine Starting Point
45 minutesDecide on the orientation of your shiplap boards (typically horizontal for a classic look on stair walls). Determine the best starting point for installation. For a stair wall, it's often best to start from the bottom or a significant horizontal architectural feature, ensuring the first board is level. Measure and mark a level line to guide the first row of shiplap.
Watch: Install Shiplap from Bottom Up, Ensuring Level
Cut Shiplap Boards for Stair Wall
120 minutesBegin cutting your shiplap boards to fit the length of the stair wall. Use a miter saw for precise straight cuts and angle cuts where walls meet. Carefully measure and cut around any electrical outlets, windows, or architectural features present on the stair wall. For the stair stringer area, you may need to cut angled pieces to match the slope of the stairs.
Watch: Measure and Cut Shiplap Panels
Install First Row of Shiplap
90 minutesStarting from your marked level line, place the first shiplap board against the wall. Use a level to confirm it is perfectly horizontal. Fasten the board to the wall studs using brad nails or screws. Ensure the nails/screws are countersunk slightly below the surface of the wood. If using shiplap with a rabbeted edge, ensure the groove overlaps the tongue of the previous board, or vice-versa, depending on your starting point and direction.
Watch: Install and Level First Shiplap Course
Continue Installing Subsequent Rows of Shiplap
240 minutesInstall the subsequent rows of shiplap, working your way up the stair wall. Ensure that the joints between boards in each row are staggered relative to the joints in the rows above and below. This creates a stronger and more aesthetically pleasing wall. Maintain consistent spacing between boards, often achieved by the shiplap profile itself, or by using spacers if necessary. Carefully measure and cut boards to fit along the sloped ceiling or any horizontal breaks.
Watch: Install Subsequent Shiplap Rows
Trim and Fit Around Obstacles
150 minutesAs you progress, meticulously trim and fit each shiplap board to accommodate any obstructions. This includes electrical boxes, light fixtures, and the edges of windows or doors. Use a jigsaw or oscillating multi-tool for detailed cuts around irregular shapes. Ensure a tight fit to minimize the need for excessive caulking later.
Watch: Cut and Install Outlet Boards
Caulk Gaps and Fill Nail Holes
60 minutesOnce all shiplap boards are installed, use paintable caulk to fill any small gaps or seams between boards, especially at corners or where boards meet trim. Use wood filler or joint compound to fill all nail holes. Allow the caulk and filler to dry completely according to the manufacturer's instructions.
Watch: Fill Nail Holes and GapsSand and Prime the Shiplap Wall
90 minutesAfter the caulk and filler have dried, lightly sand all filled areas to create a smooth, seamless surface. Use fine-grit sandpaper or a sanding sponge to avoid damaging the shiplap. Wipe down the entire wall with a tack cloth or damp rag to remove all sanding dust. Apply a high-quality primer evenly across the entire shiplap surface, ensuring complete coverage. Allow the primer to dry thoroughly as per the manufacturer's instructions.
Watch: Prime and Paint Shiplap
Paint the Shiplap Wall
120 minutesOnce the primer is completely dry, apply your chosen paint color to the shiplap wall. Use a high-quality paint suitable for walls. Apply thin, even coats, using a roller for the main surfaces and a paintbrush for edges and corners. Allow each coat to dry thoroughly before applying the next, typically two coats are recommended for full coverage and durability. Follow the paint manufacturer's drying time recommendations.
Watch: Paint the Shiplap Wall

