

How to Install Baseboard Along a Staircase Wall
About This Project
A high-level outline for installing baseboard molding along a staircase wall, including planning, cutting, fitting, and finishing steps.
Tools & Materials
Measuring Tape

Pencil
maocao hoom 35 in. W Retangular White Wood Writing Desk Computer Desk MZHACME-92604

Woodgrain Millwork WG 1867 19/32 in. x 7-1/4 in. Primed MDF Baseboard Moulding 10001026

CROCODILE CLOTH Professional Paint Pre-Moistened Heavy-Duty Wet Cloths Cleaning Wipes (100 Per Pack) 6920
Sandpaper (Various Grit)
Measuring Tape
For accurate measurements of plywood and components, ensuring proper assembly.
Pencil
Marks and draws with ease.
maocao hoom 35 in. W Retangular White Wood Writing Desk Computer Desk MZHACME-92604
This stylish, minimalist desk is perfect for work, study or home work. It can be used as a computer desk, writing desk or study desk. 35 in.L long desktop provide ample storage space. Made from quality
Woodgrain Millwork WG 1867 19/32 in. x 7-1/4 in. Primed MDF Baseboard Moulding 10001026
The Woodgrain Millwork 19/32 in. x 7-1/4 in. 1867 MDF base is the perfect addition to dress up any room. The Woodgrain Millwork MDF 1867 base is used cover any imperfections where floor and wall meet.
CROCODILE CLOTH Professional Paint Pre-Moistened Heavy-Duty Wet Cloths Cleaning Wipes (100 Per Pack) 6920
Unleash the power of the Crocodile Cloth Paint - the ultimate companion for all your painting tasks! Designed with painters, contractors, artists, and DIY enthusiasts in mind, this specially engineered
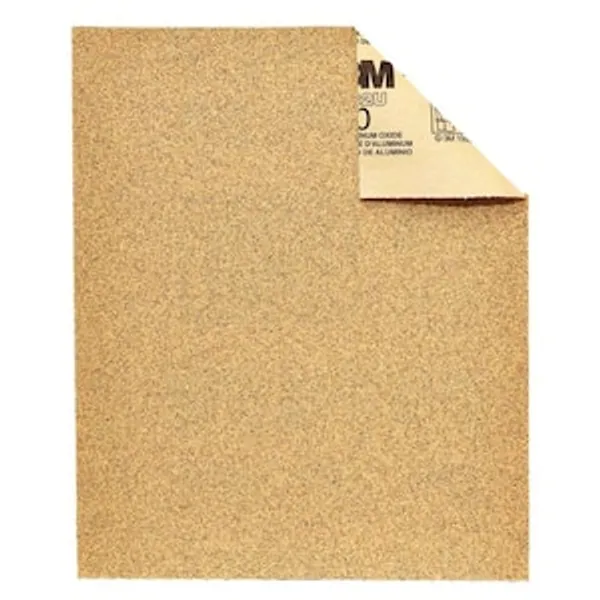
Sandpaper (Various Grit)
Choose your smoothness level.
Steps

Measure and Plan Baseboard Layout
60 minutesCarefully measure the entire length of the staircase wall where the baseboard will be installed. Use a tape measure to get precise measurements for each section of the wall. Note down the measurements for straight runs, as well as any angles or turns. Consider how you will handle inside and outside corners. This planning phase is crucial for determining the total amount of baseboard material needed and for anticipating any complex cuts.
Watch: Plan Room Layout and Measure Walls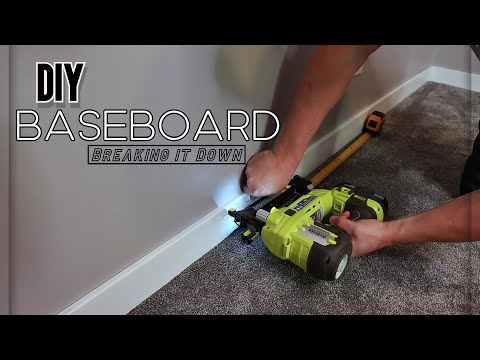
Acquire Baseboard Material
30 minutesBased on the total length calculated in the planning phase, purchase the necessary baseboard molding. Ensure you buy slightly more than you measured to account for any mistakes or complex cuts. Consider the style and profile of the baseboard that best complements your home's decor. Different materials like MDF, pine, or poplar are available, each with its own characteristics for cutting and finishing.
Watch: Understand Baseboard Types and Dimensions
Prepare the Wall Surface
20 minutesBefore installing the baseboard, clean the wall surface along the staircase. Remove any dust, dirt, or cobwebs. If there are any old nails or rough patches, lightly sand them smooth. Ensure the wall is dry and free of debris. This step ensures a clean surface for adhesion and a professional finished look.
Watch: Prepare Wall and Floor
Make Initial Straight Cuts
45 minutesUsing a miter saw or a hand saw with a miter box, cut the baseboard molding to the lengths needed for the straight runs along the staircase wall. Measure each section precisely and make clean, straight cuts. If you are using a miter saw, set it to 0 degrees for a square cut. If using a hand saw and miter box, ensure the saw follows the 90-degree slot.
Watch: Measure and Cut Trim
Cut Inside and Outside Corners
60 minutesFor corners, you will need to make miter cuts. For an inside corner, set your miter saw to 45 degrees (or the appropriate angle for your corner) and cut away from the piece. For an outside corner, also set your miter saw to 45 degrees but cut towards the piece. The goal is to create two beveled edges that meet perfectly to form the corner. Ensure your cuts are precise, as even a small error will be noticeable.
Watch: Miter Cut for Second Outside Corner PieceDry Fit and Adjust Cuts
45 minutesBefore permanently installing the baseboard, perform a dry fit. Place all the cut sections along the staircase wall as they would be installed. Check how each piece fits against the wall and how the corners join. Look for any gaps, uneven seams, or pieces that are slightly too long or too short. Make precise adjustments to your cuts as needed to ensure a perfect fit for all sections.
Watch: Dry Fit Baseboards Around Room
Install the Baseboard Molding
90 minutesOnce you are satisfied with the fit, begin the permanent installation. Apply a bead of construction adhesive to the back of each baseboard section. Then, press the molding firmly against the wall. For added security, use a nail gun with finishing nails to secure the baseboard to the wall studs. Drive the nails flush or slightly below the surface of the molding. Work from one end of the staircase to the other, ensuring each piece is aligned correctly.
Watch: Install BaseboardFill Nail Holes and Caulk Gaps
40 minutesAfter the baseboard is securely installed, fill all nail holes with wood filler or putty. Use a putty knife to apply the filler, then smooth it over. Once the filler is dry, lightly sand the areas smooth. Next, apply a thin bead of paintable caulk along the top edge where the baseboard meets the wall, and in any other small gaps or seams. Smooth the caulk line with your finger or a damp cloth for a clean, finished look.
Watch: Fill Nail Holes and Caulk Seams
Paint or Finish Baseboard
120 minutesOnce the wood filler and caulk have dried, prepare to paint or stain the baseboard. If you are painting, apply a primer first, followed by one or two coats of your chosen paint color. If staining, apply stain evenly and wipe off excess. Ensure you paint or stain carefully to avoid getting any on the walls or adjacent surfaces. For a cleaner line, you can use painter's tape along the edge of the wall before painting.
Watch: Finish Baseboards (Fill, Caulk, Paint)

