

How to Install a Handrail Return at the End of a Rail
About This Project
This project outlines the steps to properly install a handrail return, which is the curved or angled section at the end of a handrail that transitions it back to the wall or newel post. This ensures a safe and aesthetically pleasing finish.
Tools & Materials
Measuring Tape

Pencil

Miter Saw
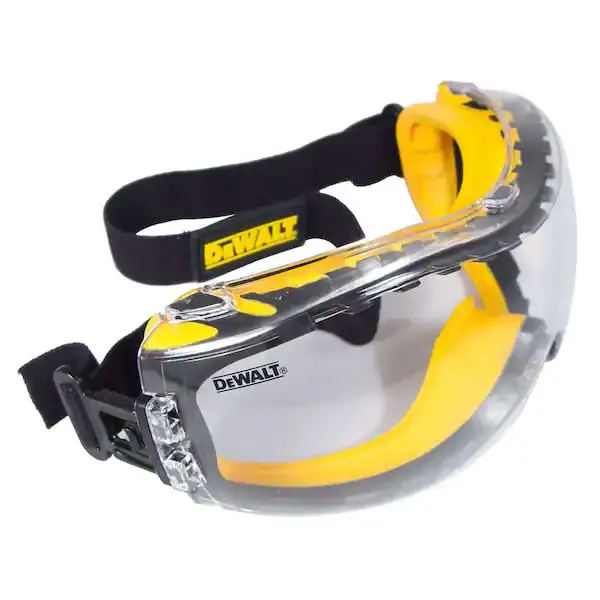
Goggles

VEVOR Handrail Stair Railing 7 in. H x 84.6 in. W Wall Mount Handrails Black Aluminum Alloy handrails for indoor stairs SNLZYXL7FT5CM62YLV0

EVERMARK Stair Parts 7009 4 in. Unfinished Red Oak Return End Fitting 7009R-000-HD00L
Measuring Tape
For accurate measurements of plywood and components, ensuring proper assembly.
Pencil
Marks and draws with ease.
Miter Saw
A saw designed for making precise crosscuts and miters in a workpiece.
Goggles
Shields eyes from potential hazards.
VEVOR Handrail Stair Railing 7 in. H x 84.6 in. W Wall Mount Handrails Black Aluminum Alloy handrails for indoor stairs SNLZYXL7FT5CM62YLV0
VEVOR Stair Handrail, Safeguarding Your Family's Well-Being.We deeply understand that safety is of utmost importance in areas like stairs, hallways, or balconies for you and your family. Therefore, we
EVERMARK Stair Parts 7009 4 in. Unfinished Red Oak Return End Fitting 7009R-000-HD00L
The EVERMARK Unfinished Red Oak Return End Handrail Fitting adds beauty and function when building a staircase or remodeling stairs. Made for interior use from attractive red oak, this stair rail fitting
Steps
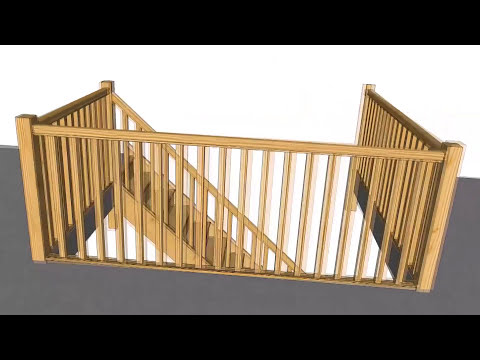
Mark Handrail Return Position
15 minutesUsing a tape measure and pencil, accurately mark the point on the wall or newel post where the end of the handrail return will be positioned. This mark should account for the final height and projection of the return.
Watch: Mark Handrail and Newel Post for Installation
Prepare Handrail End for Return
45 minutesDepending on the type of return (e.g., volute, easing, or a simple angle), you may need to cut the existing handrail end to a specific angle or shape. This often involves using a miter saw or coping saw to create a clean joint. For some returns, a specific fitting may require a pre-cut notch or end profile.
Watch: Cut Handrail Ends for ReturnsFit and Test Handrail Return
20 minutesAlign the handrail return with the cut end of the handrail and the marked position on the wall or newel post. Check for a snug fit and proper alignment. Make any minor adjustments needed to ensure a seamless transition.
Watch: Final Handrail Installation and Stability Check
Secure Handrail Return to Handrail
30 minutesApply wood glue or a suitable adhesive to the joint between the handrail and the return. For added strength, insert dowels or screws through pre-drilled holes. Clamp the pieces together firmly until the adhesive sets.
Watch: Gluing and Fastening the Return PieceMount Handrail Assembly to Wall/Newel Post
30 minutesUsing the marked position as a guide, attach the handrail assembly. This typically involves screwing through the handrail and into wall studs or blocking, or into the newel post. Ensure the attachment is strong and stable.
Watch: Connect Handrail to Newel Post
Finish and Inspect
60 minutesSand the entire handrail assembly smooth, paying attention to the joints. Fill any screw holes or imperfections with wood filler and allow it to dry. Once dry, sand the filled areas flush. Apply stain, paint, or sealant to match the existing handrail and surrounding finishes. Inspect the entire installation for stability and appearance.
Watch: Final Sanding and Cleaning

