

How to Install a Handrail on Deck Stairs
About This Project
This project outlines the steps for securely installing a handrail on deck stairs to improve safety and accessibility. It covers planning, material selection, layout, cutting, and mounting the handrail posts and the rail itself.
Tools & Materials
Measuring Tape

Pencil
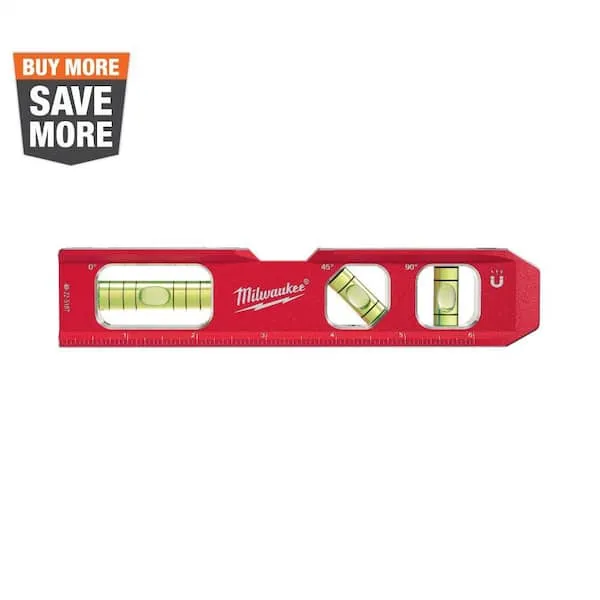
Level
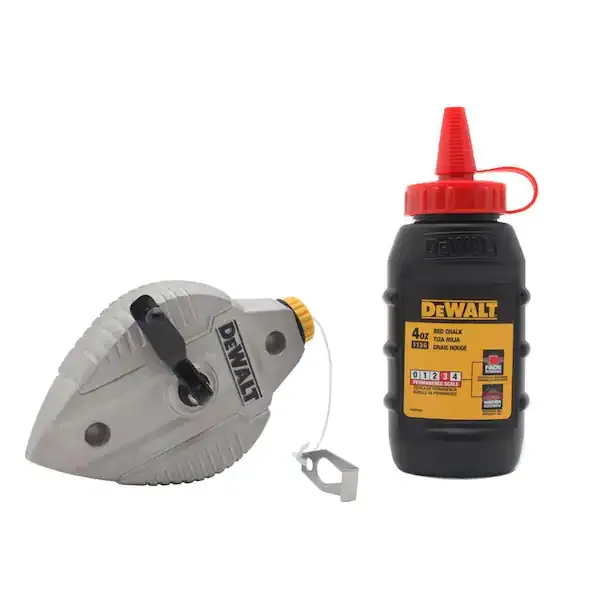
Chalk Line

Miter Saw

Ansell HyFlex 11-735 Medium Duty Cut Resistant Glove Size 8 ASL11735080
Measuring Tape
For accurate measurements of plywood and components, ensuring proper assembly.
Pencil
Marks and draws with ease.
Level
Ensures surfaces are just right.
Chalk Line
Marks straight, precise lines on surfaces.
Miter Saw
A saw designed for making precise crosscuts and miters in a workpiece.
Ansell HyFlex 11-735 Medium Duty Cut Resistant Glove Size 8 ASL11735080
The HyFlex 11-735 features a lightweight liner with INTERCEPT TECHNOLOGY which provides ANSI Level A4 protection while delivering extreme durability. The soft, cool, flexible liner provides all day comfort
Steps

Determine Handrail Height and Length
30 minutesBegin by identifying the desired height for your handrail. The general code requirement is between 34 and 38 inches from the leading edge (nosing) of the stair treads. Use a tape measure to mark this height consistently on any existing posts or at the intended locations for new posts. Next, measure the horizontal length of the entire stair run, from the edge of the top landing to the edge of the bottom landing. This measurement will dictate the total length of the handrail you will need. Ensure the handrail will extend at least one full tread length horizontally past the top step and past the bottom step, providing a continuous gripping surface.
Watch: Determine and Mark Handrail Height
Plan Handrail Post Locations
20 minutesBased on the measured length of your handrail, determine the optimal positions for your support posts. At a minimum, you will need a post at the very top of the stair run (connecting to the deck) and at the very bottom. For longer stair runs, additional posts will be required to support the handrail and prevent sagging. A common guideline is to place posts no more than 5 feet apart. Mark these locations clearly on the deck surface, stair stringers, or any existing structural elements where the posts will be anchored. Ensure these marks align with your previously determined handrail height.
Watch: Install Stair Railing Posts
Cut Handrail and Posts to Size
45 minutesUsing the measurements from Step 1, cut your chosen handrail material to the exact length needed. If using wood, a miter saw or circular saw is suitable. For metal or composite materials, use the appropriate cutting tool recommended by the manufacturer. Next, cut your posts. The length of the posts will depend on where they are being mounted (e.g., directly on a tread, to a stringer, or on a deck surface) and the desired handrail height. You may need to make angled cuts on the top of the posts to ensure a flush fit with the underside of the handrail, especially if the stairs have a slope.
Watch: Measure and Cut Handrail
Attach Handrail Posts
60 minutesPosition the first post at its marked location. If attaching to a stair stringer, ensure the post is centered and flush. Use appropriate fasteners, such as lag screws or bolts, to anchor the post securely. For deck-mounted posts, use specialized deck post brackets or bolts that go through the deck boards and into the joists below. Repeat this process for all posts, ensuring they are all plumb (perfectly vertical) using a level. Check for any wobble; a sturdy post is crucial for handrail safety.
Watch: Install Newel Posts SecurelyPrepare Handrail for Mounting
40 minutesOnce the posts are securely in place, prepare the handrail for attachment. If the ends of your stair run are not perfectly horizontal or vertical, you may need to cut the ends of the handrail at an angle to create a neat and flush fit against the top landing or bottom step structure. Use a miter saw for precise angled cuts. If your handrail design requires it, drill pilot holes through the handrail material where it will connect to the posts. Some systems use specialized handrail brackets that need to be attached to the posts first, or directly to the underside of the handrail.
Watch: Secure Handrail to End Brackets
Install the Handrail
50 minutesCarefully position the handrail onto the posts. If using brackets, attach them to the posts first according to their instructions, then set the handrail into the brackets. If fastening directly, align the pre-drilled holes in the handrail with the corresponding points on the posts. Use screws or bolts appropriate for your handrail material and post type to securely attach the handrail. Check that the handrail is at the correct height and that it follows the slope of the stairs smoothly without any significant dips or rises between posts. Ensure there are no sharp edges or protruding fasteners.
Watch: Install Handrail and Final Fastening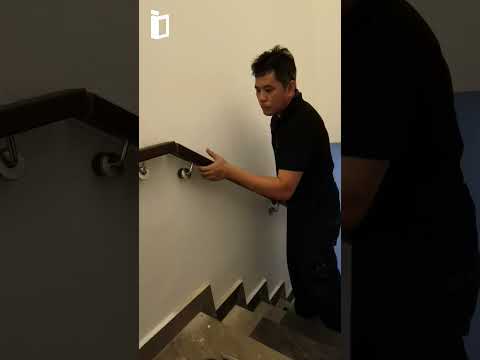
Add Decorative Touches and Finish
90 minutesOnce the handrail is securely installed, you can add any finishing touches. This might include attaching decorative post caps to the tops of the posts for a more polished look. If your handrail and posts are made of wood or a material that requires protection from the elements, apply a suitable finish. This could be paint, stain, or a clear sealant. Ensure the product is rated for exterior use. Apply the finish evenly, following the manufacturer's instructions for application and drying times. This step not only enhances the appearance but also protects the materials from weather damage, prolonging the life of your handrail.
Watch: Finishing and Sealing

