

How to Install a Handrail on Basement Stairs
About This Project
This project outlines the steps for installing a handrail on basement stairs to improve safety and accessibility. It covers planning, measuring, cutting, mounting brackets, attaching the rail, and finishing touches.
Tools & Materials
Measuring Tape

Pencil
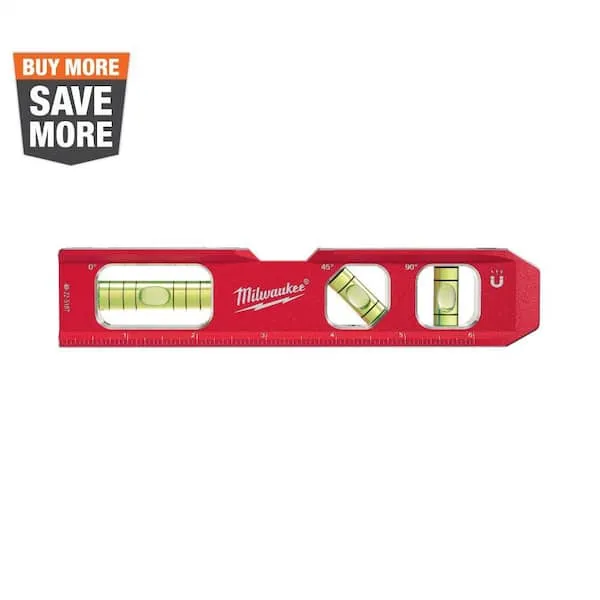
Level

Miter Saw

DEWALT 15 Amp 14 in. (355 mm) Multi-Cutter Saw DW872

VEVOR Handrail Stair Railing 7 in. H x 84.6 in. W Wall Mount Handrails Black Aluminum Alloy handrails for indoor stairs SNLZYXL7FT5CM62YLV0
Measuring Tape
For accurate measurements of plywood and components, ensuring proper assembly.
Pencil
Marks and draws with ease.
Level
Ensures surfaces are just right.
Miter Saw
A saw designed for making precise crosscuts and miters in a workpiece.
DEWALT 15 Amp 14 in. (355 mm) Multi-Cutter Saw DW872
The DEWALT 15 Amp 14 in. (355 mm) Multi-Cutter Saw is a dry cutting saw that uses a carbide-tipped blade specifically designed for cutting heavy-duty metals. Featuring enough capacity to cut everything
VEVOR Handrail Stair Railing 7 in. H x 84.6 in. W Wall Mount Handrails Black Aluminum Alloy handrails for indoor stairs SNLZYXL7FT5CM62YLV0
VEVOR Stair Handrail, Safeguarding Your Family's Well-Being.We deeply understand that safety is of utmost importance in areas like stairs, hallways, or balconies for you and your family. Therefore, we
Steps

Determine Handrail Height and Length
30 minutesBegin by measuring from the nosing of the bottom step upwards to establish the desired handrail height, which should be between 34 and 38 inches for optimal safety and accessibility. Use a tape measure to mark this height at both the top and bottom of the stair run. Then, measure the total horizontal distance of the stairs to determine the required length of the handrail. Ensure the handrail will extend at least one full tread length beyond the top-most and bottom-most steps to provide continuous support.
Watch: Mark Handrail Height and Level Line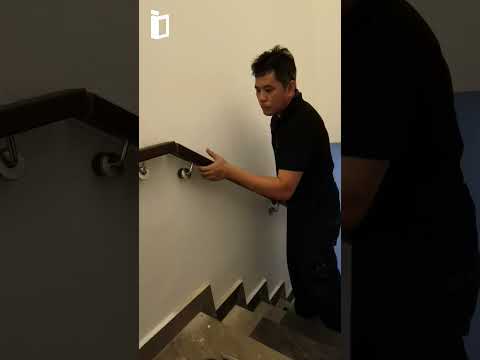
Select and Cut Handrail Material
45 minutesBased on your project's aesthetic and structural needs, select a handrail material. Common choices include solid wood (like oak, poplar, or pine), metal (such as aluminum or wrought iron), or durable PVC. Measure the selected material carefully to match the required length determined in Step 1. Use a saw appropriate for the material to make precise, square cuts on both ends of the handrail. For wood, a miter saw is ideal for accuracy. For metal, a metal-cutting saw or angle grinder might be necessary.
Watch: Cutting Handrail Sections
Locate and Mark Studs or Secure Blocking
60 minutesUsing a stud finder, locate the vertical wall studs behind the drywall where the handrail brackets will be mounted. Mark the center of each stud clearly. If there are no studs in the desired bracket locations, you will need to install blocking. This involves cutting access holes in the drywall and securely fastening solid wood blocking (e.g., 2x4s or 2x6s) between existing studs, ensuring the blocking is flush with the wall surface and firmly attached to the studs. The handrail brackets will then be screwed into this blocking for a robust mount.
Watch: Locate and Mark Studs for Brackets
Install Handrail Brackets
45 minutesPosition the first handrail bracket at the desired height and location, aligning it with the marked stud or blocking. Use a level to ensure it is perfectly horizontal. Drill pilot holes through the bracket's mounting holes into the stud or blocking. Then, securely fasten the bracket using appropriate screws (e.g., lag screws or wood screws of sufficient length and gauge). Repeat this process for all bracket locations, ensuring consistent height and spacing along the stair run.
Watch: Install Handrail BracketsAttach Handrail to Brackets
30 minutesCarefully position the cut handrail onto the installed brackets. Most brackets have a channel or plate designed to receive the handrail. Depending on the bracket type, you may use screws that attach from the underside of the bracket into the handrail, or the handrail may simply rest securely in a cradle. If screws are required, drill pilot holes through the bracket and into the handrail to prevent splitting. Secure the handrail to each bracket with the appropriate fasteners, ensuring it is stable and does not wobble. For some systems, set screws or specialized connectors might be used.
Watch: Secure Handrail to Brackets
Sand and Finish Handrail
90 minutesInspect the entire length of the installed handrail for any rough spots, splinters, or sharp edges. Using sandpaper (starting with a medium grit, such as 120, and finishing with a fine grit, such as 220), carefully sand all surfaces of the handrail until smooth to the touch. Pay attention to the top surface and edges where hands will make contact. Once smooth, wipe away all dust with a tack cloth. Apply your chosen finish: stain for color, paint for a solid color, or a clear sealant (like polyurethane or varnish) to protect the material. Apply multiple thin coats according to the product manufacturer's instructions, allowing adequate drying time between coats.
Watch: Sand and Finish the Handrail

