

How to Install a Cordless Shade on a Stairwell Window
About This Project
A high-level outline for installing a cordless shade on a stairwell window, including measuring, mounting bracket installation, and shade attachment. Safety precautions for working at heights are also considered.
Tools & Materials
Measuring Tape

Pencil

Installed Roman Shades HDINSTIROS
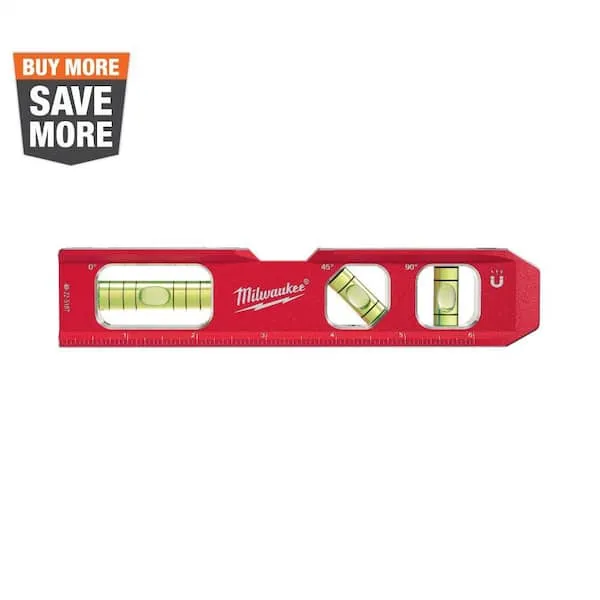
Level

Drill

Milwaukee SHOCKWAVE Impact Duty 2 in. T25 Torx Alloy Steel Screw Driver Bit (5-Pack) 48-32-4685
Measuring Tape
For accurate measurements of plywood and components, ensuring proper assembly.
Pencil
Marks and draws with ease.
Installed Roman Shades HDINSTIROS
Available in premium fabrics, Roman Shades have a traditional aesthetic but can be paired with different lifting systems for modern convenience. Add a valance or cornice for complementary detail. AUTOMATION:
Level
Ensures surfaces are just right.
Drill
A power tool used for drilling holes in various materials.
Milwaukee SHOCKWAVE Impact Duty 2 in. T25 Torx Alloy Steel Screw Driver Bit (5-Pack) 48-32-4685
The MILWAUKEE SHOCKWAVE 2" Impact T25 Torx Bits are engineered to be the Most Durable, Best Fitting driver bits on the market. The Wear Guard Tip delivers increased wear resistance which protects the fit over the life of the bit. The Shockzone is optimized for for each tip type and length of driver bit to absorb peak torque and prevent breaking. The Custom Alloy76 has a customized steel and heat treatment per tip type to extend the life of the driver bits, providing up to 50X life vs. competitive impact driver bits. The SHOCKWAVE driver bits are built to deliver extreme durability for the most demanding applications.
Steps

Measure Window Opening
15 minutesUsing a tape measure, carefully measure the inside width of the window frame at the top, middle, and bottom. Record the narrowest measurement. Then, measure the inside height of the window frame from the sill to the top of the frame. Record this measurement. For outside mounting, measure the desired area beyond the window frame where the shade will be mounted.
Watch: Measure Window Opening
Identify Mounting Bracket Locations
10 minutesConsult the shade's installation manual for the recommended bracket placement. Typically, brackets are positioned a few inches from each side of the window frame. For inside mounts, ensure the brackets are placed such that the shade will clear any obstructions when fully raised. For outside mounts, mark the desired width and height for the brackets, ensuring they are level and centered.
Watch: Mark Bracket Locations
Install Mounting Brackets
20 minutesAlign the first bracket with the marks made in the previous step. Use a drill to create pilot holes if necessary, especially in harder wood. Secure the bracket firmly to the window frame or wall using the provided screws. Repeat for the second bracket, ensuring it is level with the first and at the correct distance apart according to the shade's specifications. For stairwell installations, use a stable ladder or scaffolding and ensure a secure footing.
Watch: Install Mounting Brackets
Attach Cordless Shade to Brackets
15 minutesLift the cordless shade and align the headrail with the mounted brackets. Most cordless shades have a mechanism where the headrail simply snaps or clips into the brackets. Follow the specific instructions in the shade's manual for engaging the headrail with the brackets. Once attached, gently pull the shade down and raise it to ensure it moves freely and latches properly in the desired positions.
Watch: Mount and Test Cellular ShadeTest Shade Operation and Safety Features
10 minutesManually operate the shade by pulling it down and releasing it at various heights. Ensure it locks securely and smoothly at each position. Test the lift and lower mechanism to confirm it is responsive and easy to use. Check that there are no binding issues or obstructions. For cordless shades, verify that the mechanism allows for easy, tool-free adjustment.
Watch: Test Shade Operation

