

How to Fill Nail and Staple Holes in Stairs After Carpet Removal
About This Project
Outline for filling nail and staple holes in stairs after carpet removal, preparing them for refinishing or new flooring.
Tools & Materials
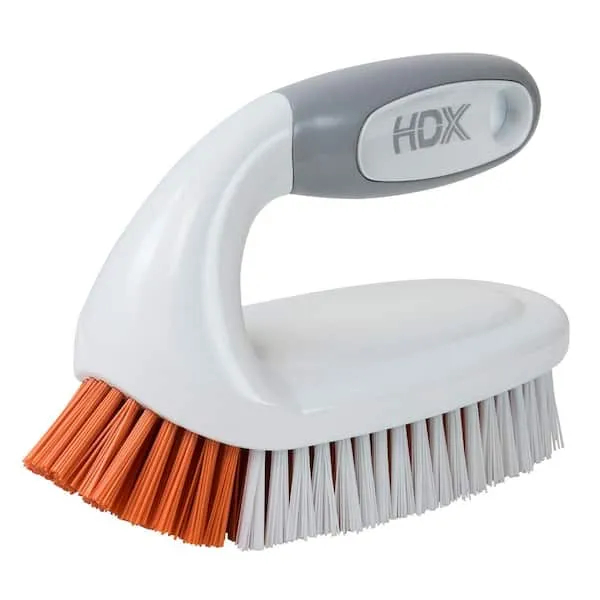
Scrub Brush
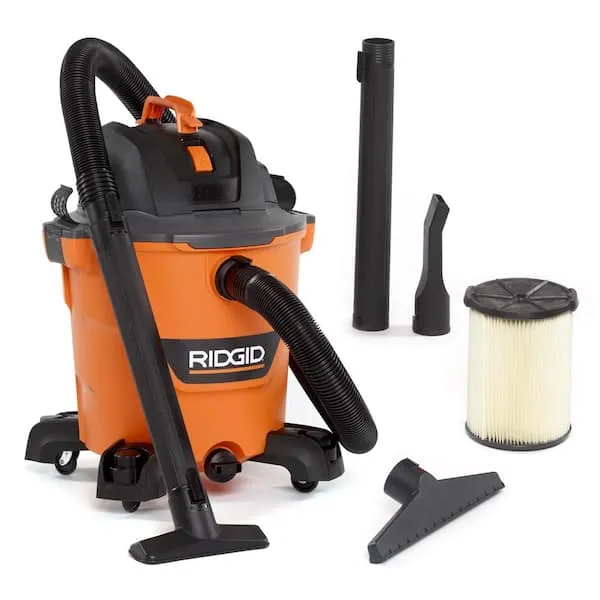
Shop Vacuum

Safety Glasses

Respiratory Protection
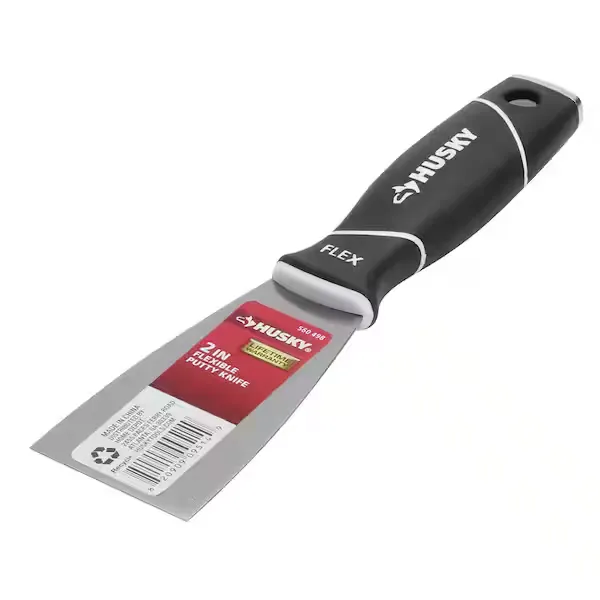
Putty knife

DAP Plastic Wood-X 8 oz. All Purpose Wood Filler Repair Kit 00596
Scrub Brush
Tackles tough stains with stiff bristles.
Shop Vacuum
Cleans workshop mess efficiently.
Safety Glasses
Keeps eyes safe from potential hazards.
Respiratory Protection
Masks or respirators to prevent inhalation of dust, especially during sanding and painting.
Putty knife
Spreads putty with its flat blade.
DAP Plastic Wood-X 8 oz. All Purpose Wood Filler Repair Kit 00596
DAP Plastic Wood-X All Purpose Wood Filler with DryDex Dry Time Indicator goes on pink and dries natural indicating when it's time to sand and stain. This patented technology eliminates the guesswork and reduces the chance of errors. It's ready-to-use formula spreads easily for fast, professional repairs.
Steps

Inspect and Clean Stair Holes
30 minutesExamine every stair tread to identify all nail and staple holes. Pay close attention to any remnants of carpet padding, adhesive, or splinters of wood that may be lodged within or around the holes. Use a stiff-bristled brush to dislodge any stubborn debris. Immediately follow up with a shop vacuum to remove all loose particles and dust from the holes and the immediate surface of the treads. This ensures that the patching material will adhere properly and create a smooth finish.
Watch: Prepare Surface by Filling Holes
Apply Wood Filler to Holes
60 minutesSelect a wood filler that matches the color of your stairs or is paintable if you plan to paint. Using a putty knife or your finger, press the wood filler firmly into each nail and staple hole. Ensure that the filler completely fills the depth of the hole. It is advisable to slightly overfill each hole, creating a small mound or crown above the surface of the stair tread. This excess filler will account for any shrinkage during drying and will be sanded flush in a subsequent step.
Watch: Fill Gaps and Nail Holes
Allow Wood Filler to Dry
120 minutesRefer to the product packaging for the specific drying time recommendations for the wood filler you have used. Adequate drying is crucial to prevent the filler from crumbling or shrinking unevenly during the sanding process. Ensure the environment is within the recommended temperature and humidity range for optimal drying. In some cases, it may be necessary to use a fan to improve air circulation, but avoid direct heat, which can cause some fillers to crack.
Watch: Allow Wood Filler to Dry
Sand Patched Areas Smooth
45 minutesUsing a sanding block or a piece of sandpaper, begin by sanding the areas where the wood filler was applied. Start with a medium-grit sandpaper (e.g., 100-120 grit) to remove the excess filler and level it with the surrounding wood. Apply light to moderate pressure and sand in the direction of the wood grain. Once the filled areas are flush and smooth, switch to a fine-grit sandpaper (e.g., 180-220 grit) to further refine the surface, removing any sanding marks from the coarser grit and preparing it for finishing. Wipe away dust between grits.
Watch: Sand Filled Areas Smooth
Clean and Prepare for Finishing
20 minutesOnce sanding is complete, it is essential to remove all traces of dust from the stair treads. Begin by vacuuming the entire area to pick up larger particles. For a truly dust-free surface, use a tack cloth. Lightly wipe down each tread with the tack cloth; its sticky surface will adhere to and lift fine dust particles that vacuuming may miss. This step is critical for achieving a smooth and professional-looking finish, whether you are painting, staining, or applying a clear coat.
Watch: Vacuum Dust and Perform Fine Sanding

