
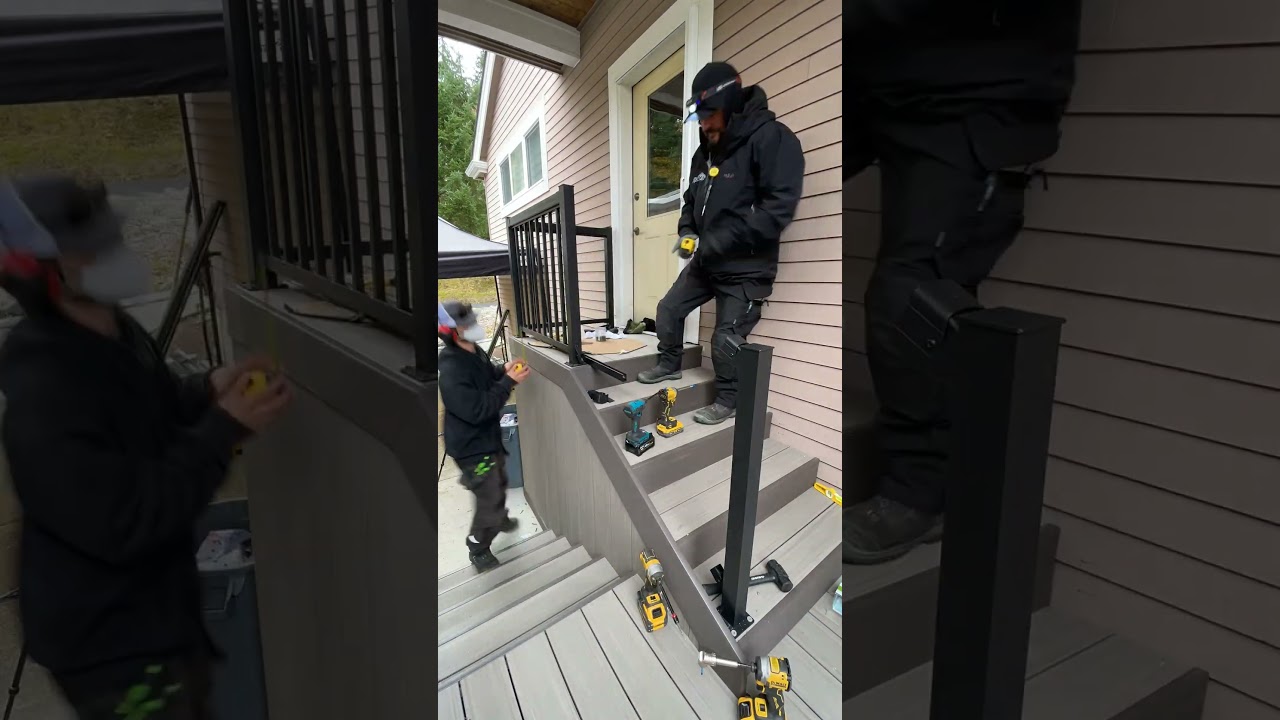
How to Add a Railing to Two or Three Porch Steps
About This Project
This project outlines the steps for adding a railing to two or three porch steps, enhancing safety and accessibility. It covers material selection, post installation, railing attachment, and final touches.
Tools & Materials
Measuring Tape
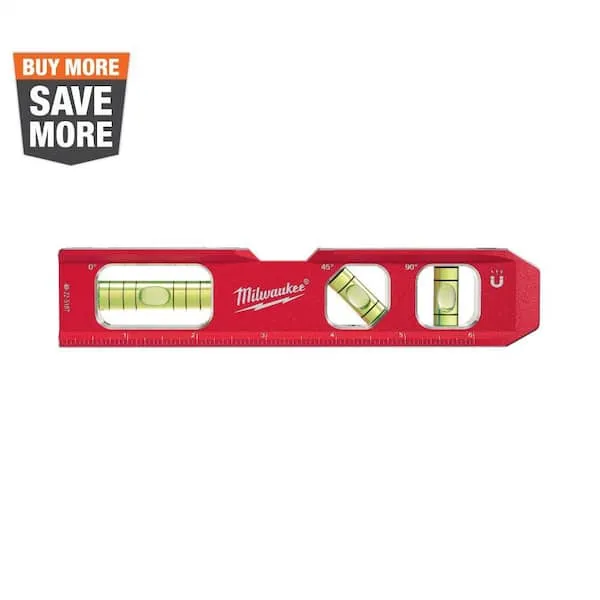
Level
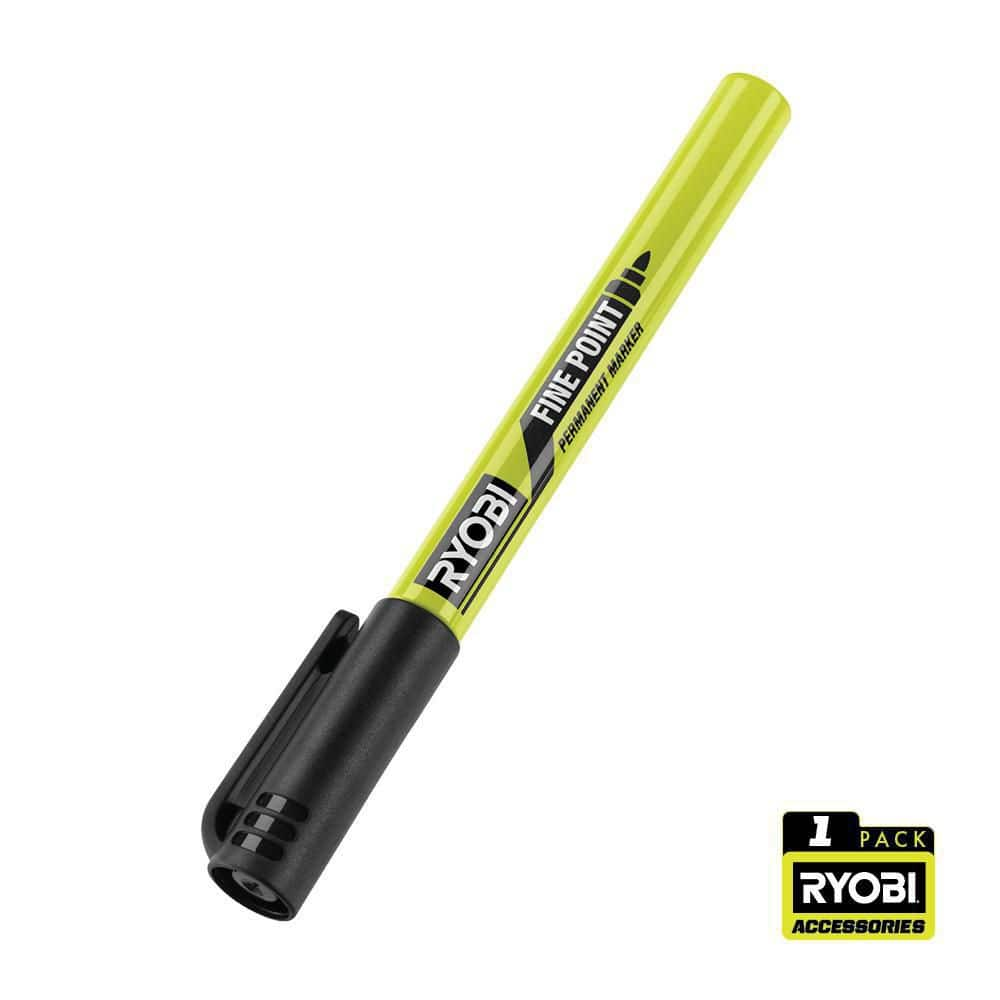
RYOBI Black Fine Point Permanent Workshop Marker RPM121

CityPost 8 ft. Stair Cable Railing in White CP-8-W-S

Husky Adjustable Wrench Set (3-Piece) 90355

Everbilt 1/2 in.-13 x 7 in. Galvanized Carriage Bolt 806216
Measuring Tape
For accurate measurements of plywood and components, ensuring proper assembly.
Level
Ensures surfaces are just right.
RYOBI Black Fine Point Permanent Workshop Marker RPM121
The RYOBI Black Fine Point Permanent Marker provides precise, clean marks on most materials. This marker is perfect for your workshop or the jobsite because of its durability. Its high quality ink is easily visible on rough surfaces. Common surfaces include wood, plastic, tile, and metal. The marker also features a hang clip for easy storage and accessibility. This pack includes one Black Fine Point Permanent Workshop Marker.
CityPost 8 ft. Stair Cable Railing in White CP-8-W-S
CityPost 36 in. tall cable railing kits can be ordered to fit your needs regardless of your project layout. All kits come with enough posts to install at a maximum center-to-center spacing of 6 ft. (example:
Husky Adjustable Wrench Set (3-Piece) 90355
The 3-piece adjustable wrench set includes one 6 in., one 8 in. and one 10 in. adjustable wrench. Anti-slip frictionless design for smooth adjustments. It is designed to be used with multiple sizes of
Everbilt 1/2 in.-13 x 7 in. Galvanized Carriage Bolt 806216
Carriage bolts have a smooth rounded head with a square neck underneath that locks into wood when tightened. Use with a pre-drilled hole and secure with a hex nut and washer to prevent spinning. They are great fasteners for decks, play equipment, docks, fencing, and furniture.
Steps

Determine Post Placement
30 minutesMeasure and mark the exact positions where the railing posts will be installed. Typically, a post is placed at the top landing and another at the bottom of the steps. If the steps are particularly wide, an intermediate post may be necessary for adequate support. Use a level to ensure the marks are perfectly vertical (plumb). The spacing between posts should align with the railing design and local building codes, generally not exceeding 6 feet.
Watch: Determine Post Spacing
Install Newel Posts
120 minutesFor posts at the top landing, they are often attached to the porch framing. For posts at the ground level or on the steps, you might need to create a solid concrete footing or attach them to a reinforced deck ledger or structural element. Use appropriate hardware such as lag bolts, carriage bolts, or structural screws. Ensure each post is plumb using a level before fully tightening all fasteners. The base of the post should be treated or designed to withstand ground contact if applicable.
Watch: Install and Level Support Post
Cut and Attach Top Rail
60 minutesMeasure the distance between the outer faces of the posts where the top rail will sit. Cut the top rail material to this length, ensuring the cuts are square. The top rail is typically positioned at a height that complies with local building codes, often around 36-42 inches above the walking surface. Attach the top rail to the posts using screws or specialized railing connectors. Ensure the top surface of the rail is smooth and free of splinters.
Watch: Cut and Install Top Rails
Install Balusters or Spindles
180 minutesDetermine the spacing for your balusters. They are typically spaced so that a 4-inch sphere cannot pass through the gap, meeting most building codes. Measure and cut each baluster to fit snugly between the top rail and the porch surface or a bottom rail. Attach each baluster securely to the top rail and the porch surface (or bottom rail) using screws. Ensure they are plumb and evenly spaced. If using a bottom rail, install it first, parallel to the top rail, at a height that allows for proper baluster length.
Watch: Insert Balusters
Install Handrail
75 minutesThe handrail should be installed parallel to the top rail but at a height suitable for grasping, typically between 34 and 38 inches from the walking surface, depending on local codes. It should be securely fastened to the posts and potentially to the balusters if they are designed to support it. Use appropriate brackets or screws. Ensure the handrail is smooth, continuous, and provides a sturdy grip.
Watch: Attach Handrail
Final Inspection and Finishing Touches
45 minutesOnce the railing is fully installed, conduct a thorough inspection. Push and pull on the posts, rails, and balusters to ensure everything is solid and secure. Check for any sharp edges, splinters, or rough spots on the railing surfaces, especially the handrail. Sand any rough areas smooth. If the railing is wood and not pre-finished, apply a protective sealant, stain, or paint to protect it from the elements and enhance its appearance. Ensure all fasteners are tight.
Watch: Final Inspection & Completion

