

How to Set Up Stairs for a Dog with Arthritis or After Surgery
About This Project
Outline the process of setting up stairs or ramps for a dog with arthritis or recovering from surgery to aid in mobility and reduce strain.
Tools & Materials
Measuring Tape
Screwdriver
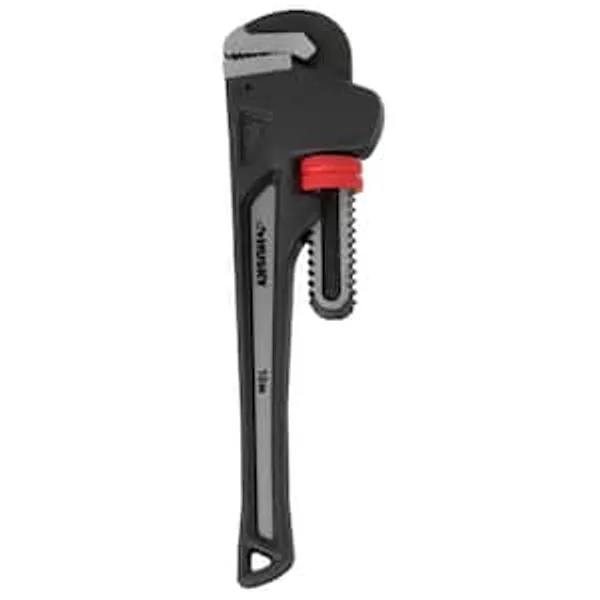
Wrench

Husky Short Arm Hex Key Set, Metric (10-Piece) HSAHKM10PCN-06

DOMETIC Deluxe SlideTopper Hardware Assembly - Black 3106992.039U
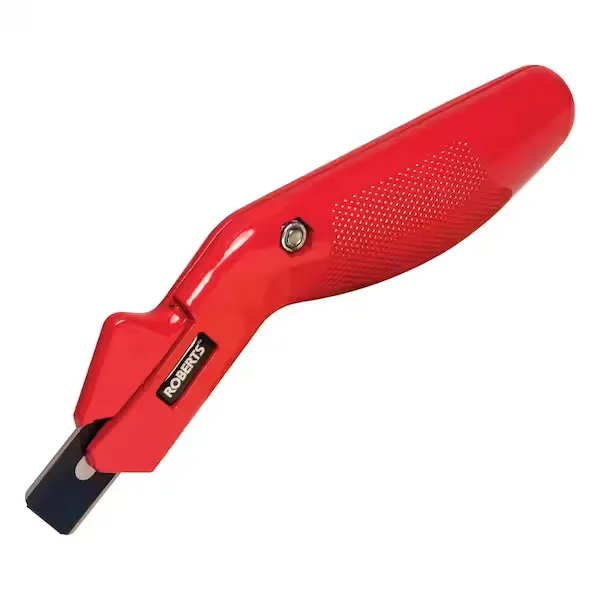
Carpet Knife
Measuring Tape
For accurate measurements of plywood and components, ensuring proper assembly.
Screwdriver
Essential for assembling the cart with screws and installing hardware like gate latches.
Wrench
Turns objects with grip and leverage.
Husky Short Arm Hex Key Set, Metric (10-Piece) HSAHKM10PCN-06
The Husky 10-Piece Short-Arm Hex Key Set features alloy steel construction for strength and durability. These keys have short arms and resist rotational distortion. This 10-piece set includes a range of Metric hex keys.
DOMETIC Deluxe SlideTopper Hardware Assembly - Black 3106992.039U
Large mounting flanges provide secure anchoring for trouble-free operation. Set includes right and left brackets, flanges and all necessary screws. Hardware assembly comes in a black color finish.
Carpet Knife
Precision blade crafted for carpet cuts.
Steps

Choose the Right Ramp/Stair Design
30 minutesEvaluate the height of the furniture or bed the dog needs to access. Measure the distance from the floor to the top of the furniture. This will help determine the required rise of the stairs or ramp. Consider your dog's breed and weight to ensure the chosen product can safely support them. If your dog has significant arthritis or is recovering from surgery, a gentler incline (ramp) might be more suitable than steep stairs. Also, think about where the stairs/ramp will be placed and if it needs to be portable or a more permanent fixture.
Watch: Initial Measurements and Platform Design
Assemble the Dog Stairs or Ramp
45 minutesUnpack all components of the dog stairs or ramp. Carefully read the assembly manual provided by the manufacturer. Attach legs, platforms, or ramp sections according to the diagrams. Use the provided screws, bolts, or other fasteners to secure all connections. Ensure all parts are firmly in place and the structure is stable and does not wobble.
Watch: Assemble Leg Supports and Attach to Main Plank
Add Traction Surfaces
60 minutesIf the stairs or ramp are made of a smooth material like plastic or wood, it's crucial to add traction. Cut non-slip treads or carpet pieces to fit each step or section of the ramp. Secure these traction aids using strong adhesive, double-sided tape, or small staples, ensuring there are no loose edges that could trip your dog.
Watch: Apply Non-Slip Surface
Position the Stairs/Ramp
15 minutesDetermine the best spot for the stairs or ramp. Position it so that it aligns comfortably with the furniture or elevated surface your dog needs to access. Ensure the base of the stairs or ramp is on a stable, level surface. Check that the top of the stairs or ramp makes solid contact with the furniture or floor to prevent any tipping or shifting.
Watch: Secure the Ramp to the Deck and Ground
Introduce Your Dog to the Stairs/Ramp
30 minutesBegin by placing treats or a favorite toy at the bottom of the stairs/ramp. Encourage your dog to walk onto it. As they become comfortable, gradually move the treats or toy further up the stairs/ramp. Praise and reward your dog for every step they take. Never force your dog onto the stairs or ramp, as this can create fear or anxiety.
Watch: Encourage and Guide Down the Stairs

