How to Replace a Light Fixture over a Two-Story Stairwell
About This Project
This project outlines the steps for safely replacing a light fixture in a two-story stairwell. It involves gathering necessary tools and materials, safely de-energizing the circuit, removing the old fixture, installing the new fixture, and restoring power.
Tools & Materials
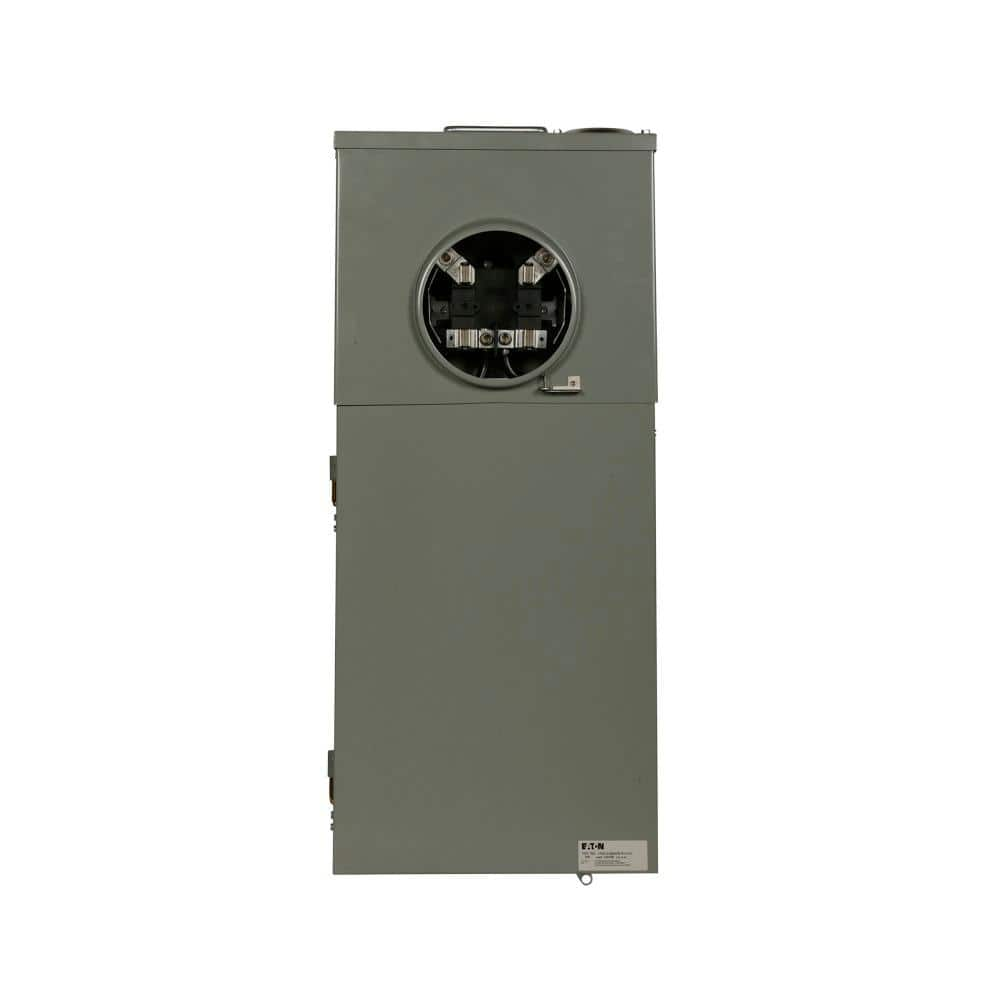
Eaton CH 200 Amp 12-Space 12-Circuit Non-EUSERC Meter Breaker Panel CMB1212B200BTS
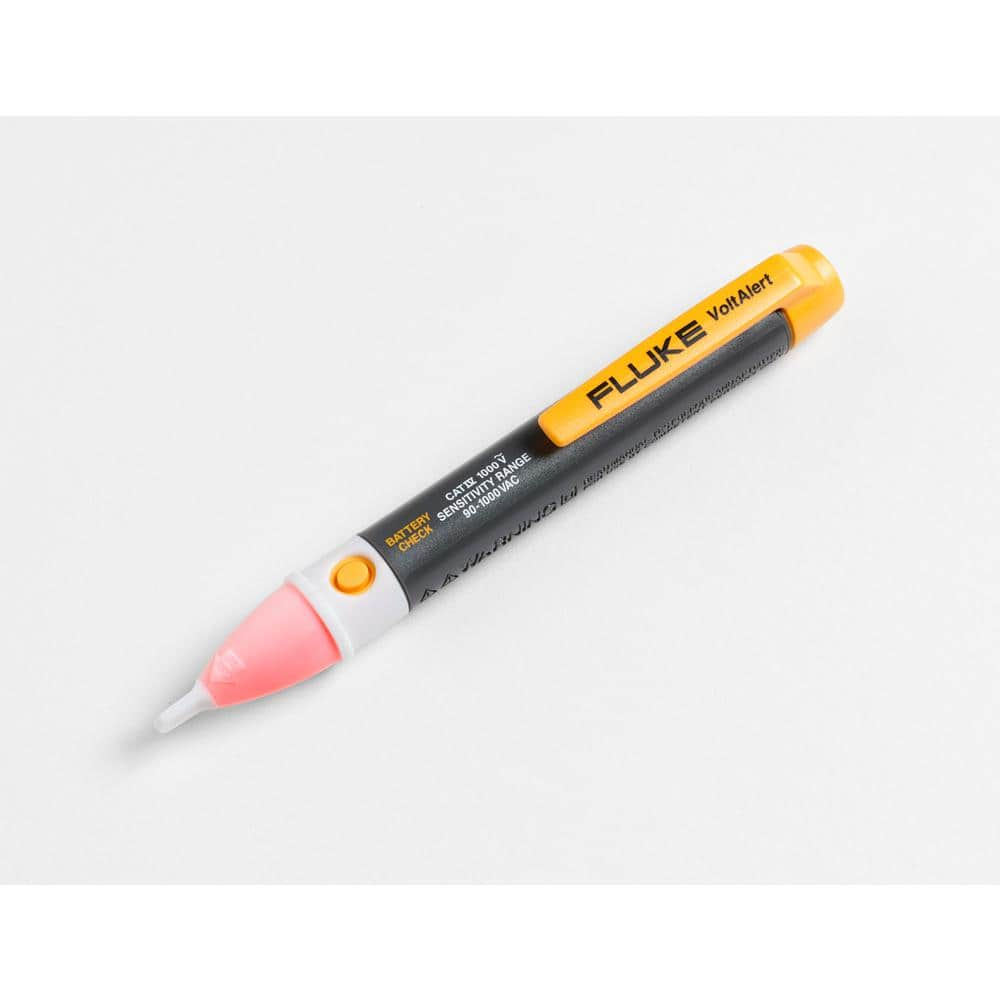
FLUKE 1AC-A1-II VoltAlert Non-Contact Voltage Tester 2432932
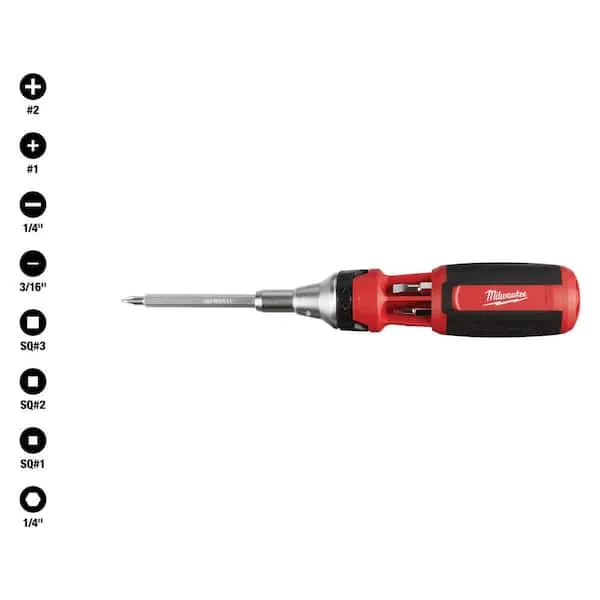
Screwdriver (Multi)
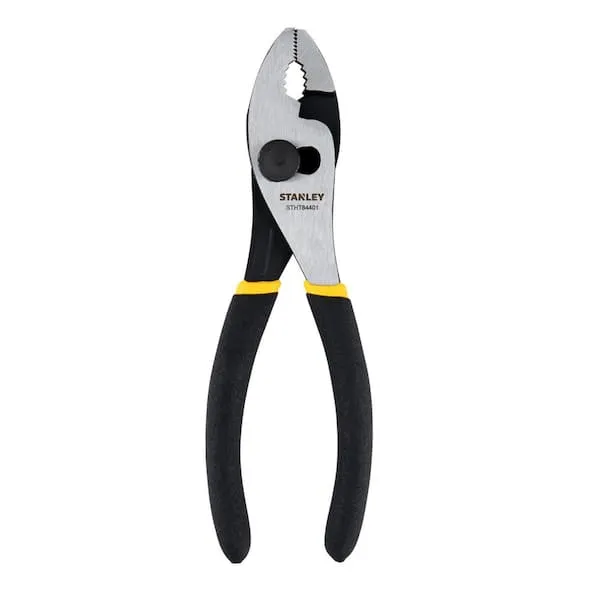
Pliers

IDEAL SECURITY Ladder-Aide Pro For Type 1AA Ladders - The Safe and Easy Way to Work on Stairs LAP1
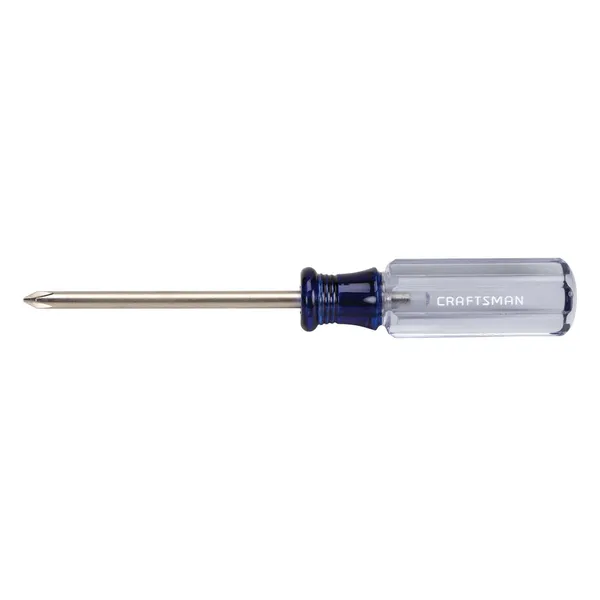
Phillips head screwdriver
Eaton CH 200 Amp 12-Space 12-Circuit Non-EUSERC Meter Breaker Panel CMB1212B200BTS
Eaton's residential meter breakers are service entrance equipment systems that consist of a single meter socket and load center distribution section. This type of configuration is also known as All-in
FLUKE 1AC-A1-II VoltAlert Non-Contact Voltage Tester 2432932
The portable 1 AC II non-contact voltage tester from Fluke are easy to use - just touch the tip to a terminal strip, outlet or supply cord. When the tip glows red and the unit beeps, you know there's voltage present. Electricians, maintenance, service, safety personnel and homeowners can quickly test for energized circuits in the workplace or at home and even detect miswires of an electrical outlet.
Screwdriver (Multi)
Multiple bits for versatile use.
Pliers
Grips and manipulates objects.
IDEAL SECURITY Ladder-Aide Pro For Type 1AA Ladders - The Safe and Easy Way to Work on Stairs LAP1
The Ladder-Aide line of products from Ideal Security is all about providing an innovative, easy, safe and simple way to use ladders on stairs. Whether you're opting for the Ladder-Aide SLM (LA1120) or
Phillips head screwdriver
This is a type of screwdriver that has a cross-shaped tip.
Steps

De-energize the Circuit
10 minutesGo to your home's electrical panel. Identify the breaker that controls the light fixture in the stairwell. Flip the breaker to the 'off' position. To ensure the power is completely off, use a non-contact voltage tester near the existing fixture's wiring after removing the old fixture's cover. This is a critical safety step.
Watch: Turn Off Power at Circuit Breaker
Remove the Old Light Fixture
15 minutesWith the power confirmed off, remove any decorative globes or covers from the old fixture. Unscrew the mounting screws that hold the fixture's base to the ceiling electrical box. Support the fixture as you disconnect the wires. Typically, you'll find black (hot), white (neutral), and green or bare copper (ground) wires. Unscrew wire nuts or use pliers to gently untwist the wire connections. Ensure the wires do not fall back into the electrical box.
Watch: Remove The Old Fixture
Install the New Light Fixture
25 minutesRefer to the new fixture's installation manual. Usually, you'll attach a mounting bracket to the electrical box. Then, connect the wires from the ceiling to the corresponding wires on the new fixture (e.g., black to black, white to white, ground to ground). Use the provided wire nuts to secure the connections. Gently tuck the wires back into the electrical box. Finally, attach the new fixture's base to the mounting bracket and install any bulbs and decorative components.
Watch: Connect New Light Fixture Wiring
Restore Power and Test
5 minutesOnce the new fixture is securely installed, return to the electrical panel. Flip the circuit breaker back to the 'on' position. Go back to the stairwell and test the new light fixture by operating the light switch. Ensure the light turns on and operates correctly.
Watch: Restore Power and Test