How to Replace a Flush-Mount Ceiling Light on a Stair Landing
About This Project
Outline for replacing a flush-mount ceiling light fixture on a stair landing, covering safety precautions, fixture removal, new fixture installation, and testing.
Tools & Materials
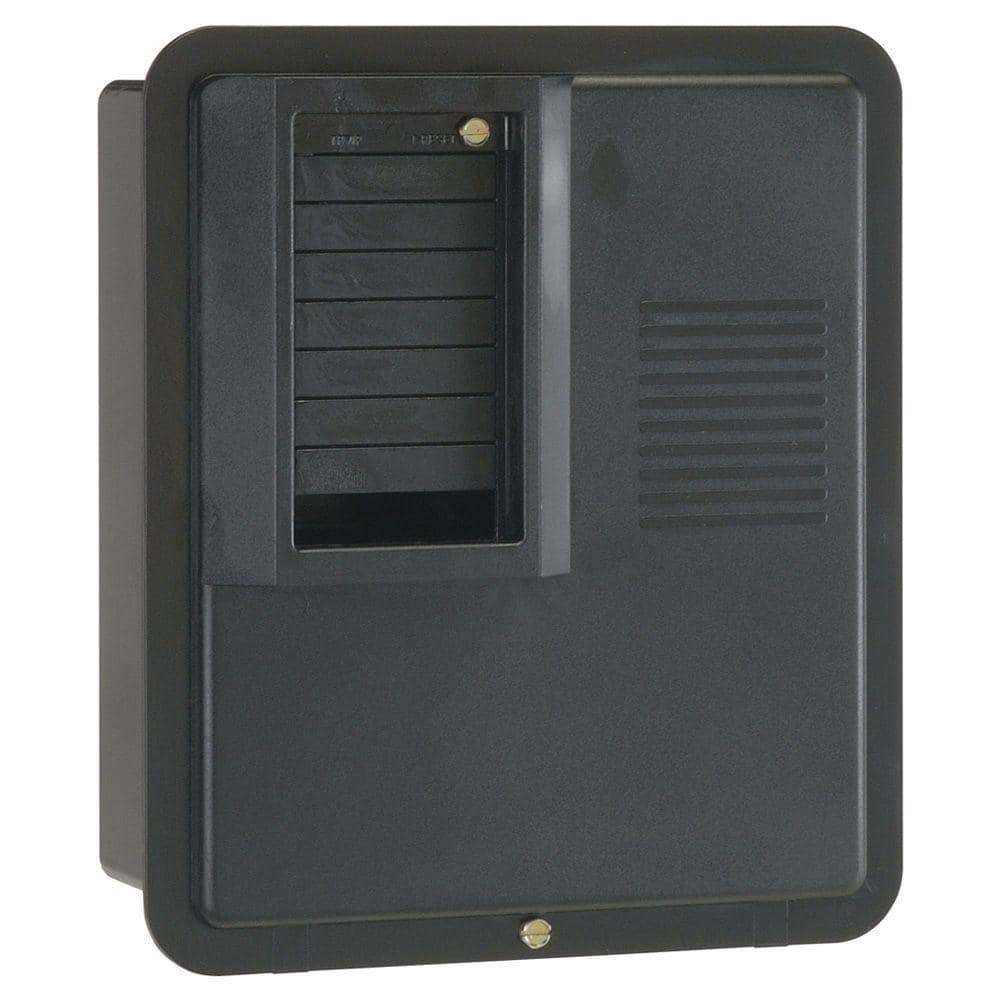
GE PowerMark Plus125 Amp 4-Space 8-Circuit Indoor Main Lug Circuit Breaker Panel TPL412CP
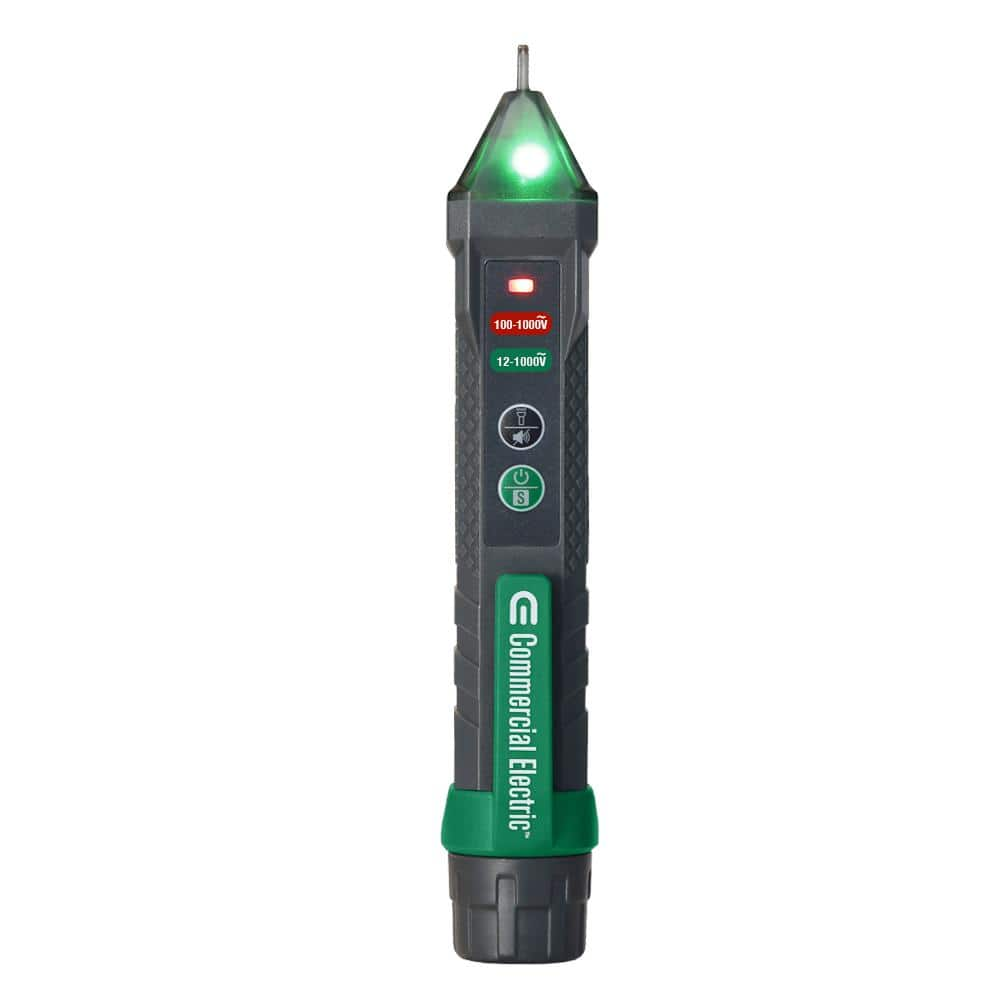
Commercial Electric Adjustable Non-Contact Voltage Tester NCV-8908
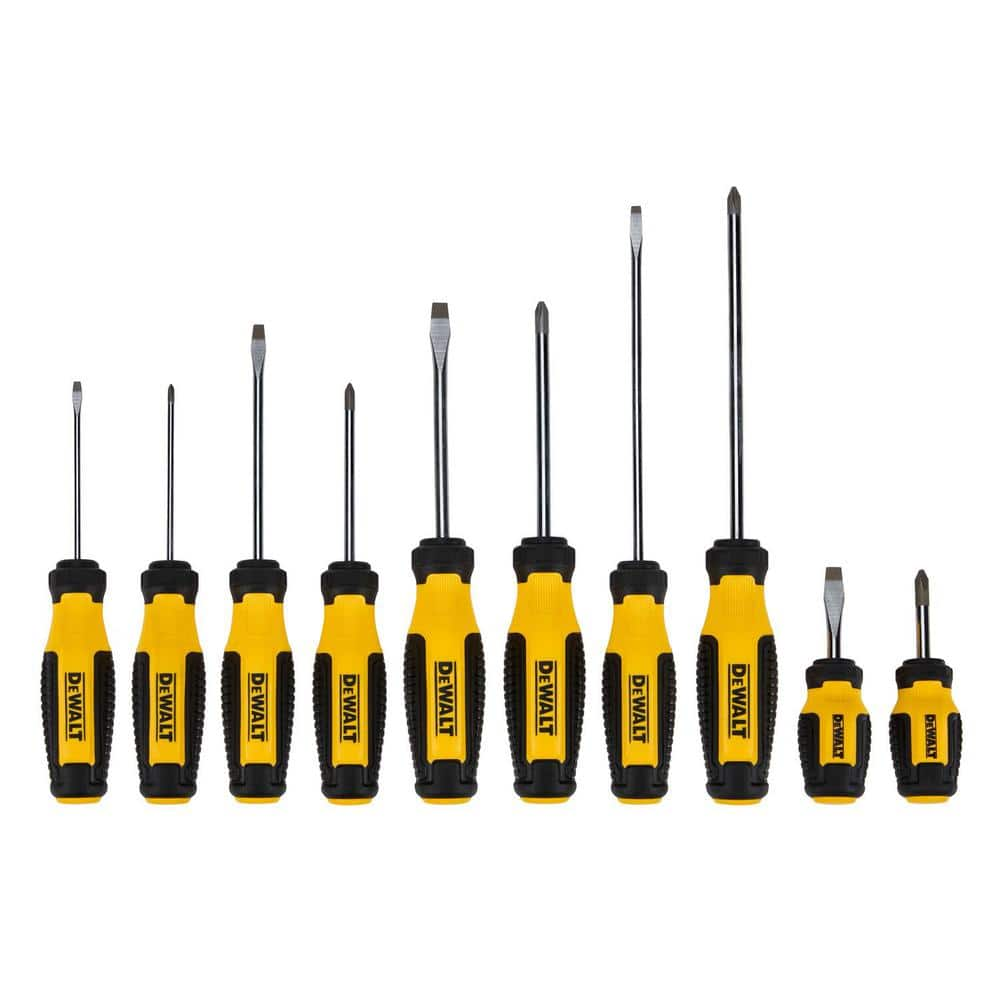
DEWALT Phillips Screwdriver Set (10-Piece) DWHT65201

Pliers

CityPost 8 ft. Stair Cable Railing in White CP-8-W-S

IDEAL SECURITY Ladder-Aide Pro For Type 1AA Ladders - The Safe and Easy Way to Work on Stairs LAP1
GE PowerMark Plus125 Amp 4-Space 8-Circuit Indoor Main Lug Circuit Breaker Panel TPL412CP
The load center includes a sturdy tin-plated copper buss bar and a galvanized box for increased durability and reliability. The one-piece interior removes and re-installs easily. Indoor NEMA 1 enclosure
Commercial Electric Adjustable Non-Contact Voltage Tester NCV-8908
Commercial Electric NCV-8908 is a new innovated Non-contact AC Voltage detector. The tester could be used for non-contact detection in circuits, outlet socket, cables, switches, lighting fixtures and wires. We engineered the NCVT-8908 to reliable detect voltages with adjustable sensitivity selection which assist user easy to determine the range of voltage and IP67 rated advanced industrial design.
DEWALT Phillips Screwdriver Set (10-Piece) DWHT65201
The DEWALT 10 pieas. Screwdriver Set includes a variety of handle sizes and tip types to help you complete a number of fastening projects. The steel bars are chrome-plated for corrosion resistance, while
Pliers
Grips and manipulates objects.
CityPost 8 ft. Stair Cable Railing in White CP-8-W-S
CityPost 36 in. tall cable railing kits can be ordered to fit your needs regardless of your project layout. All kits come with enough posts to install at a maximum center-to-center spacing of 6 ft. (example:
IDEAL SECURITY Ladder-Aide Pro For Type 1AA Ladders - The Safe and Easy Way to Work on Stairs LAP1
The Ladder-Aide line of products from Ideal Security is all about providing an innovative, easy, safe and simple way to use ladders on stairs. Whether you're opting for the Ladder-Aide SLM (LA1120) or
Steps

Turn off power at the breaker
5 minutesLocate your home's main electrical panel. Identify the circuit breaker that controls the power to the stair landing light fixture. Flip this breaker to the 'OFF' position. This is a critical safety step to prevent electrical shock.
Watch: Turn Off Power at Circuit Breaker
Remove the old light fixture
15 minutesOnce power is confirmed off, inspect how the current fixture is attached. Most flush-mount fixtures are held by screws, clips, or a threaded center nut. Remove any decorative covers or shades. Unscrew or unclip the fixture from the mounting bracket. Support the fixture as you disconnect the wiring. Remove wire nuts connecting the fixture wires to the house wiring, and carefully separate the wires.
Watch: Remove Old Fixture and WiringInstall the new fixture's mounting bracket
10 minutesRefer to the instructions provided with your new light fixture. Typically, the mounting bracket screws into the existing electrical box. Ensure the bracket is oriented correctly and is firmly attached, as it will support the weight of the new fixture.
Watch: Remove Old Mounting Bracket and Install New One
Wire the new light fixture
10 minutesMatch the wires from the new fixture to the wires from the ceiling electrical box. Typically, black (hot) connects to black, white (neutral) connects to white, and green or bare copper (ground) connects to green or bare copper. Secure each connection by twisting a wire nut tightly onto the joined wires. Ensure no bare wire is exposed.
Watch: Attach New Fixture WiresMount the new fixture and attach covers
10 minutesCarefully tuck the wired connections into the electrical box. Align the new fixture with the mounting bracket and secure it according to the manufacturer's instructions. This usually involves screws or a twist-lock mechanism. Once the fixture is securely mounted, attach any decorative covers, shades, or diffusers.
Watch: Mount New Fixture Base
Restore power and test the new fixture
5 minutesGo back to the electrical panel and flip the circuit breaker back to the 'ON' position. Return to the stair landing and test the light switch. The new fixture should illuminate. If it does not, turn the power off again and recheck all wiring connections.
Watch: Restore Power and Test the New Fixtures