

How to Patch Dents and Scuffs on Stairwell Walls
About This Project
This project involves patching dents and scuffs on stairwell walls to restore their appearance.
Tools & Materials

CROCODILE CLOTH Professional Paint Pre-Moistened Heavy-Duty Wet Cloths Cleaning Wipes (100 Per Pack) 6920
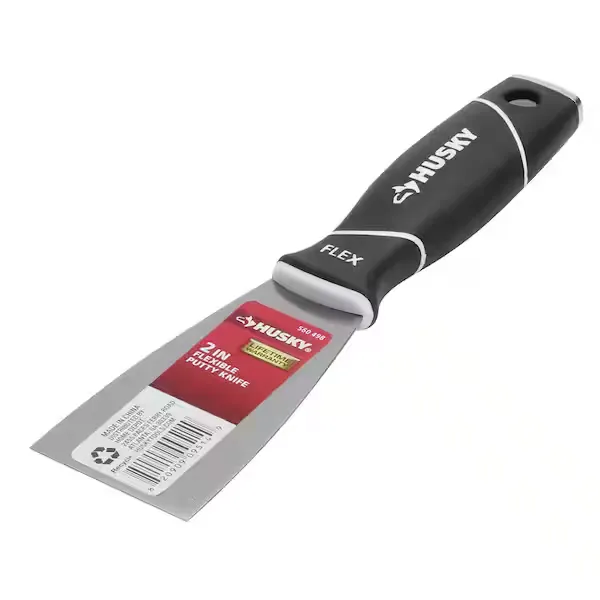
Putty knife

DAP Fast 'N Final 16 oz. Lightweight Spackling in White 7079812141

DIABLO 1/3 Sheet 220 Grit Sandpaper Hand Sanding Sheets (100-Pack) DCS323220S10G

Boardwalk 18 in. x 24 in. Yellow Dust Cloths (500-Count) BWKDSMFPY

3 in. x 1/4 in. Tiny Trim Shed Resistant White Woven Mini Paint Roller Kit HD MS 4
CROCODILE CLOTH Professional Paint Pre-Moistened Heavy-Duty Wet Cloths Cleaning Wipes (100 Per Pack) 6920
Unleash the power of the Crocodile Cloth Paint - the ultimate companion for all your painting tasks! Designed with painters, contractors, artists, and DIY enthusiasts in mind, this specially engineered
Putty knife
Spreads putty with its flat blade.
DAP Fast 'N Final 16 oz. Lightweight Spackling in White 7079812141
DAP Fast 'N Final Lightweight Spackling lets you patch and prime in 1 easy step, saving time and money. It dries fast, with no need to sand or prime, letting you paint in minutes. The Microsphere Technology
DIABLO 1/3 Sheet 220 Grit Sandpaper Hand Sanding Sheets (100-Pack) DCS323220S10G
DIABLO's premium sanding sheets include break-through innovations that improve performance, extend sanding life and increase productivity. Featuring a premium aluminum oxide blend, these discs remove material faster and offer extra-long sanding life than other sanding discs. Clog-SHIELD, DIABLO's own blend of grinding agents, reduces loading thus maximizing productivity. The superior grain bonding system, ENDURA-BOND, provides DIABLO's sanding discs with longer life and extreme durability. These sanding sheets are ideal for hand sanding or orbital sanders.
Boardwalk 18 in. x 24 in. Yellow Dust Cloths (500-Count) BWKDSMFPY
Convenient cloths are treated with mineral oil so spray polish is not needed. Dusters are designed to pucker to grab and trap more particles. Low-linting cloths. Ideal for offices, maintenance facilities
3 in. x 1/4 in. Tiny Trim Shed Resistant White Woven Mini Paint Roller Kit HD MS 4
For fast and premium results with your next paint project, look to this Tiny Trim Shed Resistant White Woven Mini Paint Roller Kit. Perfect for touch-ups and trim work, you can use it with latex and oil
Steps

Clean the Damaged Area
5 minutesBefore applying any patching compound, it's crucial to ensure the damaged area is free from dust, dirt, and any loose material. Use a clean, damp cloth to gently wipe down the scuffs and dents. This will help the patching compound adhere properly and result in a smoother finish.
Watch: Clean the Damaged Area
Apply Spackling Compound
15 minutesFor dents and minor scuffs, use a lightweight spackling compound. Scoop a small amount onto your putty knife and apply it directly to the damaged spot. Press the compound into the area with the putty knife, ensuring it fills the void completely. Smooth the excess compound so it's as flush as possible with the surrounding wall surface. For deeper dents, you may need to apply the compound in multiple thin layers, allowing each layer to dry before applying the next.
Watch: Apply Spackling CompoundAllow Spackling Compound to Dry
60 minutesThe drying time for spackling compound can vary depending on the humidity, temperature, and the thickness of the application. Refer to the product packaging for specific drying times. It is essential that the compound is fully dry before proceeding to the sanding stage to prevent smearing or unevenness.
Watch: Allow Spackling Compound to Dry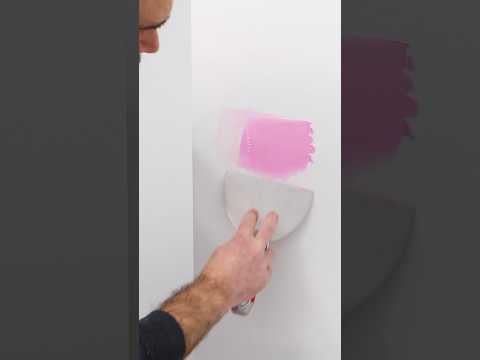
Sand the Repaired Area
10 minutesOnce the spackling compound is completely dry, use a fine-grit sandpaper (120-220 grit) to gently sand the repaired area. The goal is to create a smooth surface that is perfectly level with the rest of the wall. Sand in a circular motion, applying light pressure. Wipe away the dust with a dry cloth after sanding.
Watch: Sand the Repaired Area Smooth
Prime the Repaired Area
15 minutesAfter sanding and cleaning, apply a thin coat of primer over the repaired area. Primer helps to seal the porous spackling compound, prevents the paint from absorbing unevenly, and ensures that the patched spot matches the sheen and color of the surrounding wall. Allow the primer to dry completely according to the manufacturer's instructions.
Watch: Prime the Repaired Area
Paint the Repaired Area
20 minutesOnce the primer is dry, apply a coat of paint that matches the color and sheen of the surrounding wall. Use a small paintbrush or roller for precise application. You may need two coats of paint to achieve full coverage and a seamless look. Allow each coat to dry thoroughly before applying the next. Feather the edges of the painted area to help it blend in with the existing paint.
Watch: Paint Repaired Area

