

How to Make Outdoor Steps Less Slippery in the Rain
About This Project
This project involves applying anti-slip treatments or materials to outdoor steps to improve traction during wet conditions. Options include applying gritty coatings, adhering anti-slip tapes, or installing specialized treads.
Tools & Materials
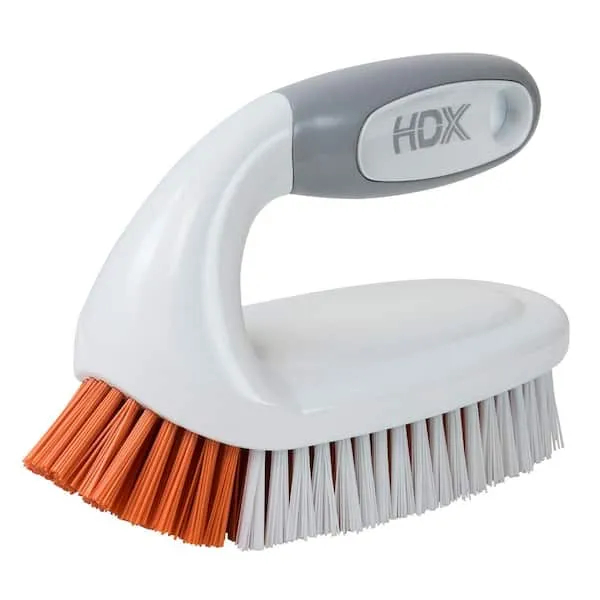
Scrub Brush
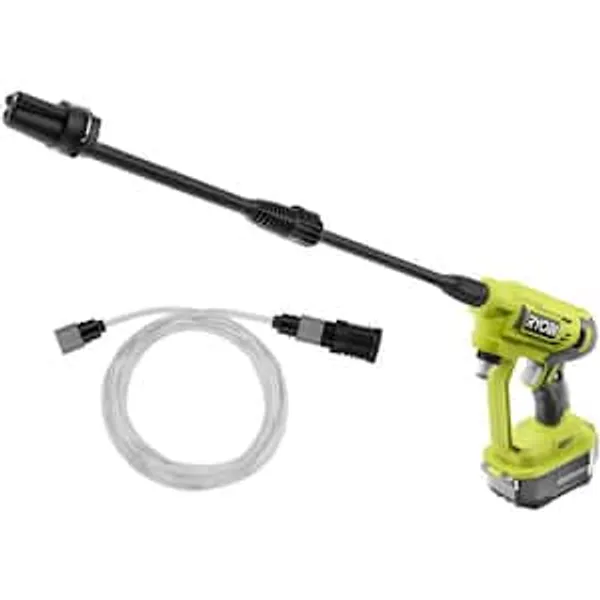
Pressure Washer
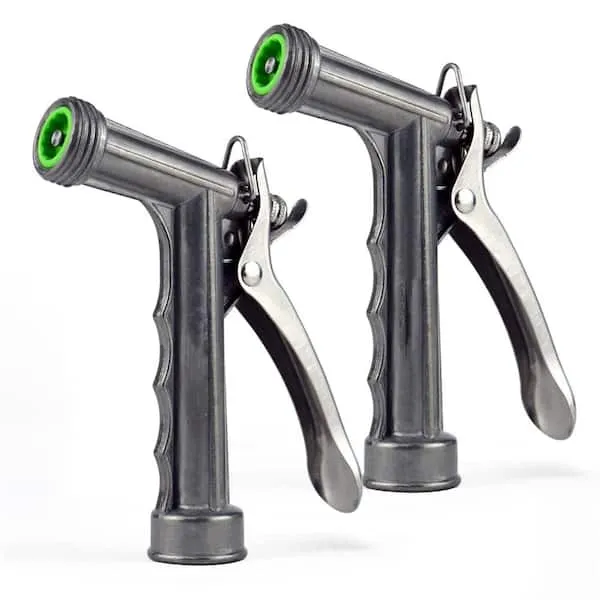
Hose with high-pressure nozzle
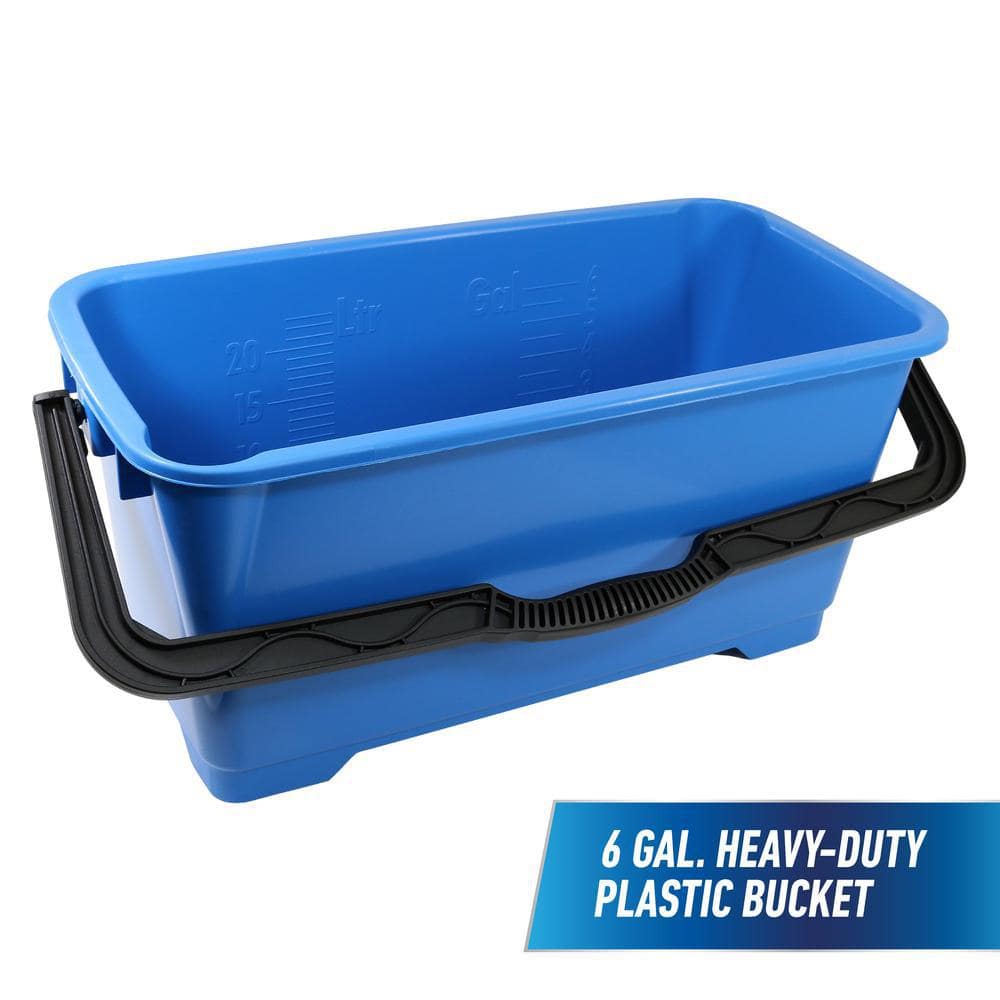
Unger 6 Gal. Heavy-Duty Plastic Bucket DB02
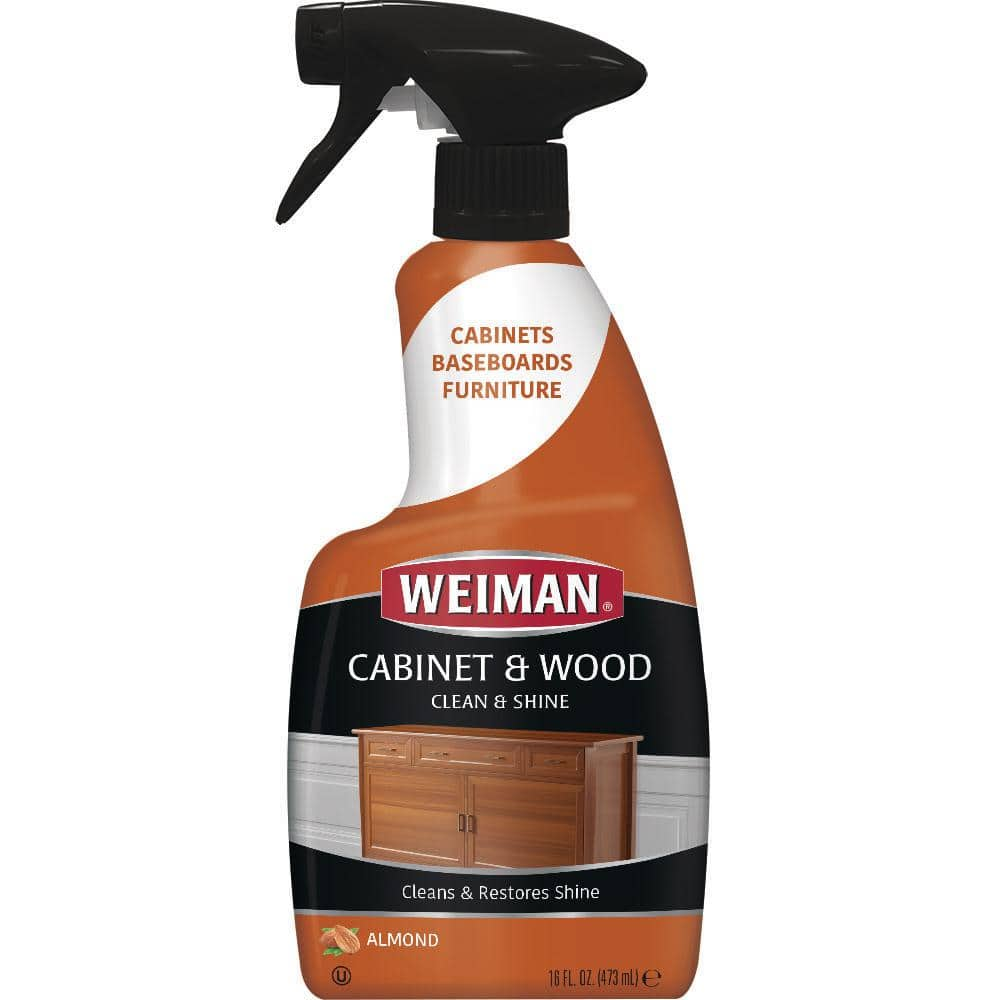
Weiman 16 oz. fl. Cabinet and Wood Cleaner and Polish 332

ZEP 1 Gal. Driveway, Concrete and Masonry Cleaner ZUCON128
Scrub Brush
Tackles tough stains with stiff bristles.
Pressure Washer
Cleans surfaces with high-pressure water.
Hose with high-pressure nozzle
Powerful water spray at your fingertips.
Unger 6 Gal. Heavy-Duty Plastic Bucket DB02
The Unger 6-Gallon Heavy-Duty Professional Cleaning Bucket holds more than 6 Gal. of liquid. The bucket can accommodate a scrubber up to 14 in. L. This bucket features measurement marks and 2-pour spouts
Weiman 16 oz. fl. Cabinet and Wood Cleaner and Polish 332
Weiman Cabinet and Wood Clean and Shine helps prevent premature aging and damage from moisture and grease. Protective formula guards against water marks, dirt and grime. Has a fantastic Cherry Almond fragrance.
ZEP 1 Gal. Driveway, Concrete and Masonry Cleaner ZUCON128
The ZEP 128 oz. Driveway, Concrete and Masonry Cleaner is a concentrated solution that provides fast and powerful cleaning. It removes grease, dirt and oil from concrete, brick, asphalt and quarry tile.
Steps

Clean the Steps
180 minutesBefore applying any anti-slip treatment, it is crucial to prepare the surface of the outdoor steps. This involves a deep cleaning to remove all contaminants that could compromise the adhesion of the new material. For wooden steps, scrub with a wood cleaner and a stiff brush, then rinse thoroughly. For concrete or stone steps, a concrete cleaner or a solution of bleach and water (ensure good ventilation) can be used. A power washer can significantly expedite this process and remove stubborn grime. After cleaning, rinse the steps meticulously with clean water. It is essential that the steps are entirely dry before proceeding to the next step; this may take 24-48 hours depending on weather conditions.
Watch: Clean and Dry Steps
Repair Surface Imperfections
120 minutesOnce the steps are clean and dry, conduct a thorough inspection for any damage. On wooden steps, look for rot, cracks, or loose boards. Fill small cracks and holes with wood filler or a two-part epoxy putty suitable for exterior use. For larger damaged areas or rotten sections, it may be necessary to replace the affected wood. On concrete or stone steps, inspect for cracks, spalling, or chipped edges. Use a concrete repair caulk or epoxy filler to fill cracks and chips. For significant damage, consider consulting a professional. After applying any fillers or epoxies, allow them to cure fully according to the manufacturer's instructions. Once cured, sand down any rough spots or excess material until the surface is smooth and uniform. This preparation ensures a level surface for the anti-slip treatment.
Watch: Patch Concrete Imperfections
Apply Anti-Slip Coating
150 minutesSelect an anti-slip coating formulated for exterior surfaces. These coatings often contain aggregate particles to provide grip. Stir the coating thoroughly before application, as the gritty particles can settle. Using a high-quality roller or a stiff brush, apply a thin, even coat over the entire surface of each step, including the nosing. Avoid applying too thickly, as this can create an uneven texture or pooling. Allow the first coat to dry according to the manufacturer's recommended drying time. Once dry, apply a second coat if specified or if additional grip is desired. Ensure complete coverage for maximum effectiveness. The drying time can vary significantly based on temperature and humidity.
Watch: Apply the Anti-Slip Coating
Install Anti-Slip Tapes or Strips
90 minutesFor an alternative or supplemental grip solution, self-adhesive anti-slip tapes or strips can be applied. These are typically made of a durable, abrasive material backed with a strong adhesive. Cut the tape to the desired length for each step, ensuring it covers the nosing and extends slightly onto the tread. Peel back a small section of the backing paper and carefully align the tape on the step edge. Slowly peel off the backing while pressing the tape down firmly with your hands or a roller to eliminate air bubbles and ensure maximum adhesion. Pay special attention to pressing down the edges to prevent lifting. For maximum durability, consider using a product specifically designed for outdoor and high-traffic areas.
Watch: Apply Adhesive Non-Skid Strips
Install Anti-Slip Treads
180 minutesPre-formed anti-slip treads offer a robust and often more durable solution. These are typically made from materials like heavy-duty rubber, aluminum, or composite plastics, and often come with pre-drilled holes or a strong adhesive backing. Clean and dry the steps thoroughly as per Step 1. If using adhesive-backed treads, peel off the protective backing and carefully position the tread onto the step, pressing down firmly. If the treads require mechanical fasteners (screws or rivets), mark the hole locations accurately on the step, pre-drill pilot holes if necessary (especially for wood), and then secure the treads according to the manufacturer's specifications. Ensure all treads are flush with the step surface and do not create a tripping hazard. For metal treads, ensure any sharp edges are not exposed.
Watch: Apply Adhesive-Backed Anti-Slip Products
Allow Curing Time
72 minutesOnce the anti-slip treatment has been applied, it is essential to allow it adequate time to cure or set before subjecting the steps to foot traffic. Curing times can vary significantly depending on the product used (coatings, adhesives for tapes or treads) and environmental conditions such as temperature and humidity. Refer to the product packaging for specific curing instructions. For coatings, this might involve waiting 24-72 hours. For tapes and adhesives, it may be 48-72 hours. Using the steps before the treatment is fully cured can compromise its adhesion, reduce its lifespan, and negate the anti-slip benefits. Ensure the area is protected from rain and excessive moisture during this period if applicable.
Watch: Allow Tuff Grip to Dry and Cure

