

How to Install Corner Guards on Stairwell Drywall Corners
About This Project
Install protective corner guards on drywall at stairwell corners to prevent damage.
Tools & Materials
Measuring Tape

Pencil
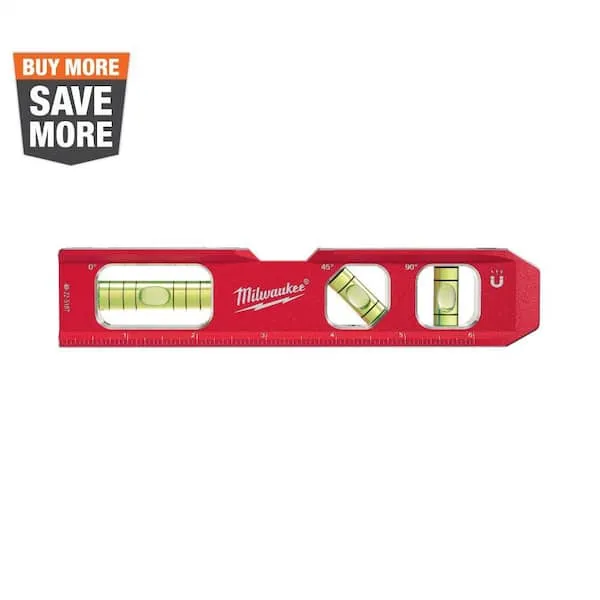
Level

THE CLEAN STORE Microfiber Pink/White Cleaning Cloths (Pack of 100) 79136
Mild Detergent
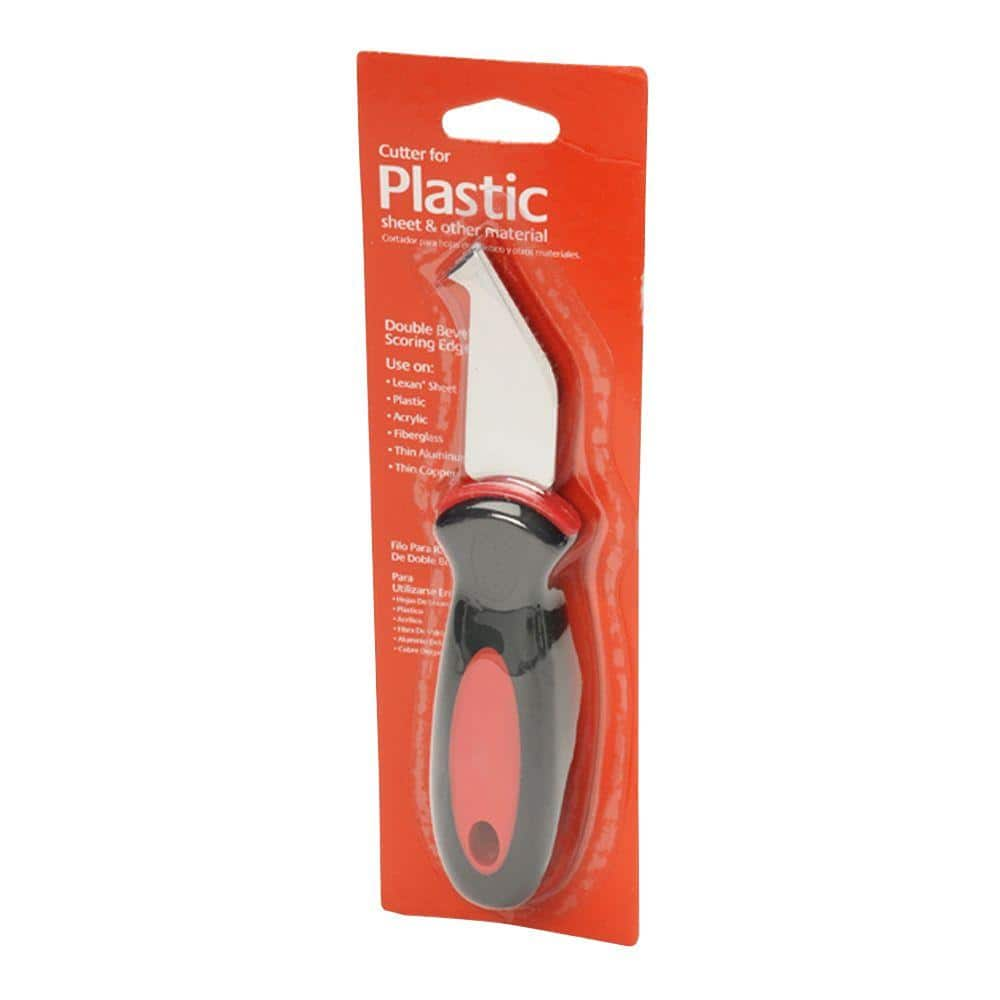
Utility Knife Plastic Sheet Cutting Tool GE-41
Measuring Tape
For accurate measurements of plywood and components, ensuring proper assembly.
Pencil
Marks and draws with ease.
Level
Ensures surfaces are just right.
THE CLEAN STORE Microfiber Pink/White Cleaning Cloths (Pack of 100) 79136
The Pull N Wipe Microfiber Cleaning Rags are the ideal cleaning cloths for all your cleaning needs. Whether you keep a box at Home to clean around the house, In the Kitchen to clean up after cooking or
Mild Detergent
Gentle cleaning for delicate items.
Utility Knife Plastic Sheet Cutting Tool GE-41
The plastic sheet cutting knife is designed for use on LEXAN polycarbonate sheets and other plastic materials. It features a double-bevel scoring edge for clean, consistent cuts and a rounded handle that
Steps
Measure and Mark Corner Guard Placement
10 minutesUsing a tape measure, determine the vertical distance from the floor to the point where the corner guard will end. Transfer this measurement to the drywall corner. You may want to mark a horizontal line as a guide for the top of the guard. Repeat for all stairwell corners that require protection.
Watch: Measure Corner
Clean the Corner Surface
5 minutesWipe down the drywall corner with a clean, damp cloth to remove any dust, dirt, or grease. Allow the surface to dry completely before proceeding. For stubborn marks or residue, a mild household cleaner can be used, followed by a clean water rinse and thorough drying.
Watch: Initial Wipe with Damp Cloth
Cut Corner Guards to Size (if necessary)
15 minutesIf your corner guards are not pre-cut to the required length, use a sharp utility knife or a fine-toothed saw to trim them. Measure the guard against your mark and cut carefully. For plastic or metal guards, a miter saw or hacksaw may be more appropriate for a clean cut.
Watch: Measure and Cut the New Corner Trim to Length
Apply Adhesive to Corner Guard
5 minutesDepending on the type of corner guard, it may come with pre-applied adhesive or require a separate adhesive. If separate adhesive is needed, apply a consistent bead of construction adhesive or a specific vinyl/plastic adhesive along the length of the guard, ensuring coverage on both wings that will contact the wall.
Watch: Install Vinyl Corner Bead with Adhesive
Install Corner Guard
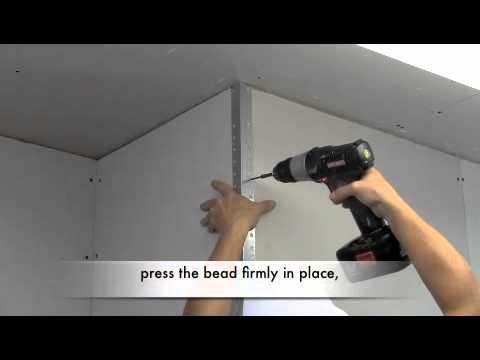
5 minutesAlign the corner guard with your marks and press firmly against the wall. Ensure it sits flush along the entire length of the corner. Hold in place for the recommended time according to the adhesive manufacturer's instructions to allow the adhesive to set.
Watch: Install and Secure Corner Bead
Secure Corner Guard with Fasteners (Optional)
10 minutesIf extra security is desired, especially in high-traffic areas, you can add small finishing nails or self-tapping screws along the length of the guard. Pre-drill small pilot holes to prevent cracking the guard material. Space fasteners evenly, typically every 12-18 inches.
Watch: Secure Panels with Finishing Nails
Caulk and Finish
15 minutesOnce the adhesive has fully cured, apply a thin bead of paintable caulk along the top and bottom edges where the corner guard meets the wall. Smooth the caulk line with a damp finger or caulk tool. Allow the caulk to dry, then touch up the paint on the wall and corner guard as needed to match the surrounding surfaces.
Watch: Apply and Smooth Caulk in Wall Corners

