

How to Install a Pressure-Mounted Gate at the Bottom of Stairs
About This Project
Outline for installing a pressure-mounted safety gate at the bottom of stairs to prevent unauthorized access, particularly for children or pets.
Tools & Materials

Safety 1st Flat Step 30 in. H Pressure-Mounted Child Safety Gate in White GA119WHO1
Screwdriver
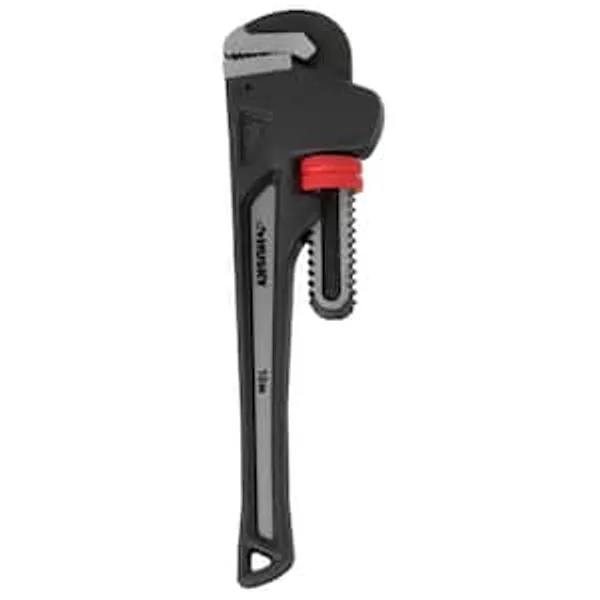
Wrench

TUXEDO M-1000C Side Extensions Kit only for M-1000C 1000 lbs. Portable Lift M-SideExt
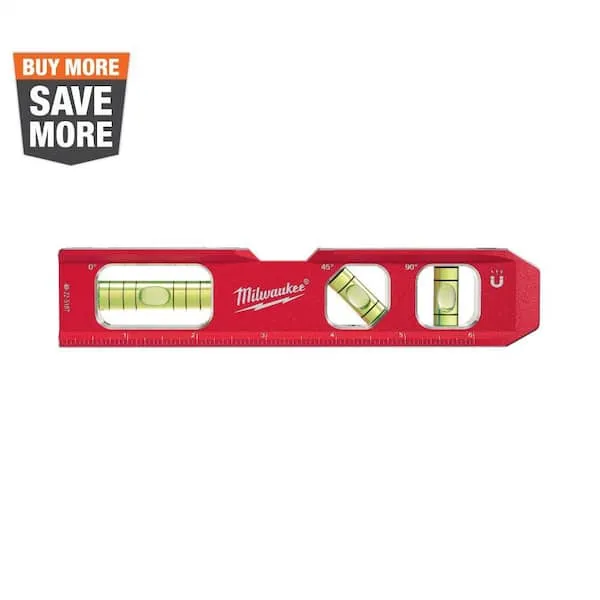
Level

Safety Glasses
Safety 1st Flat Step 30 in. H Pressure-Mounted Child Safety Gate in White GA119WHO1
Now that baby is on the move, the Safety 1st Flat Step Gate makes it simple and safe to create child friendly areas within your home. For use at bottom of stairs and hallways andamp, doorways, the Flat
Screwdriver
Essential for assembling the cart with screws and installing hardware like gate latches.
Wrench
Turns objects with grip and leverage.
TUXEDO M-1000C Side Extensions Kit only for M-1000C 1000 lbs. Portable Lift M-SideExt
The M-Side Extension kit includes two 12 in. side extensions, approach ramp extensions, 3 connector rods and clips. In less than 3-minutes, you can convert a standard motorcycle lift into an ATV lift.
Level
Ensures surfaces are just right.
Safety Glasses
Keeps eyes safe from potential hazards.
Steps

Choose Gate Location
5 minutesIdentify the ideal spot for the gate installation at the base of the stairs. This location should offer a flat and stable surface on both sides to properly seat the pressure-mounted posts. Avoid areas with significant floor molding or uneven surfaces that could compromise the gate's stability.
Watch: Install Gate (Pressure Mounting)
Assemble Gate Components
15 minutesUnpack all components of the safety gate. Follow the provided manual to connect the main gate panels, attach any included extension kits if needed for the stair width, and secure the swinging door mechanism. Ensure all connections are snug but do not overtighten.
Watch: Assemble Gate Frame and Door
Install Pressure-Mount Posts
10 minutesLocate the pressure-mount posts or pads that came with your gate. These typically screw into the side of the gate frame or attach via specific hardware. Ensure they are firmly attached and oriented correctly to press against the wall or stair banister.
Watch: Install the Gate Using Pressure Mount
Position Gate and Adjust Height
7 minutesCarefully position the assembled gate in the opening at the bottom of the stairs. Extend the pressure-mount posts so that the gate is held loosely in place, and the top of the gate is slightly higher than its final intended position. This allows for easier final adjustments.
Watch: Position the Gate Frame in Opening
Apply Pressure and Secure
15 minutesWith the gate loosely in place, begin to tighten the pressure-mount posts evenly on both sides. Continue tightening until the gate feels stable and securely held between the walls or banisters. Periodically check that the gate remains level and plumb. The gate should be snug enough not to move easily but not so tight that it deforms the walls or posts.
Watch: Tighten Spindle Rods for Secure Installation
Test Gate Operation and Stability
5 minutesOpen and close the gate several times to ensure the swinging mechanism operates smoothly. Gently push and pull on the gate from different angles to confirm it is stable and does not shift or loosen. Check that the locking mechanism engages securely.
Watch: Test Gate Operation

