

How to Install a Handrail on a Spiral Staircase
About This Project
Install a handrail on a spiral staircase to improve safety and accessibility. This involves measuring, cutting, and securely attaching the handrail to the staircase structure.
Tools & Materials
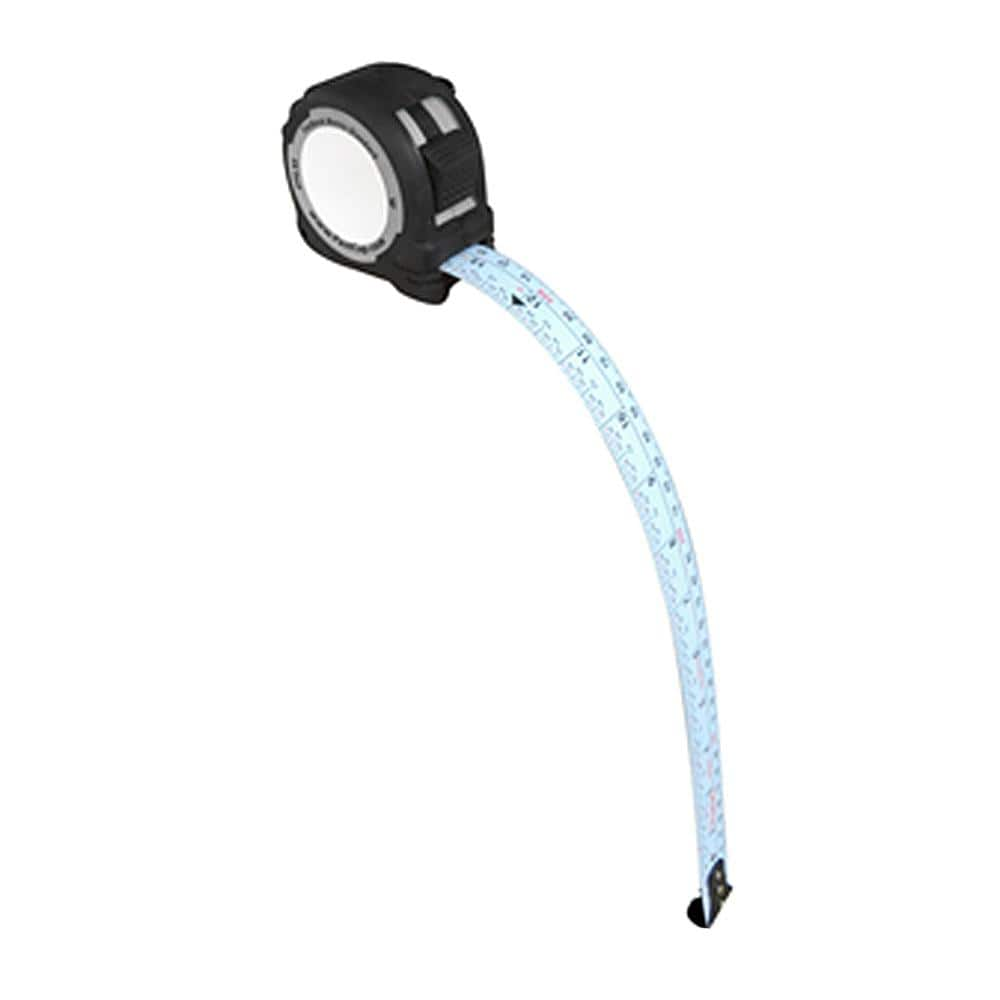
FASTCAP 16 ft. Metric/Standard Flat Back Measure Tape FC.PMS.F16

Pencil

VEVOR Stainless Steel Railing Stairs 42 in. x 0.98 in. x 1.97 in. Cable Railing Post with Mounting Bracket Handrails for Steps LGZH106.72.55CQ93V0

Milwaukee 15 Amp 8 in. Metal Cutting Circular Saw 6370-21

Clamps
SKYSHALO Handrail 39 in. x 34 in. Silver Stainless Steel Stair Railing Kit 551 lbs. Load Handrail Outdoor Stair Railing BXGTFSLZ100CM5VIHV0-0711
FASTCAP 16 ft. Metric/Standard Flat Back Measure Tape FC.PMS.F16
Face it, not all surfaces are flat. The ProCarpenter Flat back is a flexible tape for measuring curves and flat panels with precision and ease. The PMS blade style has both the metric and standard measurements
Pencil
Marks and draws with ease.
VEVOR Stainless Steel Railing Stairs 42 in. x 0.98 in. x 1.97 in. Cable Railing Post with Mounting Bracket Handrails for Steps LGZH106.72.55CQ93V0
The VEVOR 42 in. cable handrail post in height is made of durable stainless steel and coated with powder. 0° to 300° adjustable cast bracket is designed to fit both your interior and exterior cable railing
Milwaukee 15 Amp 8 in. Metal Cutting Circular Saw 6370-21
This Milwaukee 8 in. Metal Cutting Circular Saw delivers faster, cooler, cleaner metal cutting. Forget the showers of hot metal chips and sparks that were once an aerial threat on the job. This saw shears
Clamps
Tools used to hold objects tightly together to prevent movement or separation.
SKYSHALO Handrail 39 in. x 34 in. Silver Stainless Steel Stair Railing Kit 551 lbs. Load Handrail Outdoor Stair Railing BXGTFSLZ100CM5VIHV0-0711
Our stainless steel handrail provides extra protection for the elderly, children, and disabled struggling to use stairs. The stair handrail can hold up to 551 lbs. /250 kg load and is 0-90° adjustable
Steps

Measure and Mark Handrail Length
30 minutesCarefully measure the distance along the intended path of the handrail on the spiral staircase. Use a measuring tape to get precise lengths. Account for any curves or changes in angle specific to the spiral design. Once the total length is determined, transfer these measurements to the handrail material, marking the exact points where cuts will be made to ensure a perfect fit.
Watch: Measure Staircase Length and AngleCut Handrail Material
45 minutesUsing the markings made in the previous step, carefully cut the handrail material to the required lengths. The type of saw used will depend on the handrail material (e.g., miter saw for wood, reciprocating saw or metal-cutting saw for metal). Ensure cuts are clean and precise to facilitate a smooth connection and proper fit along the spiral.
Watch: Cut and Fit Handrail
Prepare Handrail Ends for Connection
60 minutesDepending on the handrail system and material, this may involve chamfering edges, drilling holes for connecting hardware, or preparing surfaces for welding or adhesive bonding. For wood handrails, this might include creating specific joint types like mitered or scarf joints. For metal, it could involve grinding edges for welding or preparing for threaded connectors.
Watch: Assemble Wooden Handrail Sections with Dowels
Locate and Mark Support Brackets
45 minutesExamine the spiral staircase structure to determine the most robust locations for attaching handrail brackets. These are typically along the outer stringer, inner stringer, or directly to the treads/risers if structural integrity allows. Mark the precise locations for each bracket, ensuring they are evenly spaced and at the correct height to meet building code requirements for handrail installation.
Watch: Mark Top Bracket Location
Install Handrail Support Brackets
90 minutesDrill pilot holes at the marked locations on the staircase structure. Then, securely fasten the handrail brackets using screws, bolts, or lag bolts that are appropriate for the material of the staircase (wood, metal, concrete). Ensure each bracket is firmly attached and can withstand significant downward force. Use a level to confirm that brackets are installed in the correct orientation for the handrail to sit properly.
Watch: Install Brackets and Mount Handrail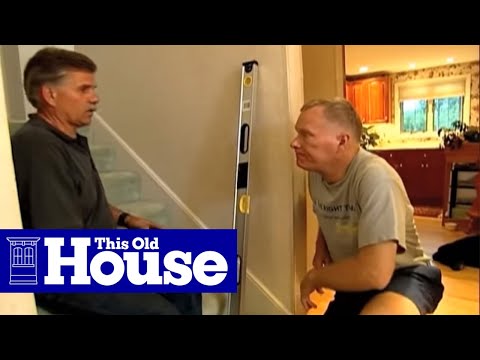
Attach Handrail to Brackets
75 minutesCarefully place the handrail sections onto the support brackets, aligning them with the pre-drilled holes or designated attachment points on the brackets. Depending on the bracket design, you may use screws from below, set screws, or other fastening methods to firmly attach the handrail to each bracket. Ensure the handrail is level and follows the intended line of the staircase.
Watch: Mount Handrail to Brackets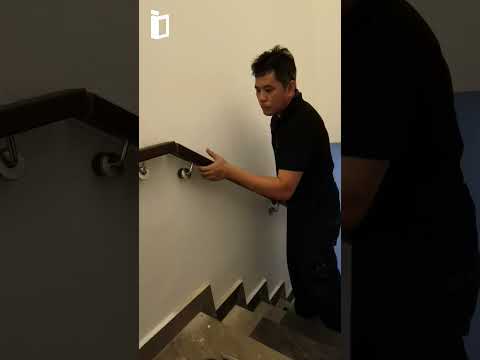
Join Handrail Sections (if applicable)
60 minutesIf the handrail required multiple sections, join them now according to the method prepared in Step 3. This could involve applying wood glue and clamping mitered or scarf joints, welding metal sections, or using specialized joining hardware. Ensure the joint is smooth, flush, and structurally sound, as it will be a critical point of the handrail.
Watch: Initial Handrail Attachment and Joining
Inspect and Test Handrail Stability
30 minutesApply firm downward pressure to various points along the handrail, especially at joints and bracket locations. Check for any signs of looseness, wobbling, or creaking. Ensure all fasteners are tight and that the handrail is securely fixed to the staircase structure. Confirm that the handrail height and clearance meet local building codes.
Watch: Final Check

