

How to Install a Floating Shelf on Drywall
About This Project
This project outlines the steps for securely installing a floating shelf on drywall, ensuring it can bear the intended weight.
Tools & Materials

Zircon StudSensor HD70 Stud Finder 66229

Pencil
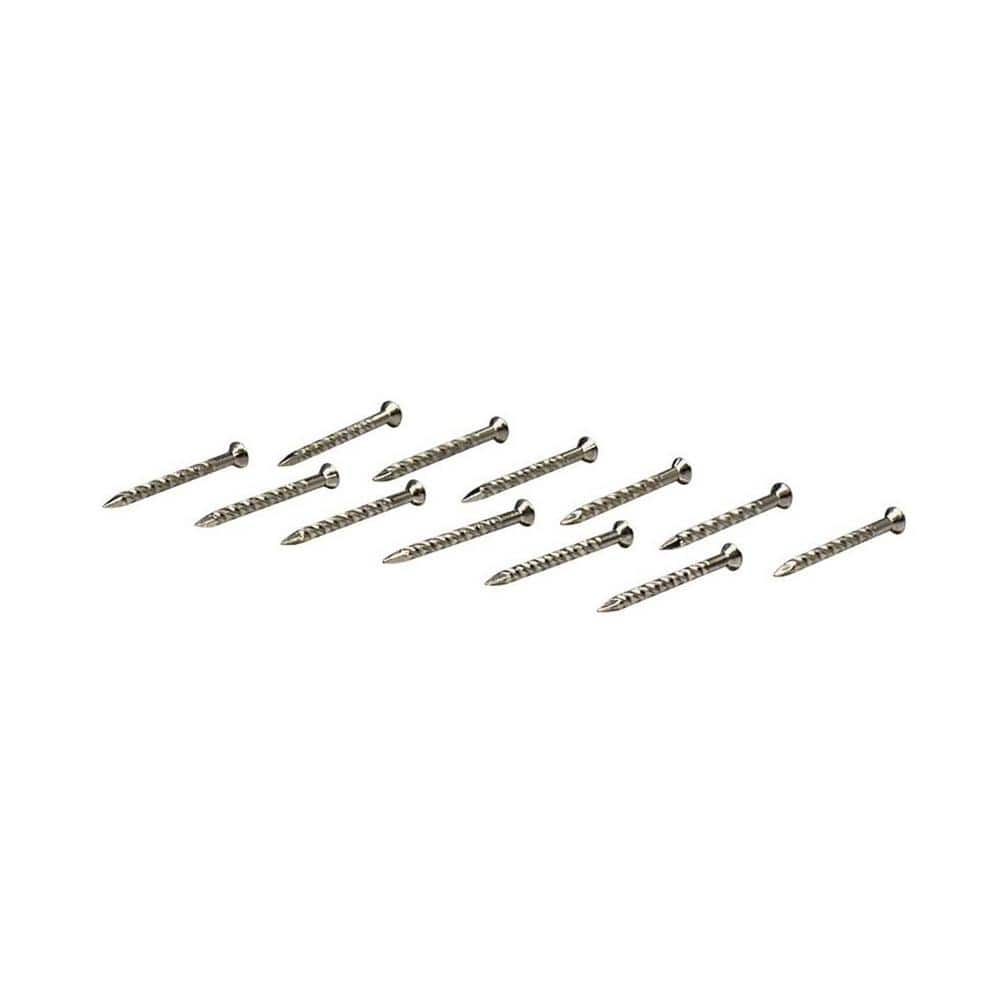
M-D Building Products 1-1/4" SILVER FLOOR METAL SCREW NAILS (12CT) 21501
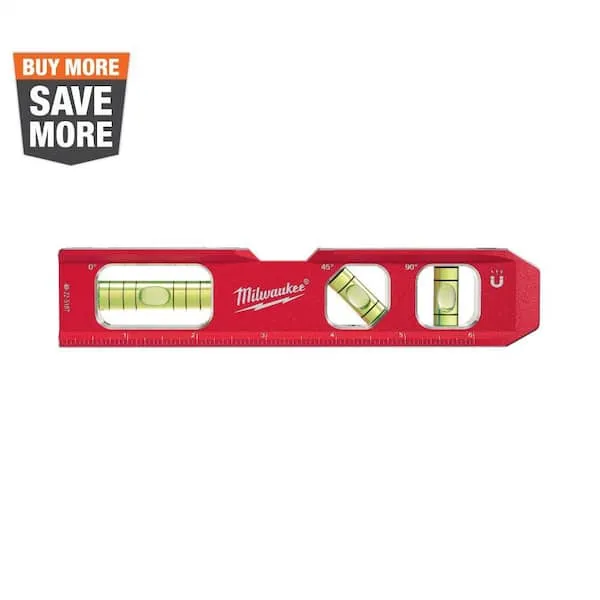
Level

Angel Sar 8 in. Floating Shelf Bracket, Hidden Brackets for Wood Shelf (12-Pack) YDYO2221

WallClaw Anchors LOC-N-LOAD Hammer-In Drywall Anchor 165 lbs. Max 10-Pack with Screws - Master Carton MC-WC10-YS-S
Zircon StudSensor HD70 Stud Finder 66229
The StudSensor HD70 OneStep stud finder takes the guesswork out of finding the stud center. Its two scanning modes locate the center, edges, and direction of wood or metal studs. It is ideal for use on
Pencil
Marks and draws with ease.
M-D Building Products 1-1/4" SILVER FLOOR METAL SCREW NAILS (12CT) 21501
These M-D Building Products 1-1/4 in. Silver Carbon Steel Floor Screw Nails (12 nails) feature durable steel construction suitable for securing a variety of floor trims to wood or concrete floors. Fasteners
Level
Ensures surfaces are just right.
Angel Sar 8 in. Floating Shelf Bracket, Hidden Brackets for Wood Shelf (12-Pack) YDYO2221
Crafted and polished from top-quality steel, our floating shelf supports are incredibly durable and can hold up to a staggering 110 lbs. of heavy books, beautiful ornaments, and everyday objects, so you
WallClaw Anchors LOC-N-LOAD Hammer-In Drywall Anchor 165 lbs. Max 10-Pack with Screws - Master Carton MC-WC10-YS-S
WallClaw LOC-N-LOAD Hammer-In drywall anchors are heavy-duty anchors that hammer-in to the wall like a nail. WallClaw LOC-N-LOAD anchors are the lowest cost drywall anchors per pound of load capacity.
Steps

Locate Wall Studs
15 minutesTo ensure your floating shelf is securely mounted, you must first locate the wall studs. Use an electronic stud finder to scan the wall surface in the area where the shelf will be installed. When the stud finder indicates a stud, mark the center point with a pencil. Continue scanning to find all available studs within the intended width of your shelf. For optimal stability, aim to anchor the shelf's support brackets into at least two wall studs.
Watch: Locate and Mark Wall Studs
Mark Shelf Bracket Positions
10 minutesPosition the floating shelf's mounting bracket on the wall at your chosen height. Use a level to ensure the bracket is perfectly horizontal. Align the screw holes on the bracket with the centerlines of the studs you marked in the previous step. Once aligned, use your pencil to mark the exact locations for drilling screws through the bracket holes onto the wall. If you cannot hit two studs, you will need to use heavy-duty drywall anchors at the remaining marked points for adequate support.
Watch: Position Brackets and Mark Holes
Drill Pilot Holes
10 minutesUsing a drill, create pilot holes at each of the pencil marks you made on the wall. The diameter of the drill bit should be chosen carefully: it needs to be smaller than the screw's shank diameter to provide resistance and ensure the screw can be driven in tightly. For metal studs, use a bit appropriate for metal. For wood studs, a standard wood drill bit is suitable. If using drywall anchors, follow the anchor manufacturer's instructions for the correct drill bit size.
Watch: Drill Pilot Holes and Install Wall Mates
Install Drywall Anchors (if necessary)
5 minutesFor any marked screw positions that do not penetrate a wall stud, you must install drywall anchors. Select anchors designed for the weight capacity required for your shelf. Carefully insert the anchors into the pilot holes, ensuring they are flush with the wall surface. Some anchors may require a specific tool or a tapping motion with a hammer to seat them properly. Always refer to the anchor's packaging for detailed installation steps.
Watch: Install Drywall Anchors
Attach Mounting Bracket to Wall
10 minutesPosition the mounting bracket precisely over the pre-drilled pilot holes. If you installed drywall anchors, ensure the bracket holes align with them. Insert the appropriate screws through the bracket holes and into the wall. Drive the screws firmly using a drill or screwdriver until the bracket is snug against the wall. For connections into studs, ensure the screws penetrate deeply into the solid wood. Wiggle the bracket to confirm it is rigidly attached and has no play.
Watch: Mount the Metal Bracket to the Wall
Mount the Floating Shelf
5 minutesOnce the mounting bracket is securely fastened to the wall, it's time to attach the floating shelf itself. Most floating shelves have a system of rods or a cavity designed to slide over the bracket. Carefully align the shelf with the bracket and slide it on until it is fully engaged and flush against the wall. Some shelves may have small set screws on the underside to further secure them to the bracket; if yours does, tighten these now.
Watch: Mount Floating Shelf
Test Shelf Stability
2 minutesAfter the shelf is in place, perform a stability test. Apply gentle, even pressure to the top surface of the shelf, pushing down and slightly outwards. Observe closely for any signs of wobbling, shifting, or loosening of the bracket. The shelf should feel solid and firmly attached to the wall with no discernible movement. This step is crucial before placing any items on the shelf.
Watch: Attach Floating Shelf and Test

