

How to Hang Pictures Level on a Slanted Stair Wall
About This Project
This project outlines the steps to hang pictures level on a slanted stair wall, ensuring a visually appealing and properly displayed collection.
Tools & Materials
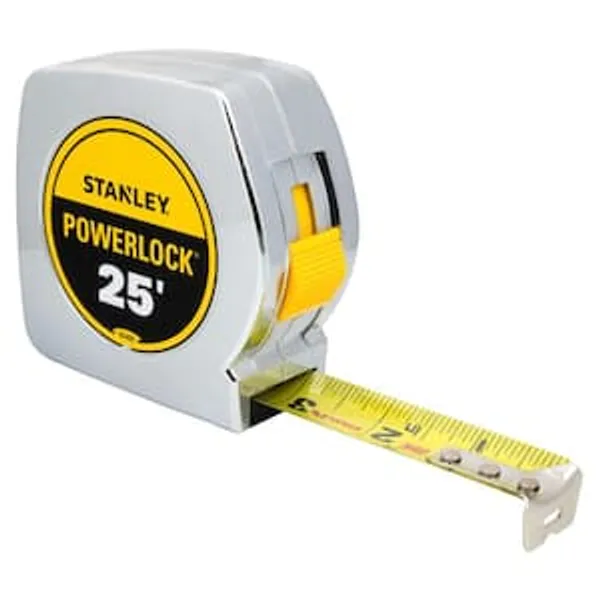
Measuring Tape

Pencil

ArtWall
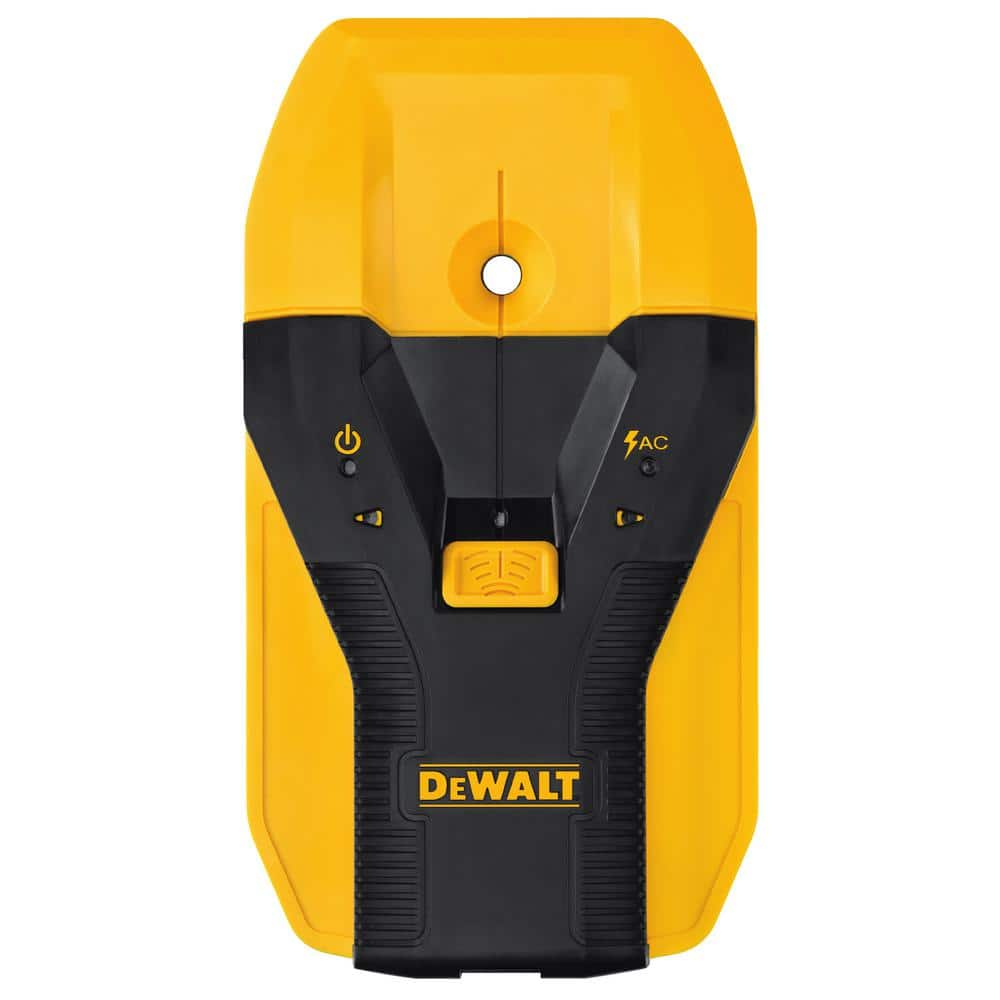
DEWALT 1-1/2 in. Stud Finder DW0150
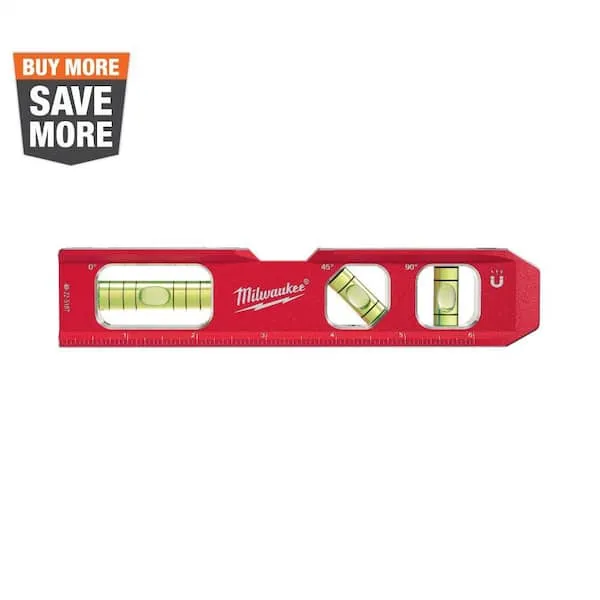
Level
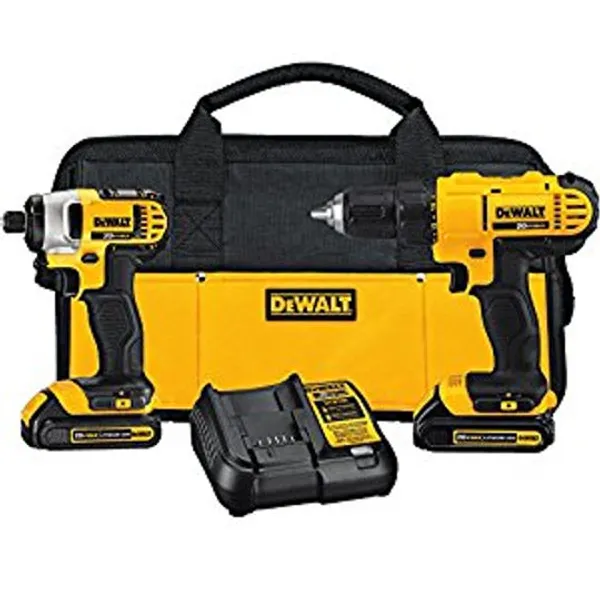
Drill
Measuring Tape
Accurate measurements in a snap.
Pencil
Marks and draws with ease.
ArtWall
This beautiful gallery wrapped canvas art is the perfect piece of wall decor for that bare wall. Display this gorgeous wall art decor in the living area with some brushed nickel sconces. Hang this artwork
DEWALT 1-1/2 in. Stud Finder DW0150
This Center Sensor Stud Finder has a detection depth of 1-1/2 in. for wood and metal. Traditional stud sensors locate the edge of the stud, but our new product locates the center for a more efficient read, even when held at an angle. Plus, it is constantly calibrating to save time during use. An audible alert and directional LED arrows clearly notify you once the stud is located and you can easily mark the center of the stud with the center marking channel.
Level
Ensures surfaces are just right.
Drill
Used for various drilling tasks, including the dust collection hole and assembly of cart components.
Steps

Determine Wall Art Layout
30 minutesBefore drilling any holes, lay out your pictures on the floor in front of the stairs to visualize their arrangement. Measure the dimensions of each piece and plan the spacing between them. Consider the slope of the wall and how it will affect the visual line of the artwork. Mark the desired positions for each artwork on the wall with a pencil.
Watch: Plan the Gallery Wall Layout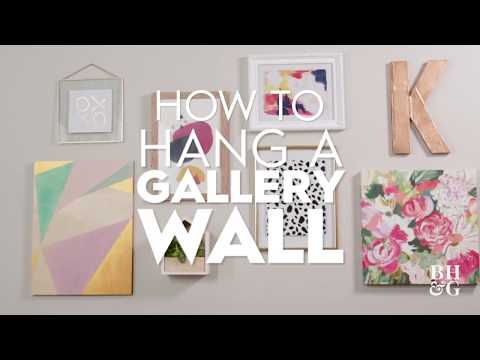

Mark Hanging Points on Artwork
20 minutesFor each piece of artwork, measure the distance from the top of the frame to the hanging hardware (wire, D-ring, sawtooth hanger). On the wall, measure down from your pencil mark (which should be at the desired top of the frame) by this exact distance. Transfer this measurement to the back of the frame, marking the exact spot where the screw or nail will go. If mounting directly to a stud, ensure your marked point aligns with the stud's center.
Watch: Mark and Install Hanging Hardware
Drill Pilot Holes
10 minutesSelect a drill bit that is slightly smaller in diameter than your chosen screws. At each marked hanging point on the wall, drill a pilot hole straight into the stud. For drywall anchors, follow the anchor manufacturer's instructions for pilot hole size.
Watch: Drill Pilot Holes
Install Hanging Hardware
10 minutesDrive screws or nails into the pilot holes. Leave enough of the screw or nail exposed to catch the hanging hardware on your artwork, but not so much that the artwork will sit too far from the wall. For heavy items, use screws that go fully into the stud.
Watch: Insert Hanging Screws

Final Adjustments and Cleanup
10 minutesOnce all pieces are hung, step back and view the collection from a distance, ideally from the bottom of the stairs. Make any final small adjustments to ensure the entire arrangement looks cohesive and level. Remove any pencil marks from the wall and clean up any dust or debris from the installation process.
Watch: Perform Final Adjustments and Review

